Food photography is a highly sought-after and enjoyable field where creativity meets technical mastery. To succeed, there are fundamental points to pay attention to and key steps to follow:
1. Lighting: The Beginning of Everything
Lighting is the most critical element in food photography.
- Use Natural Light: Avoid flash whenever possible, and opt for natural light coming through a window. Don’t use direct sunlight; instead, use soft, diffused light. North-facing windows often provide the ideal soft light.
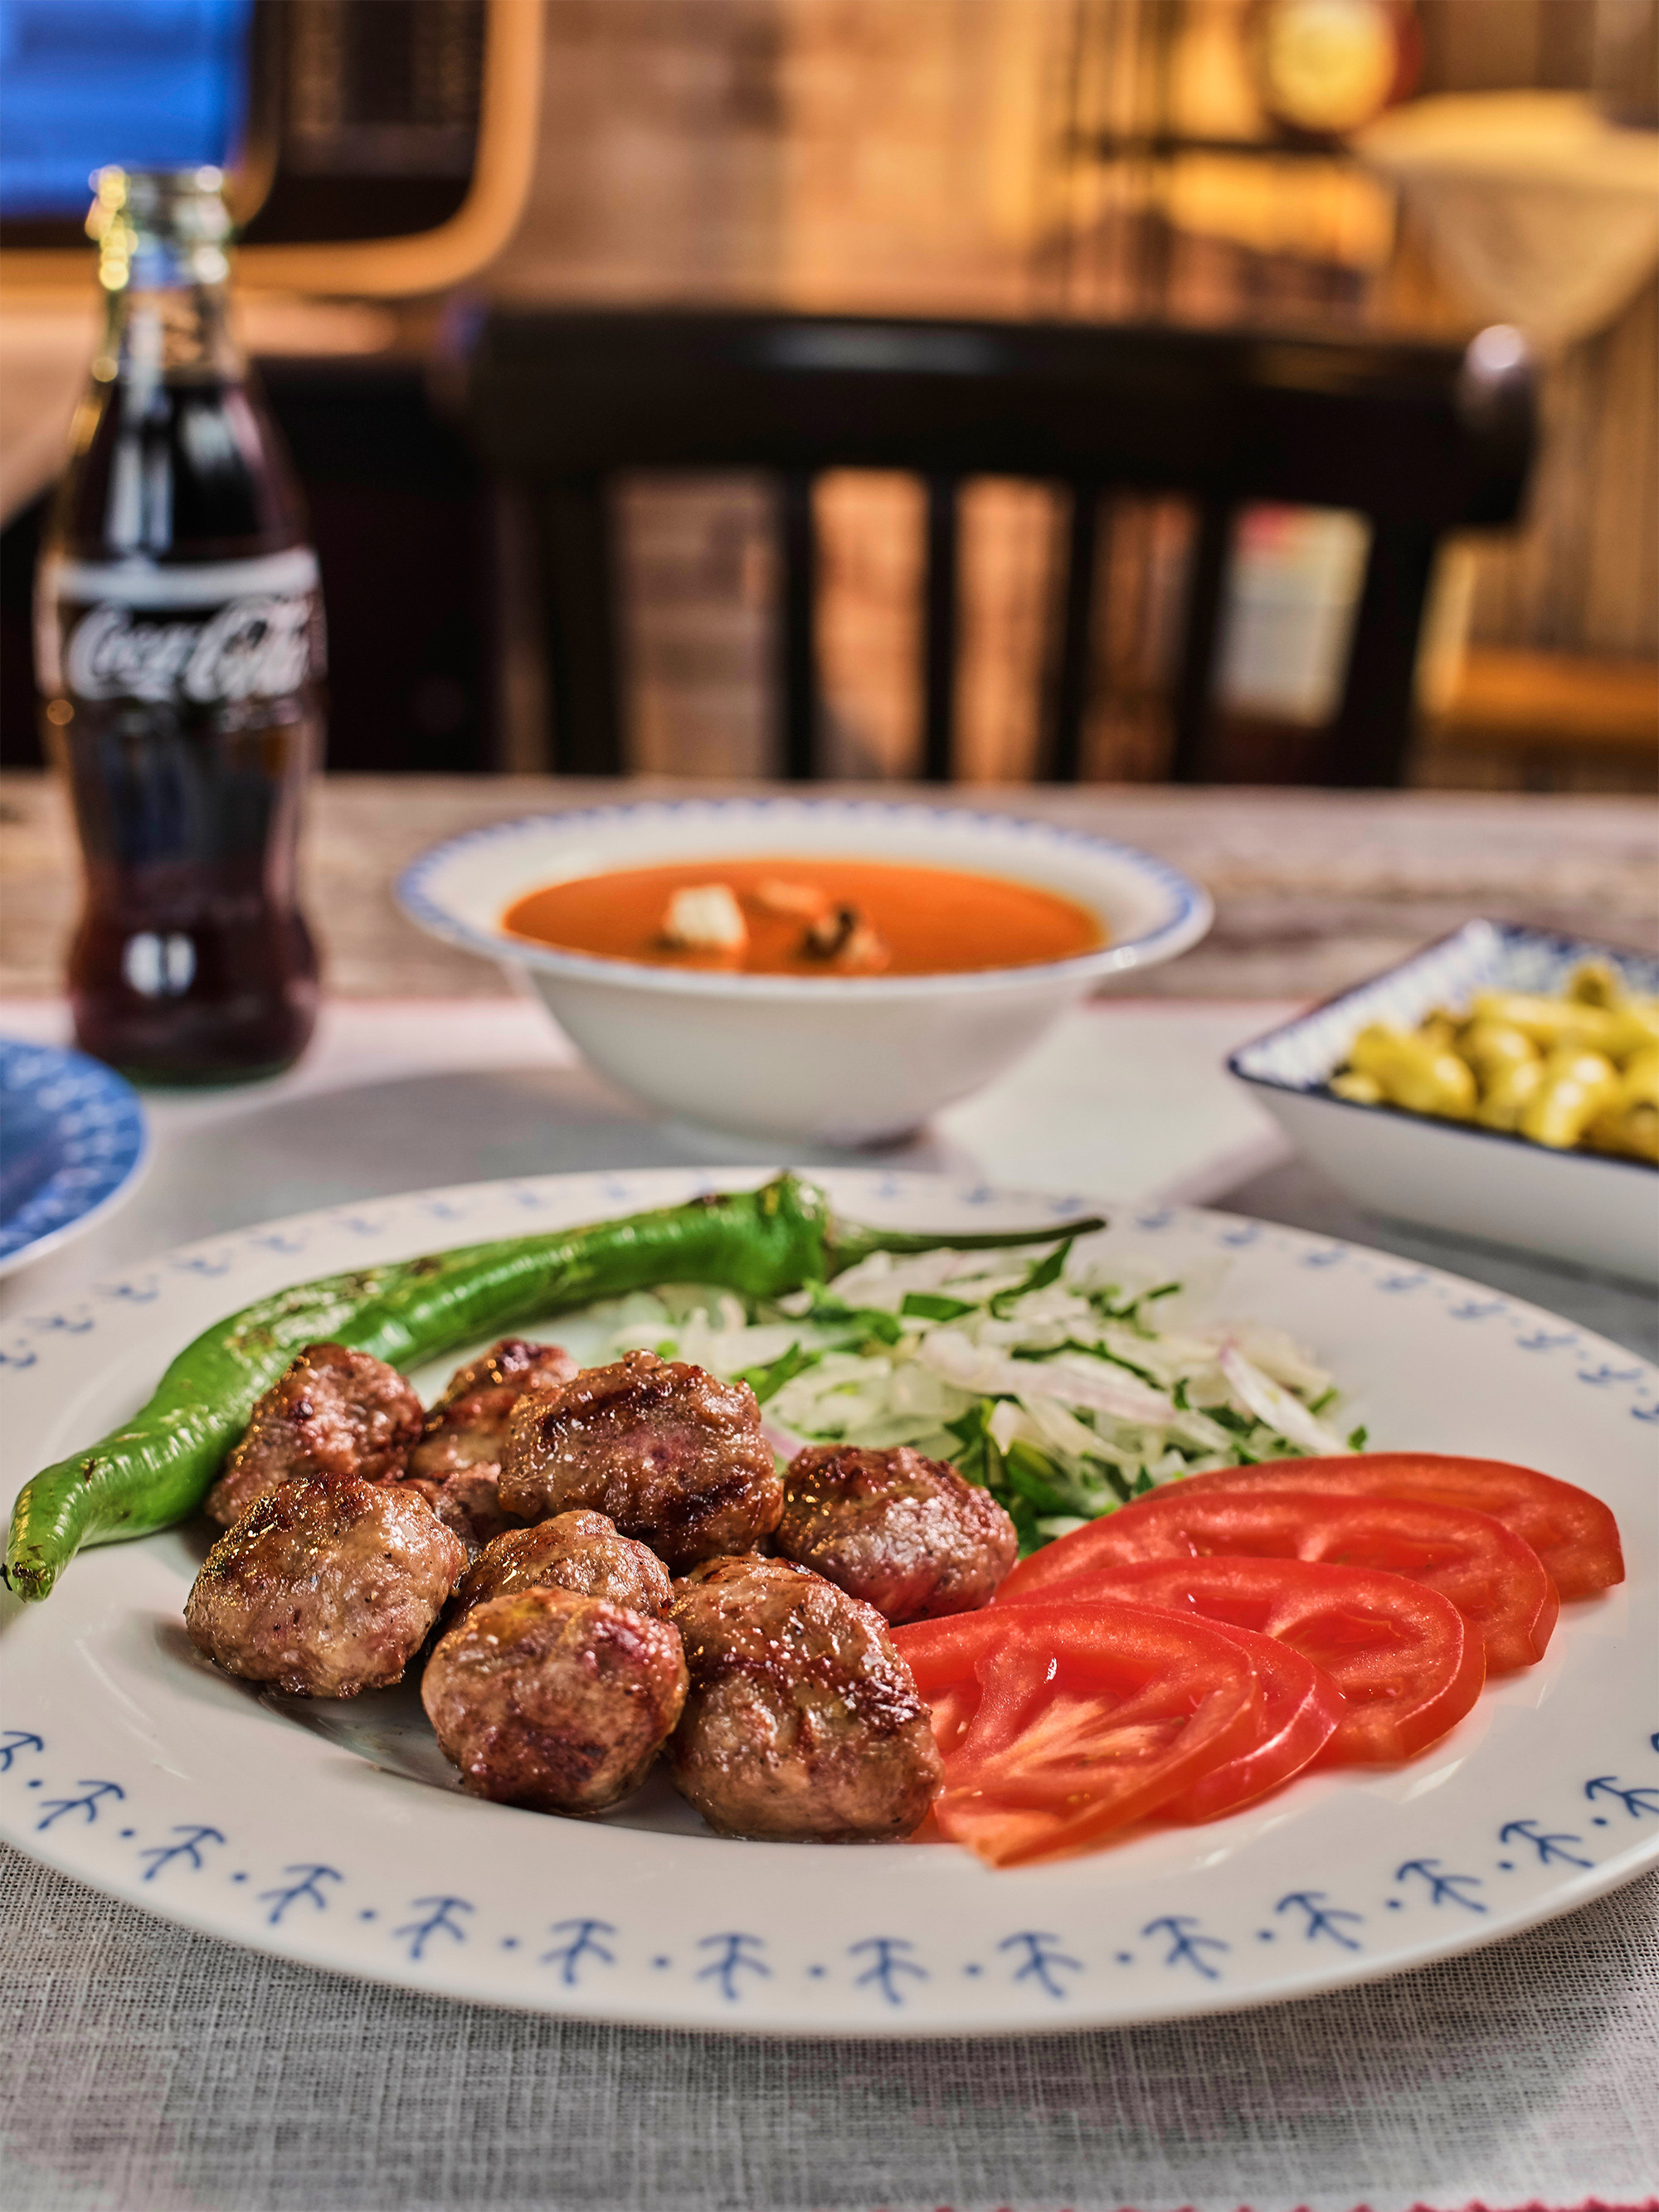
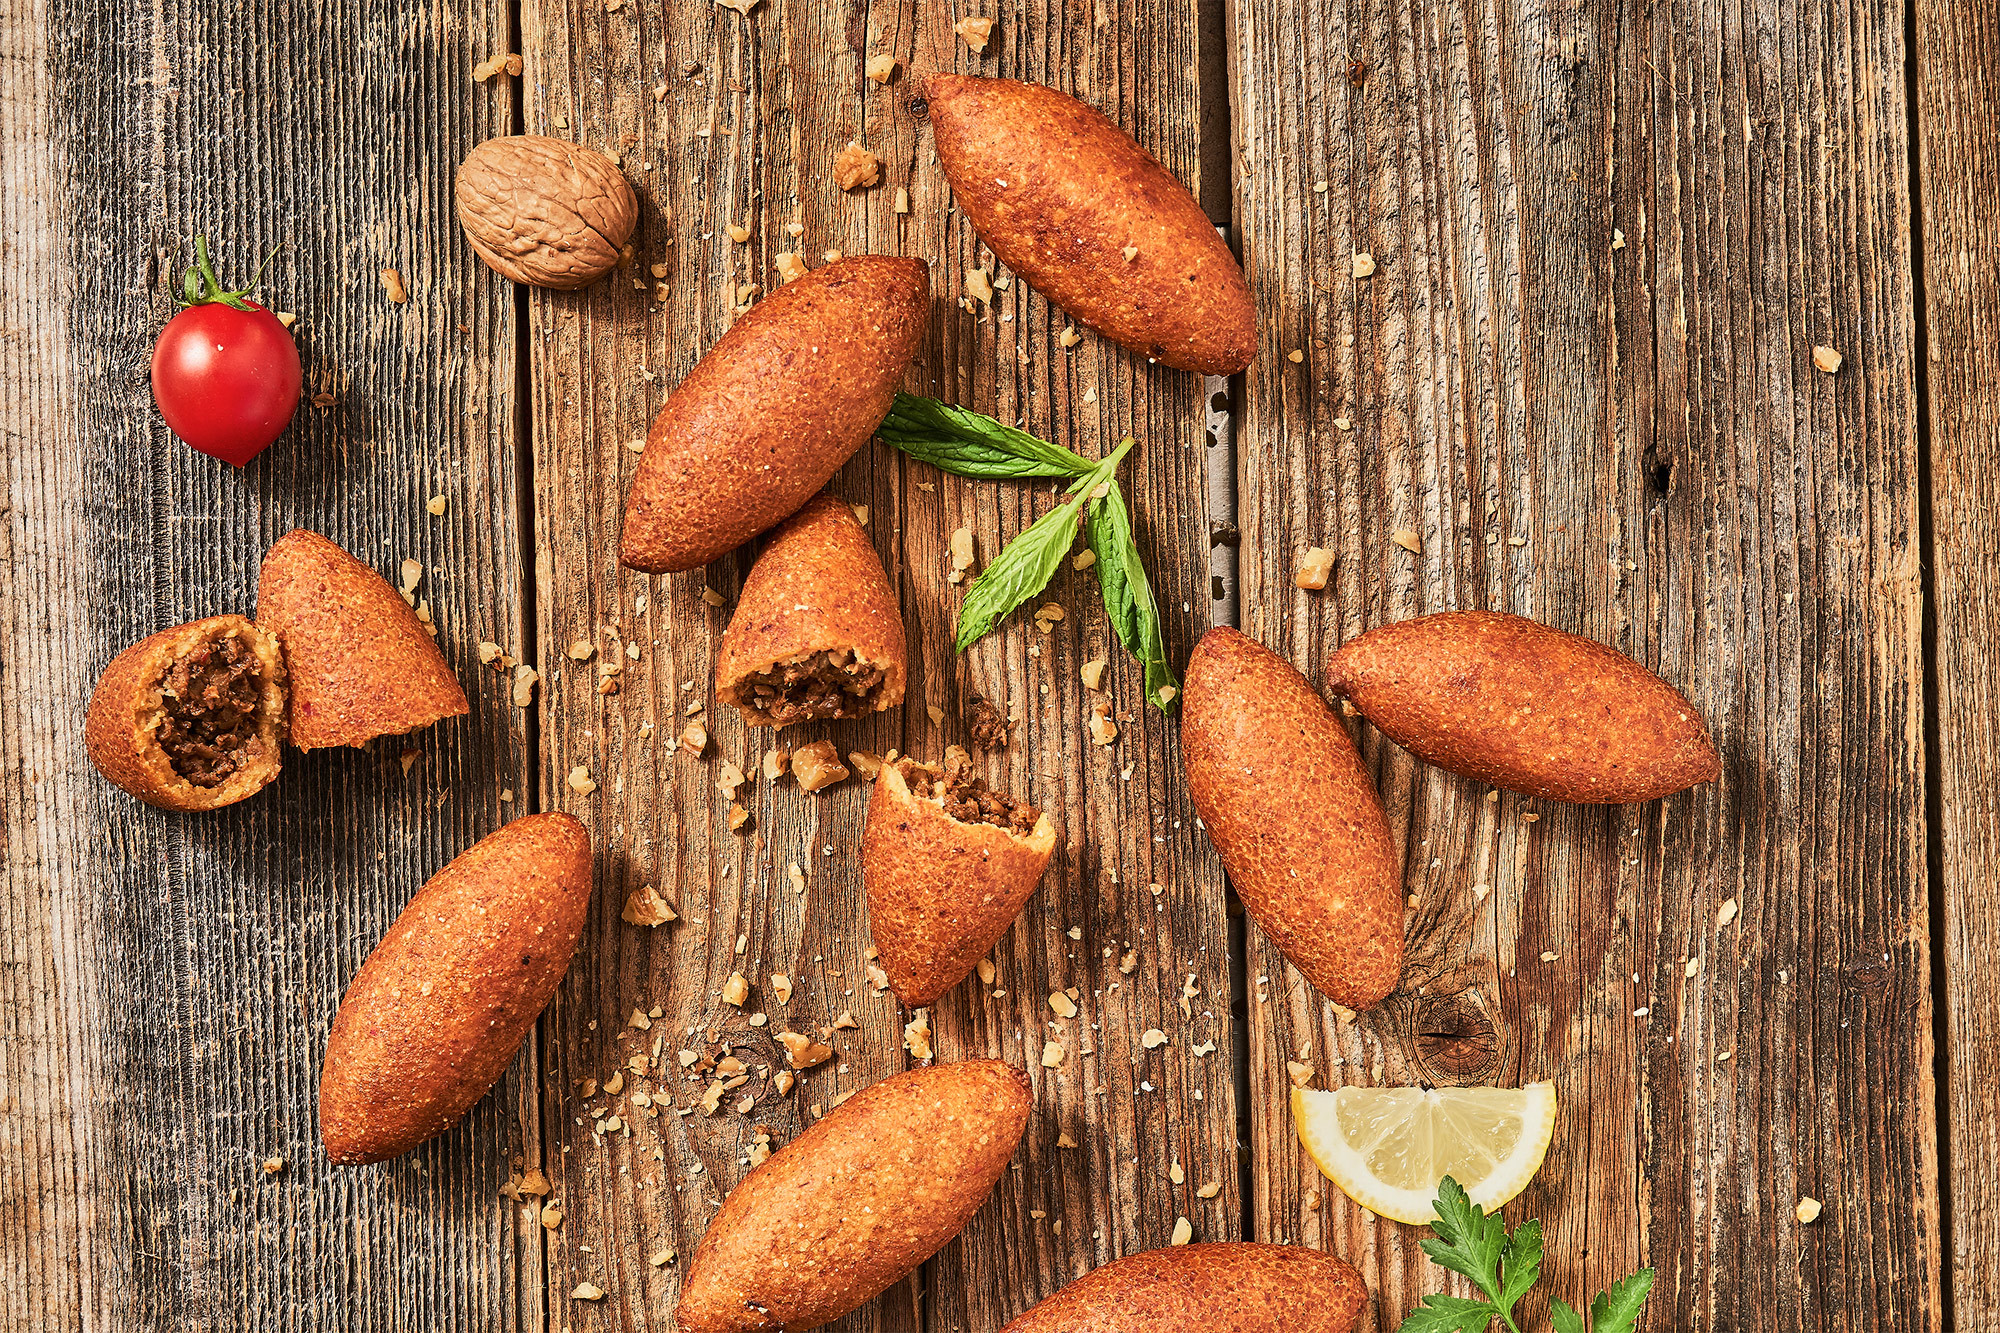
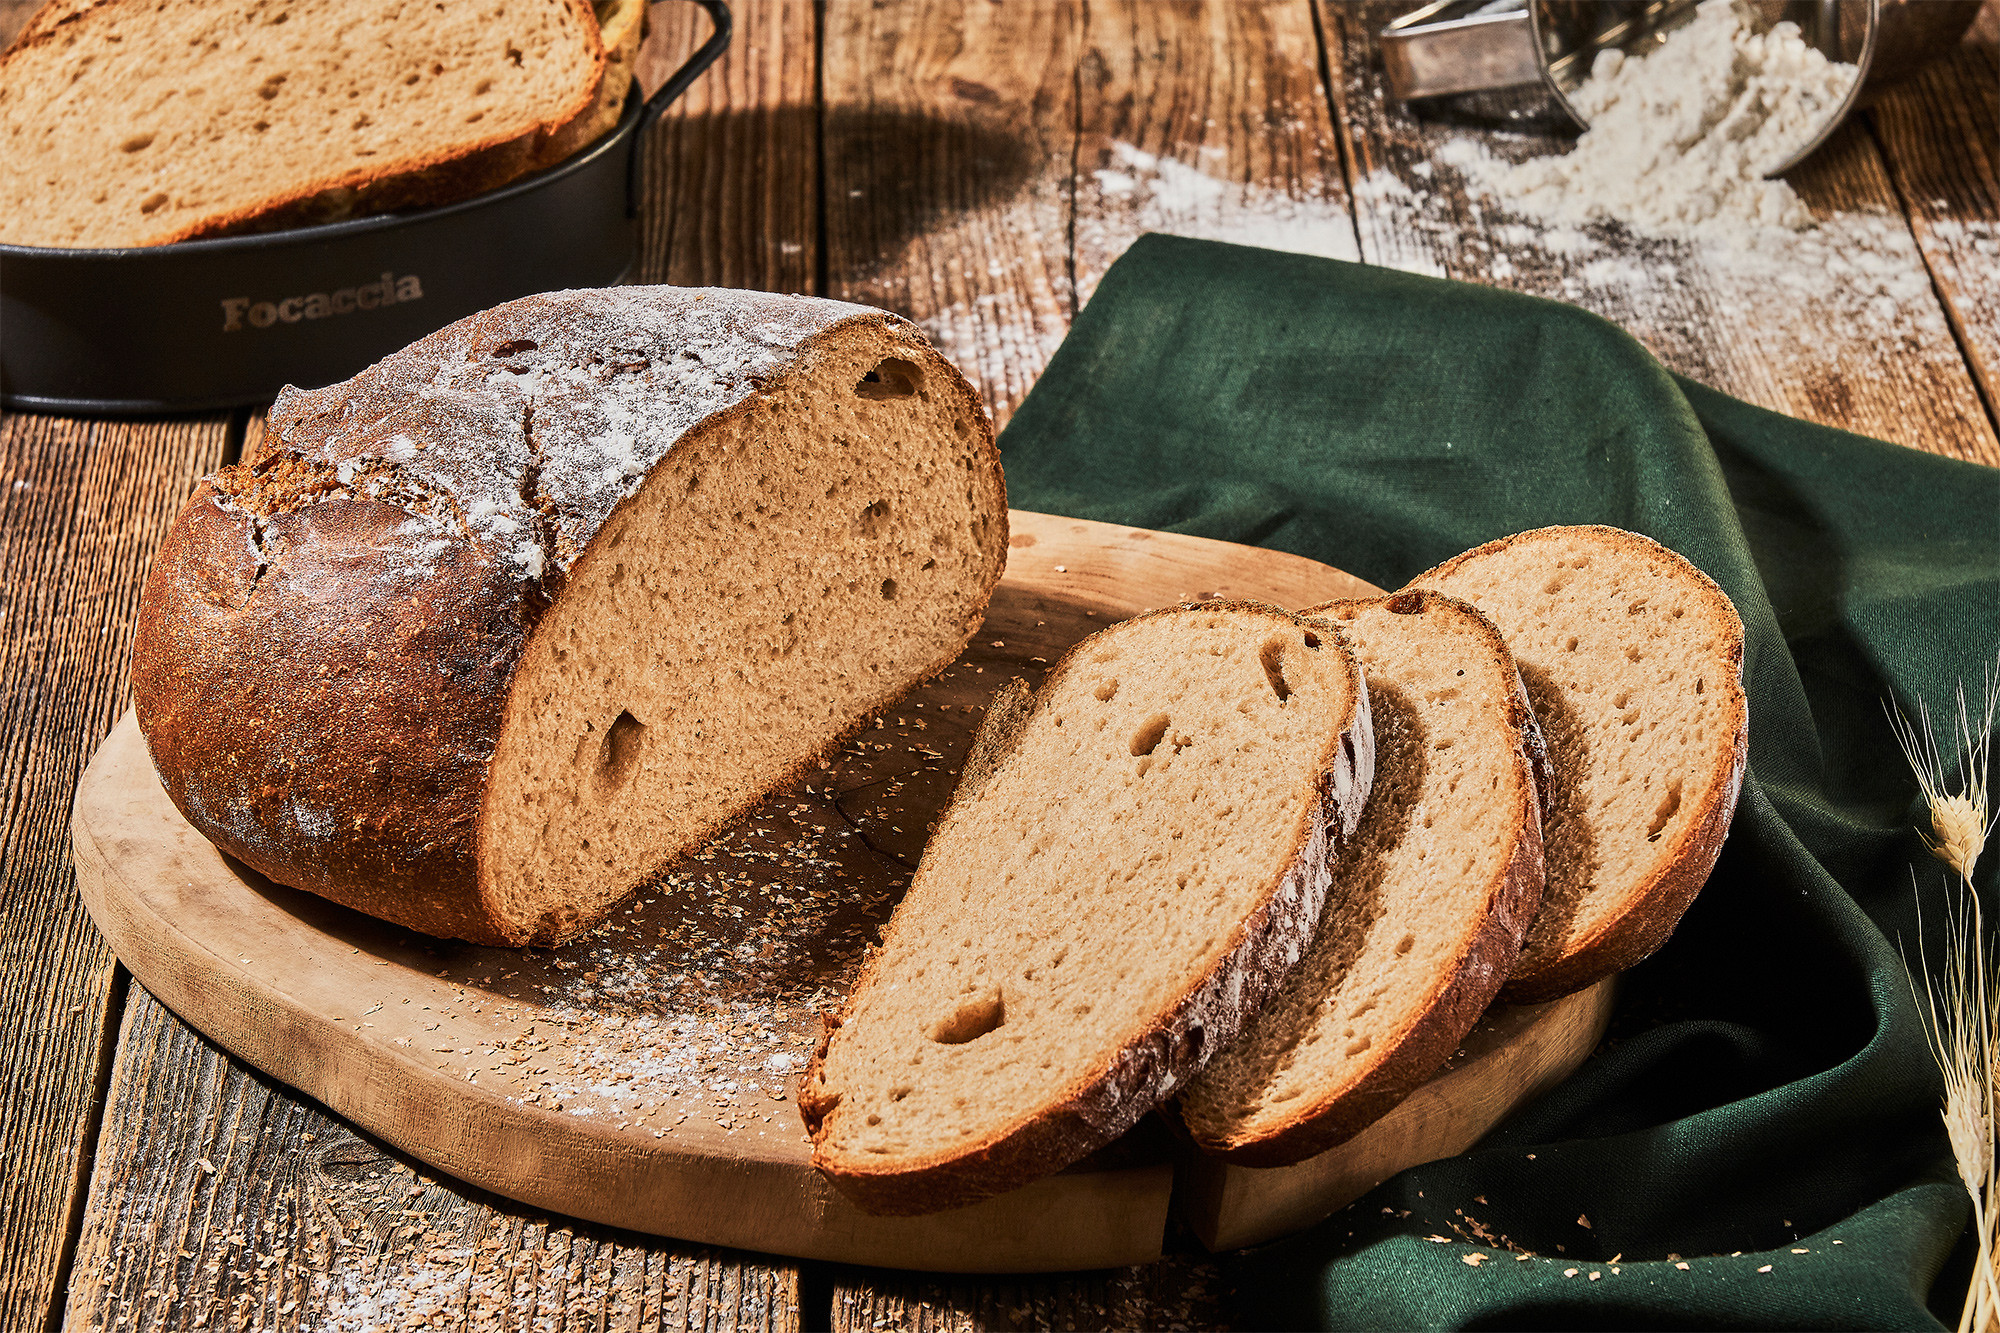
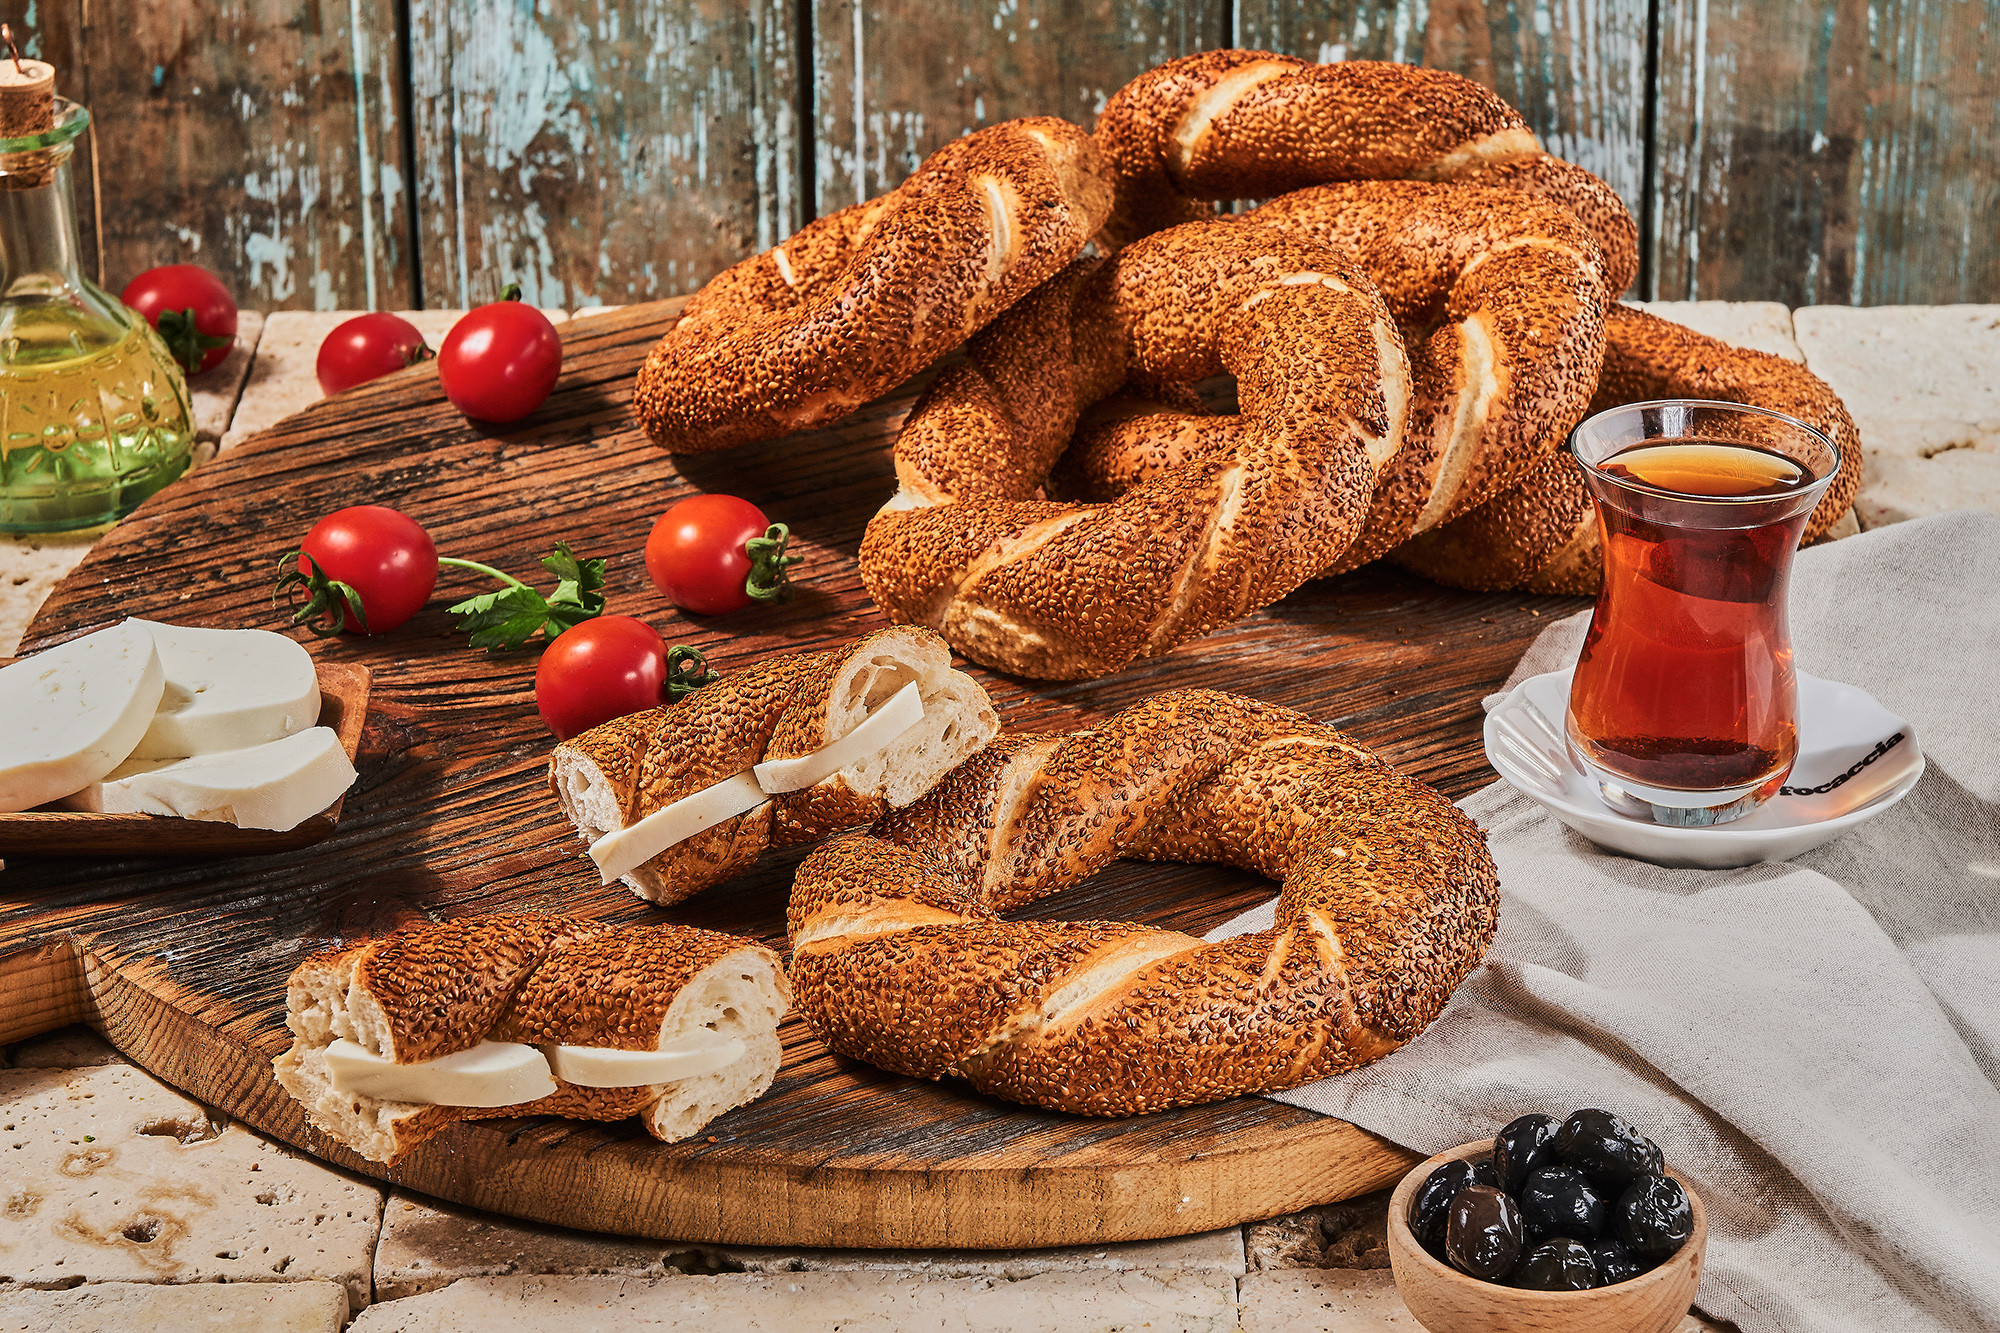
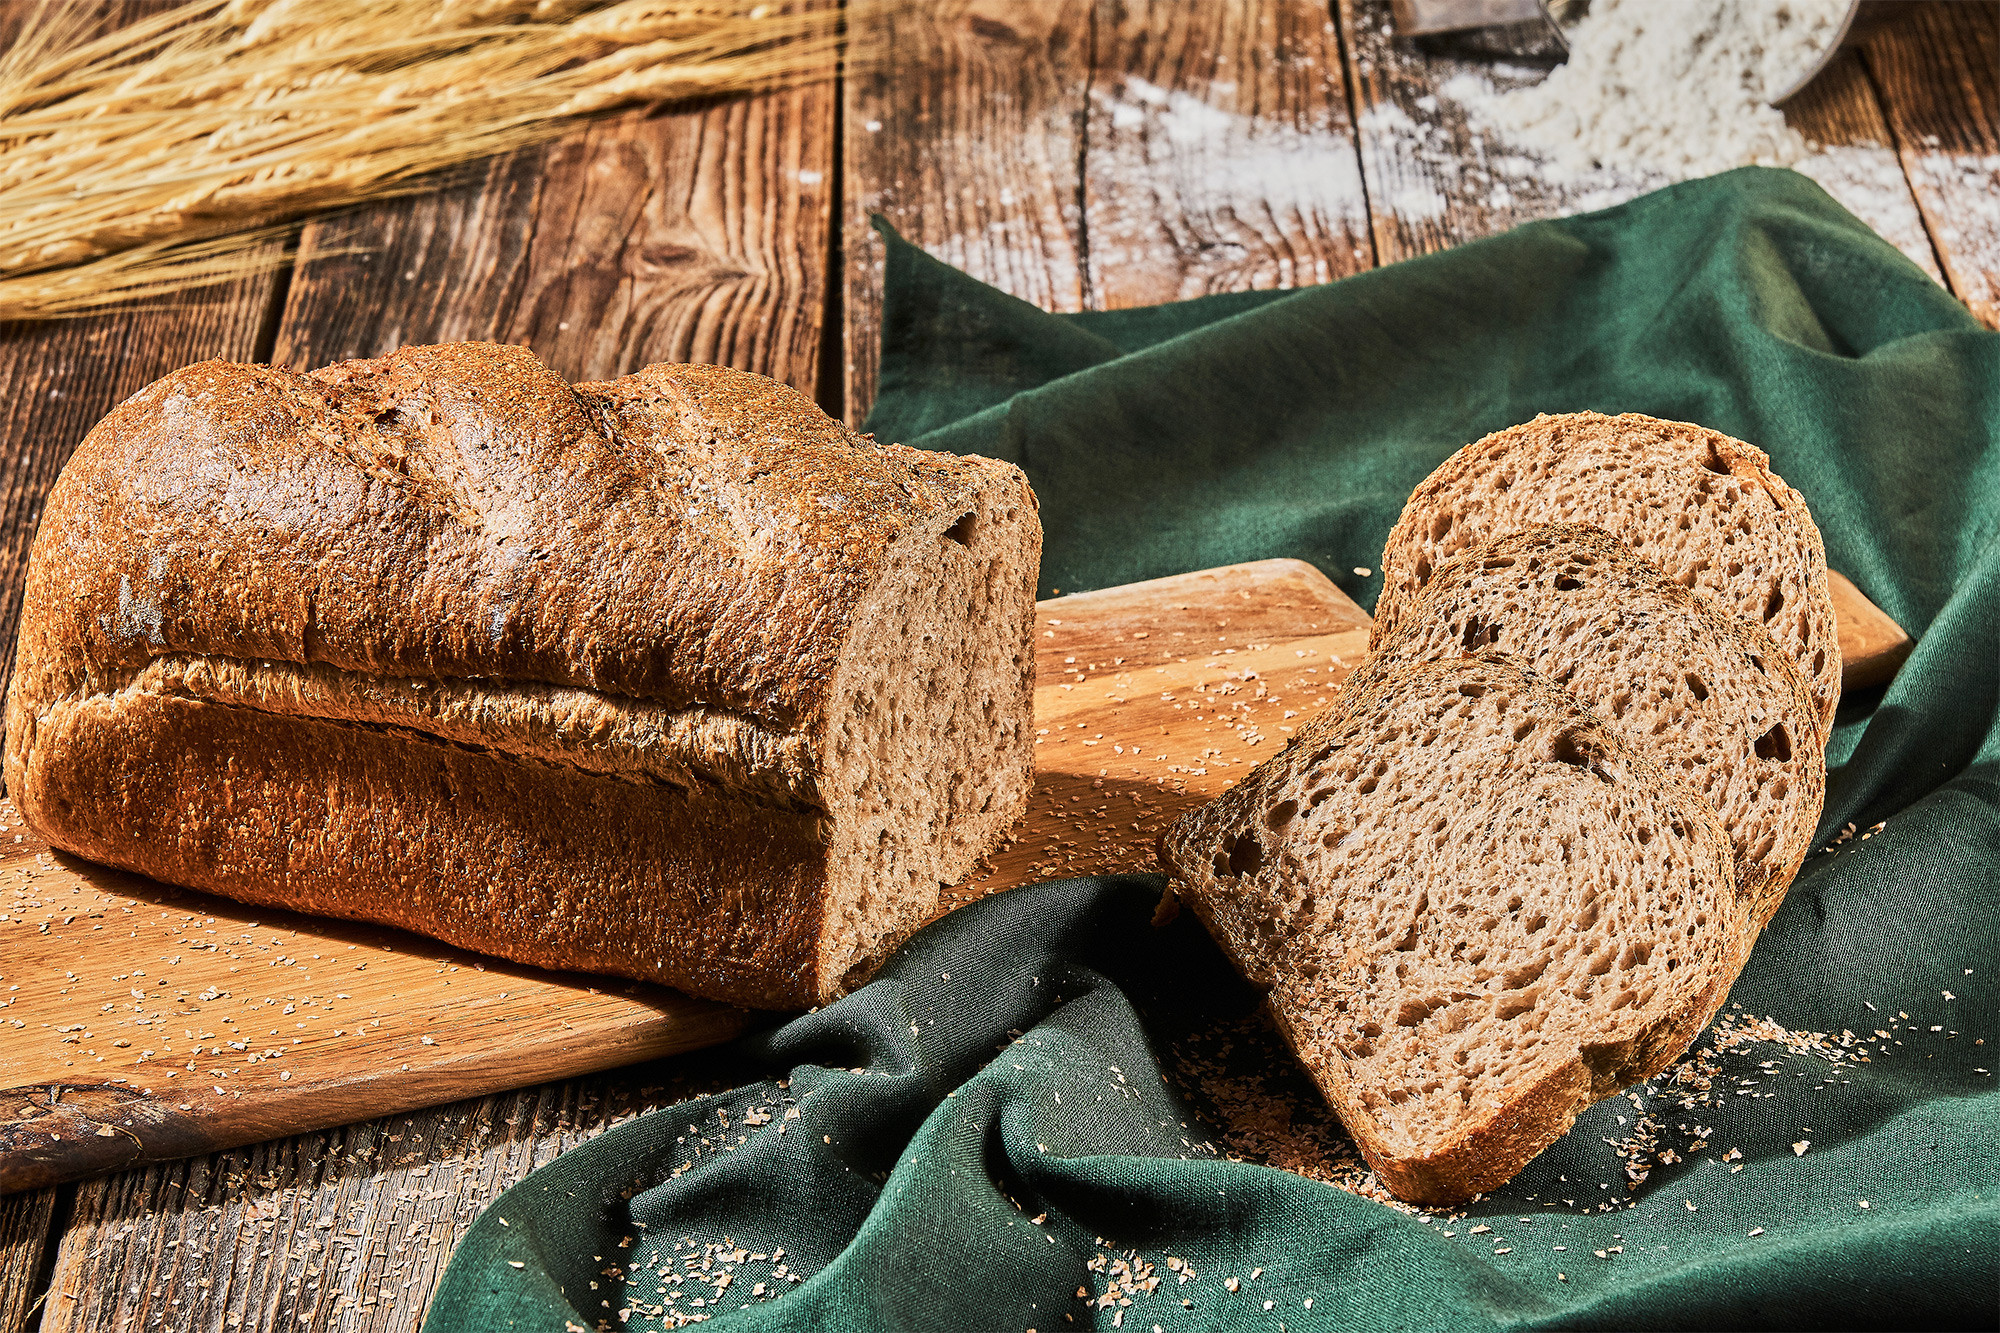
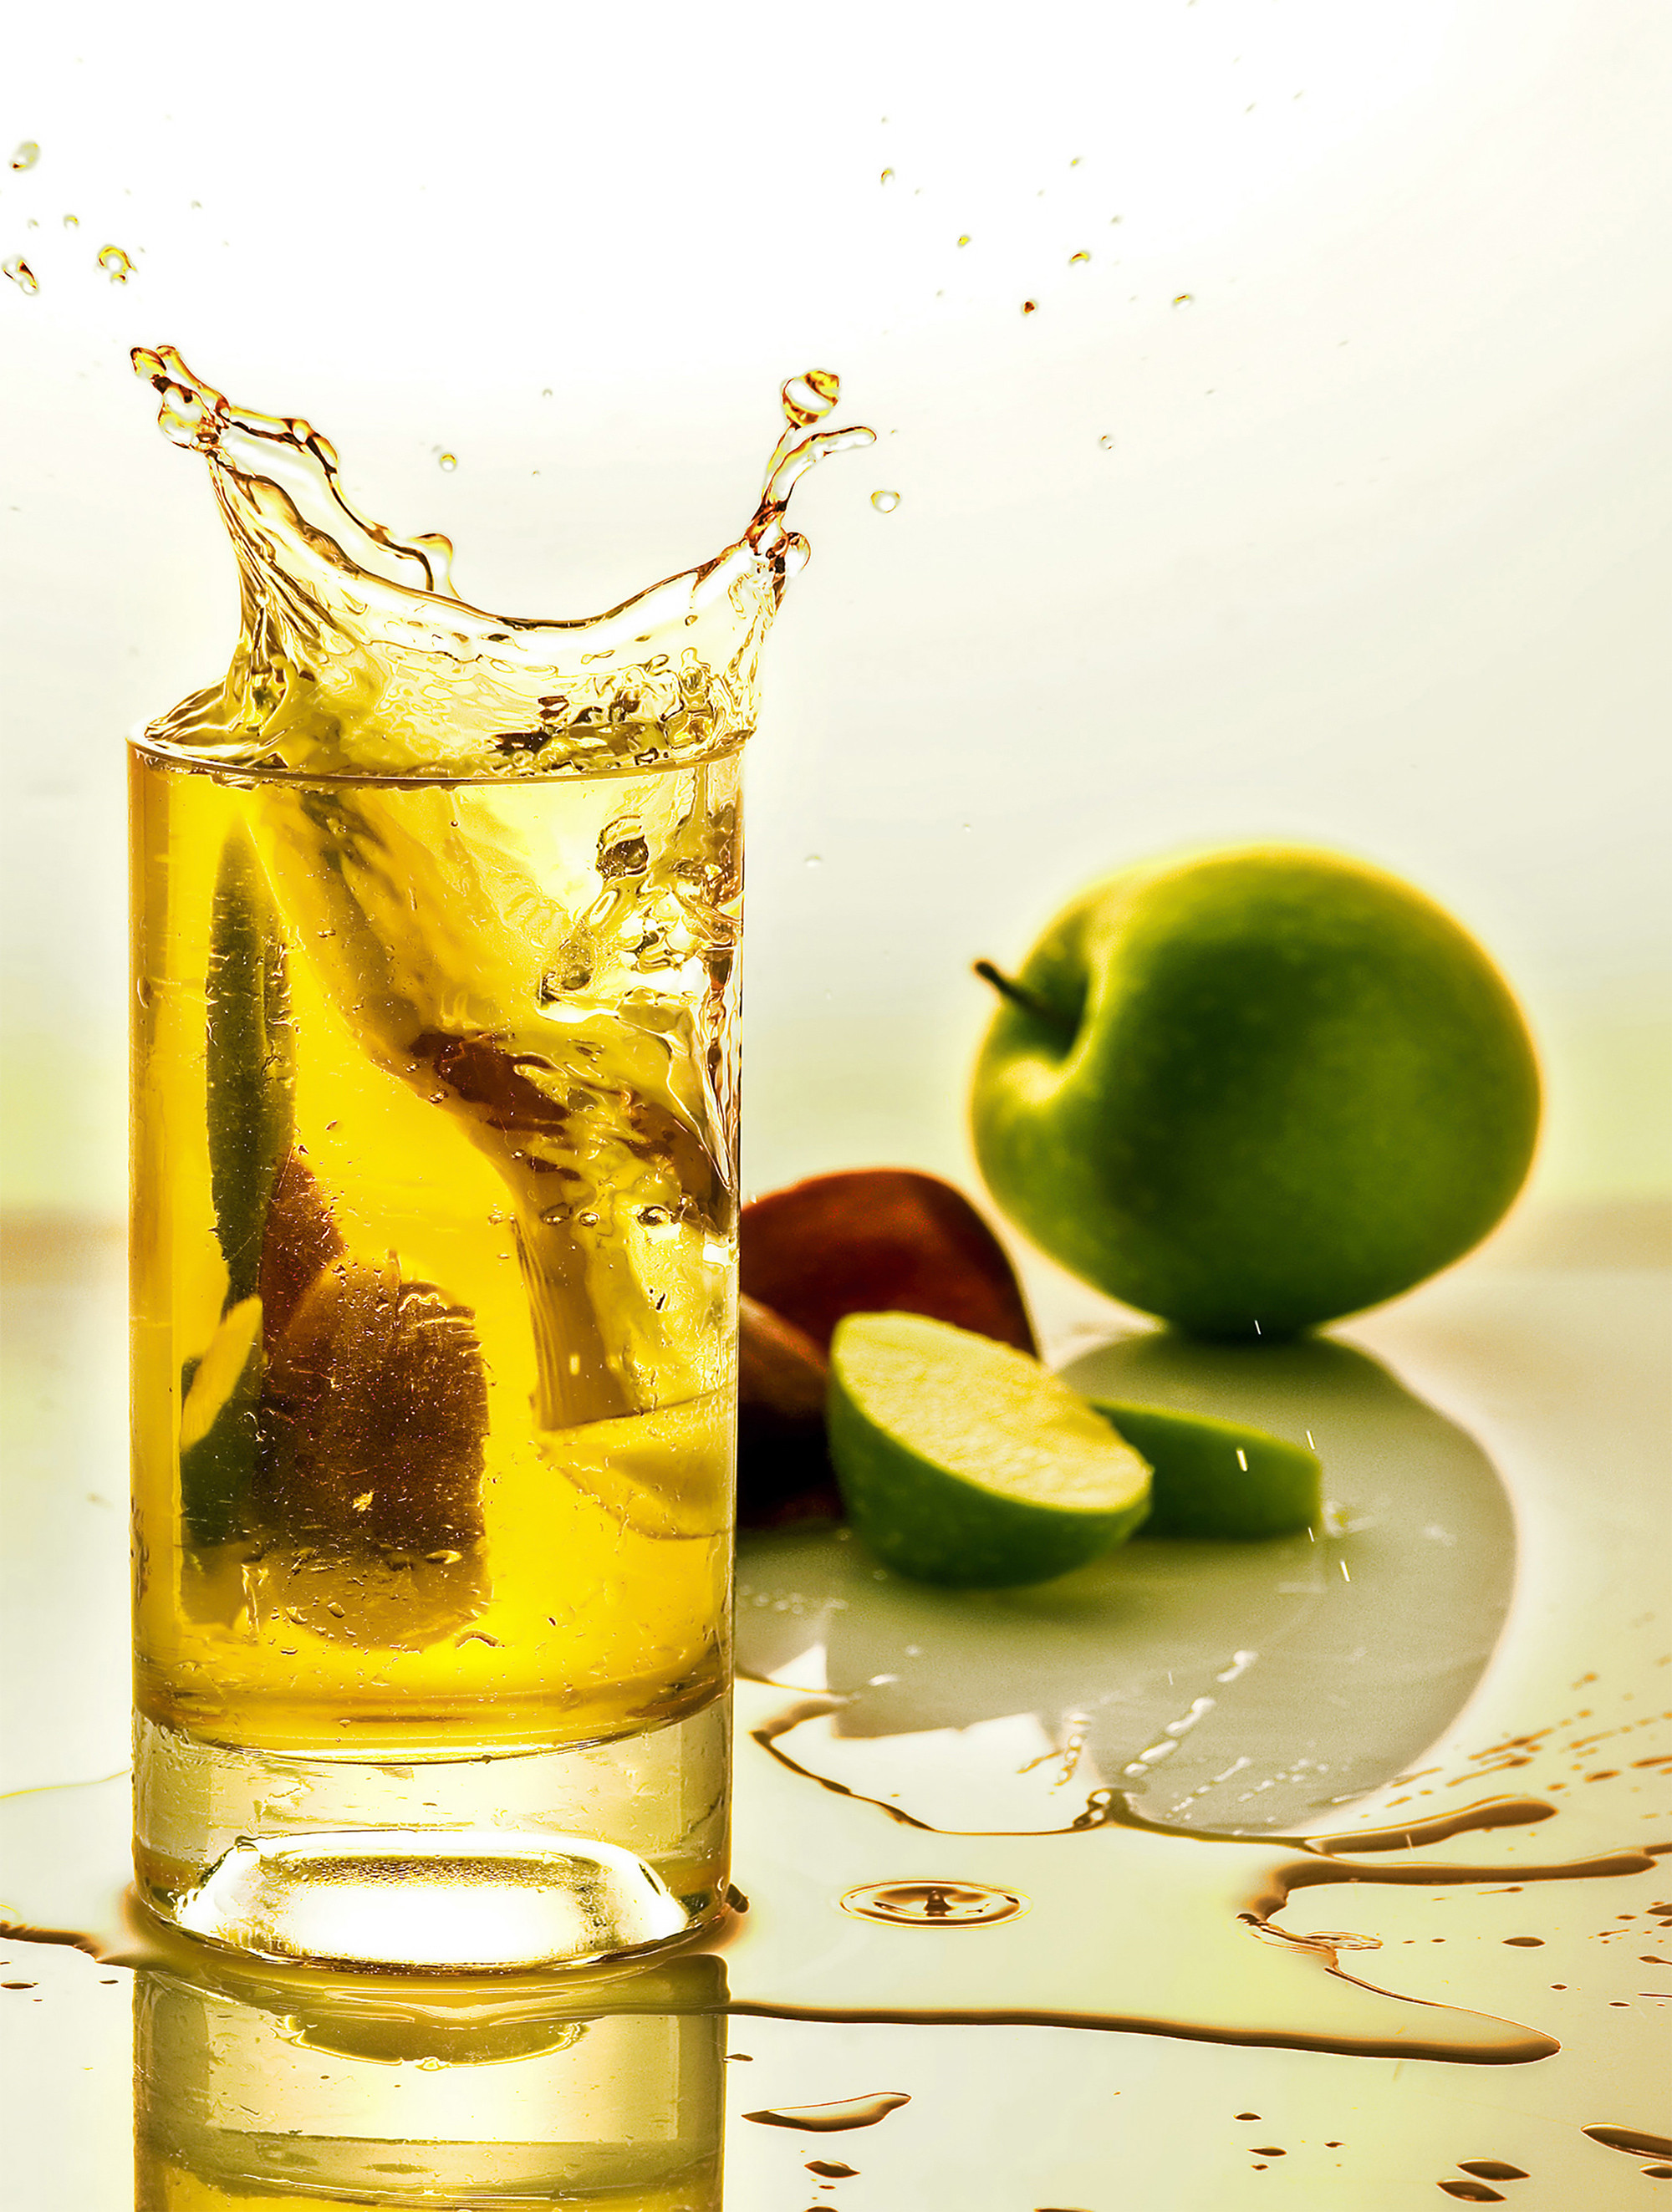
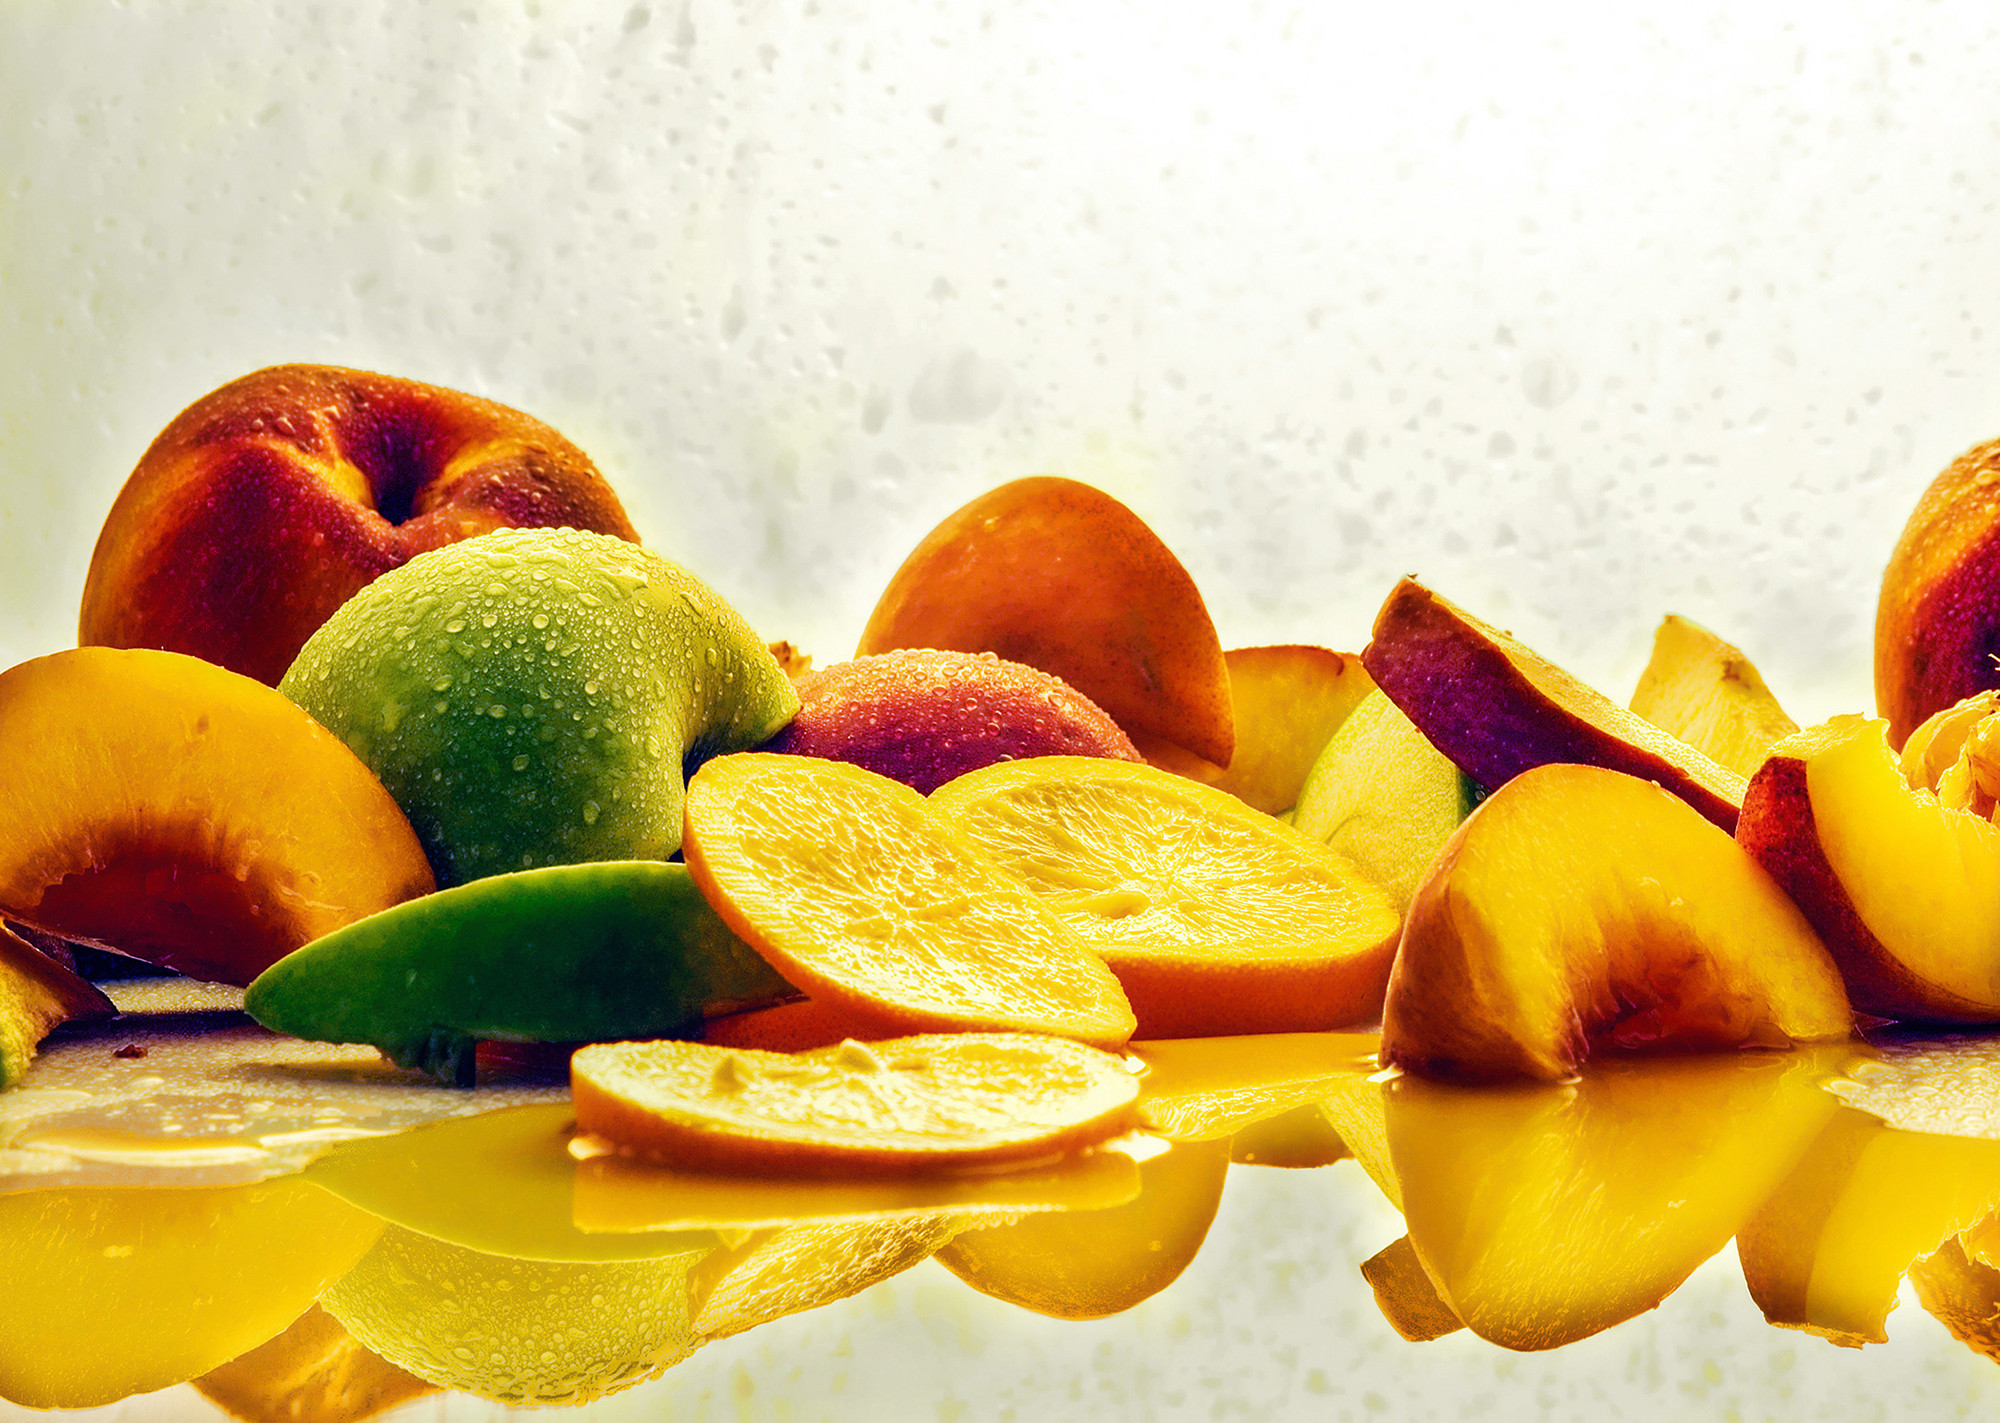
- Light Direction: Backlighting (light coming from behind the food) or sidelight (from the side) helps reveal texture, depth, and shine—making the food look much more appetizing.
- Diffusion and Reflection: Use a sheer curtain or diffuser to soften harsh shadows. Place a white foam board or reflector opposite the light source to bounce light back onto the food and soften the shadows.
2. Composition and Angles
Find the best angle and arrangement to tell your food’s story.
Angle Variety: Every dish has an angle that shows it best:
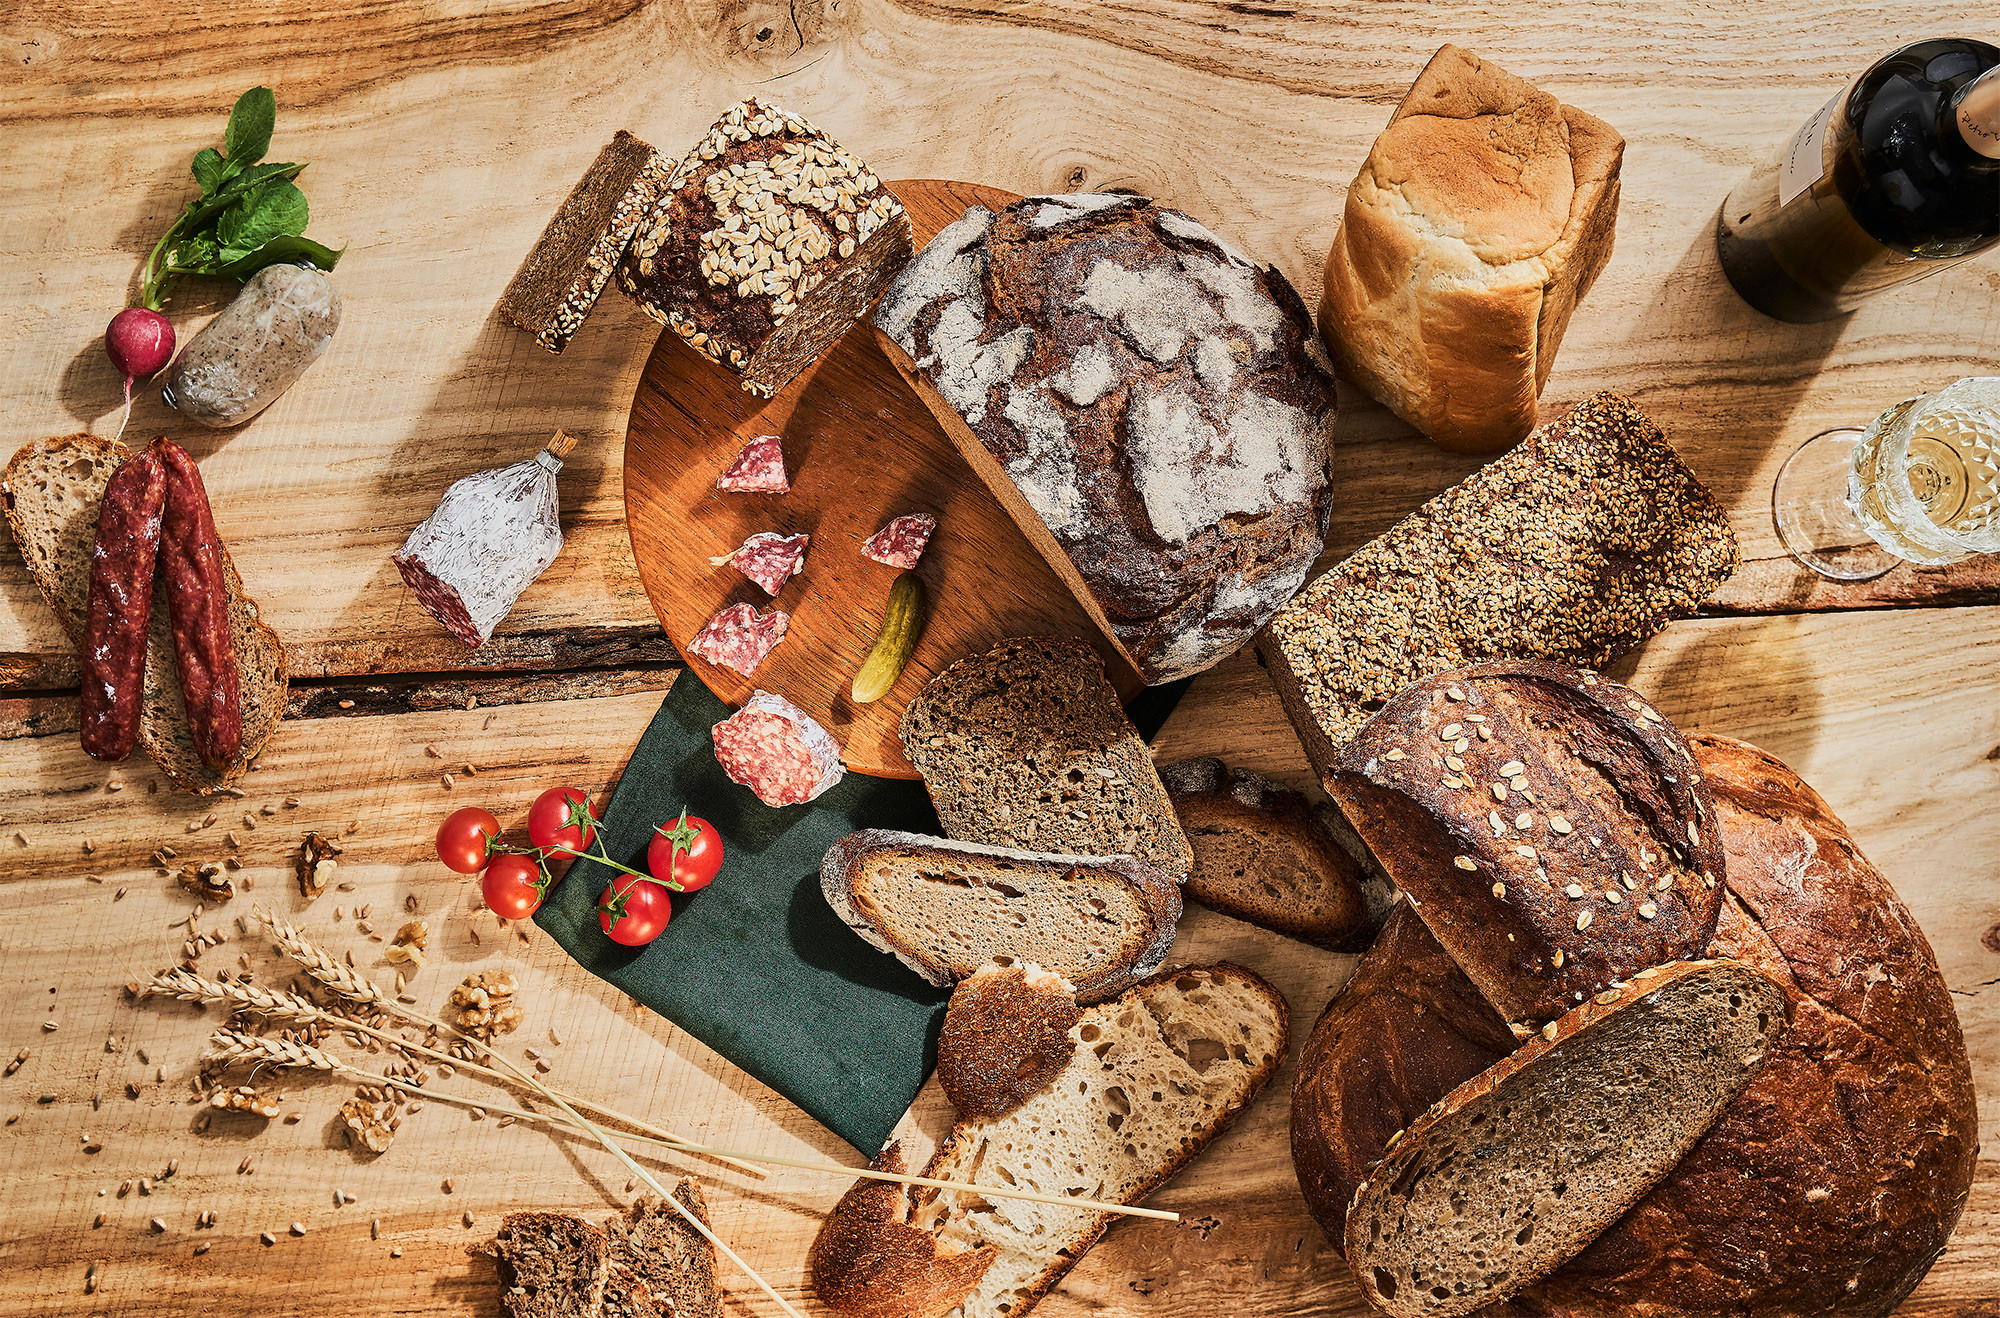
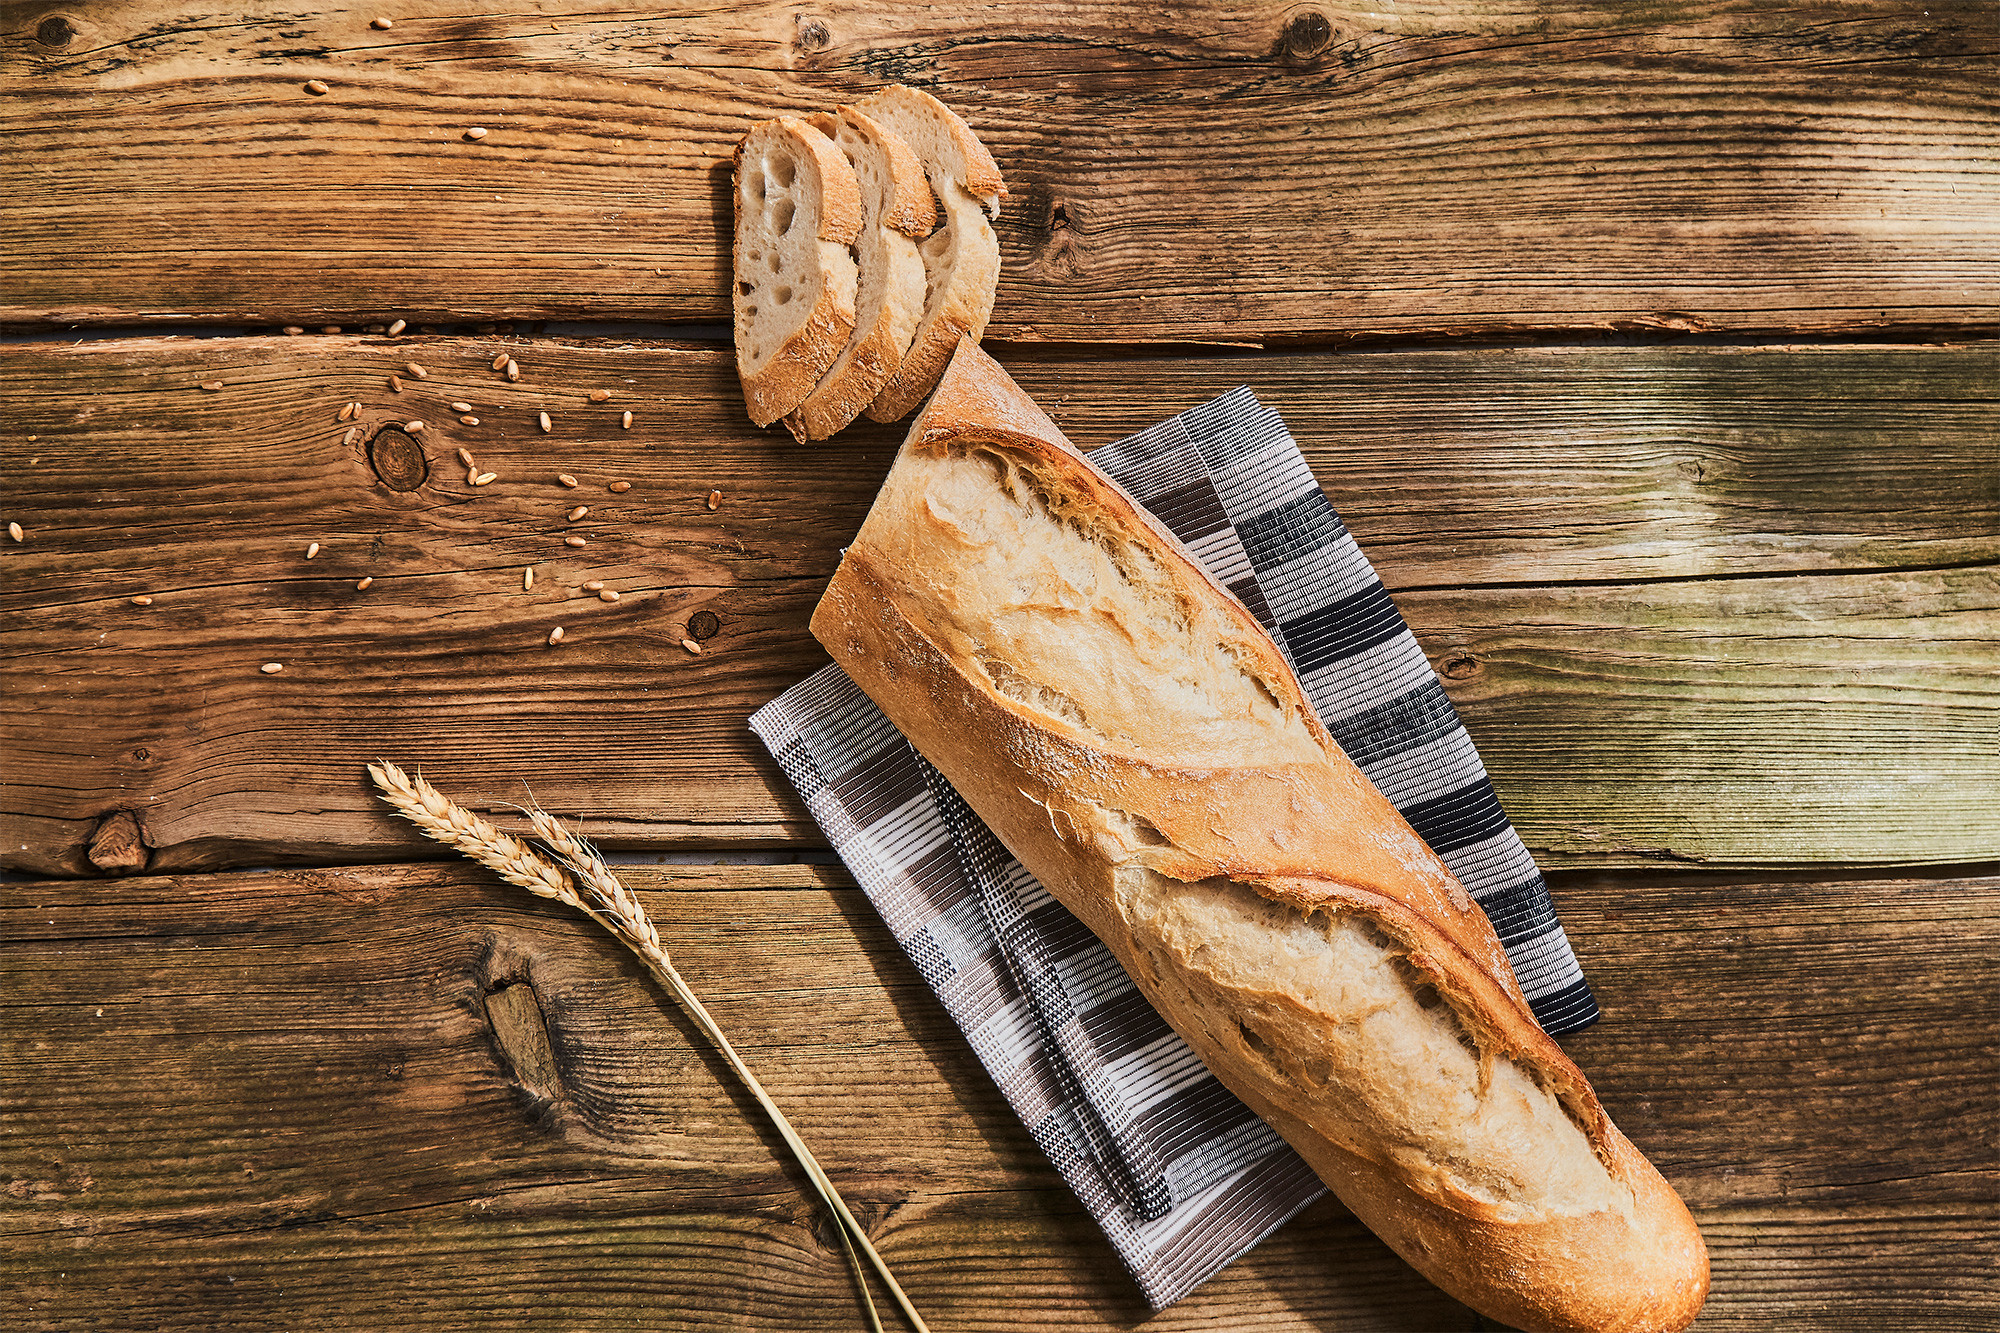
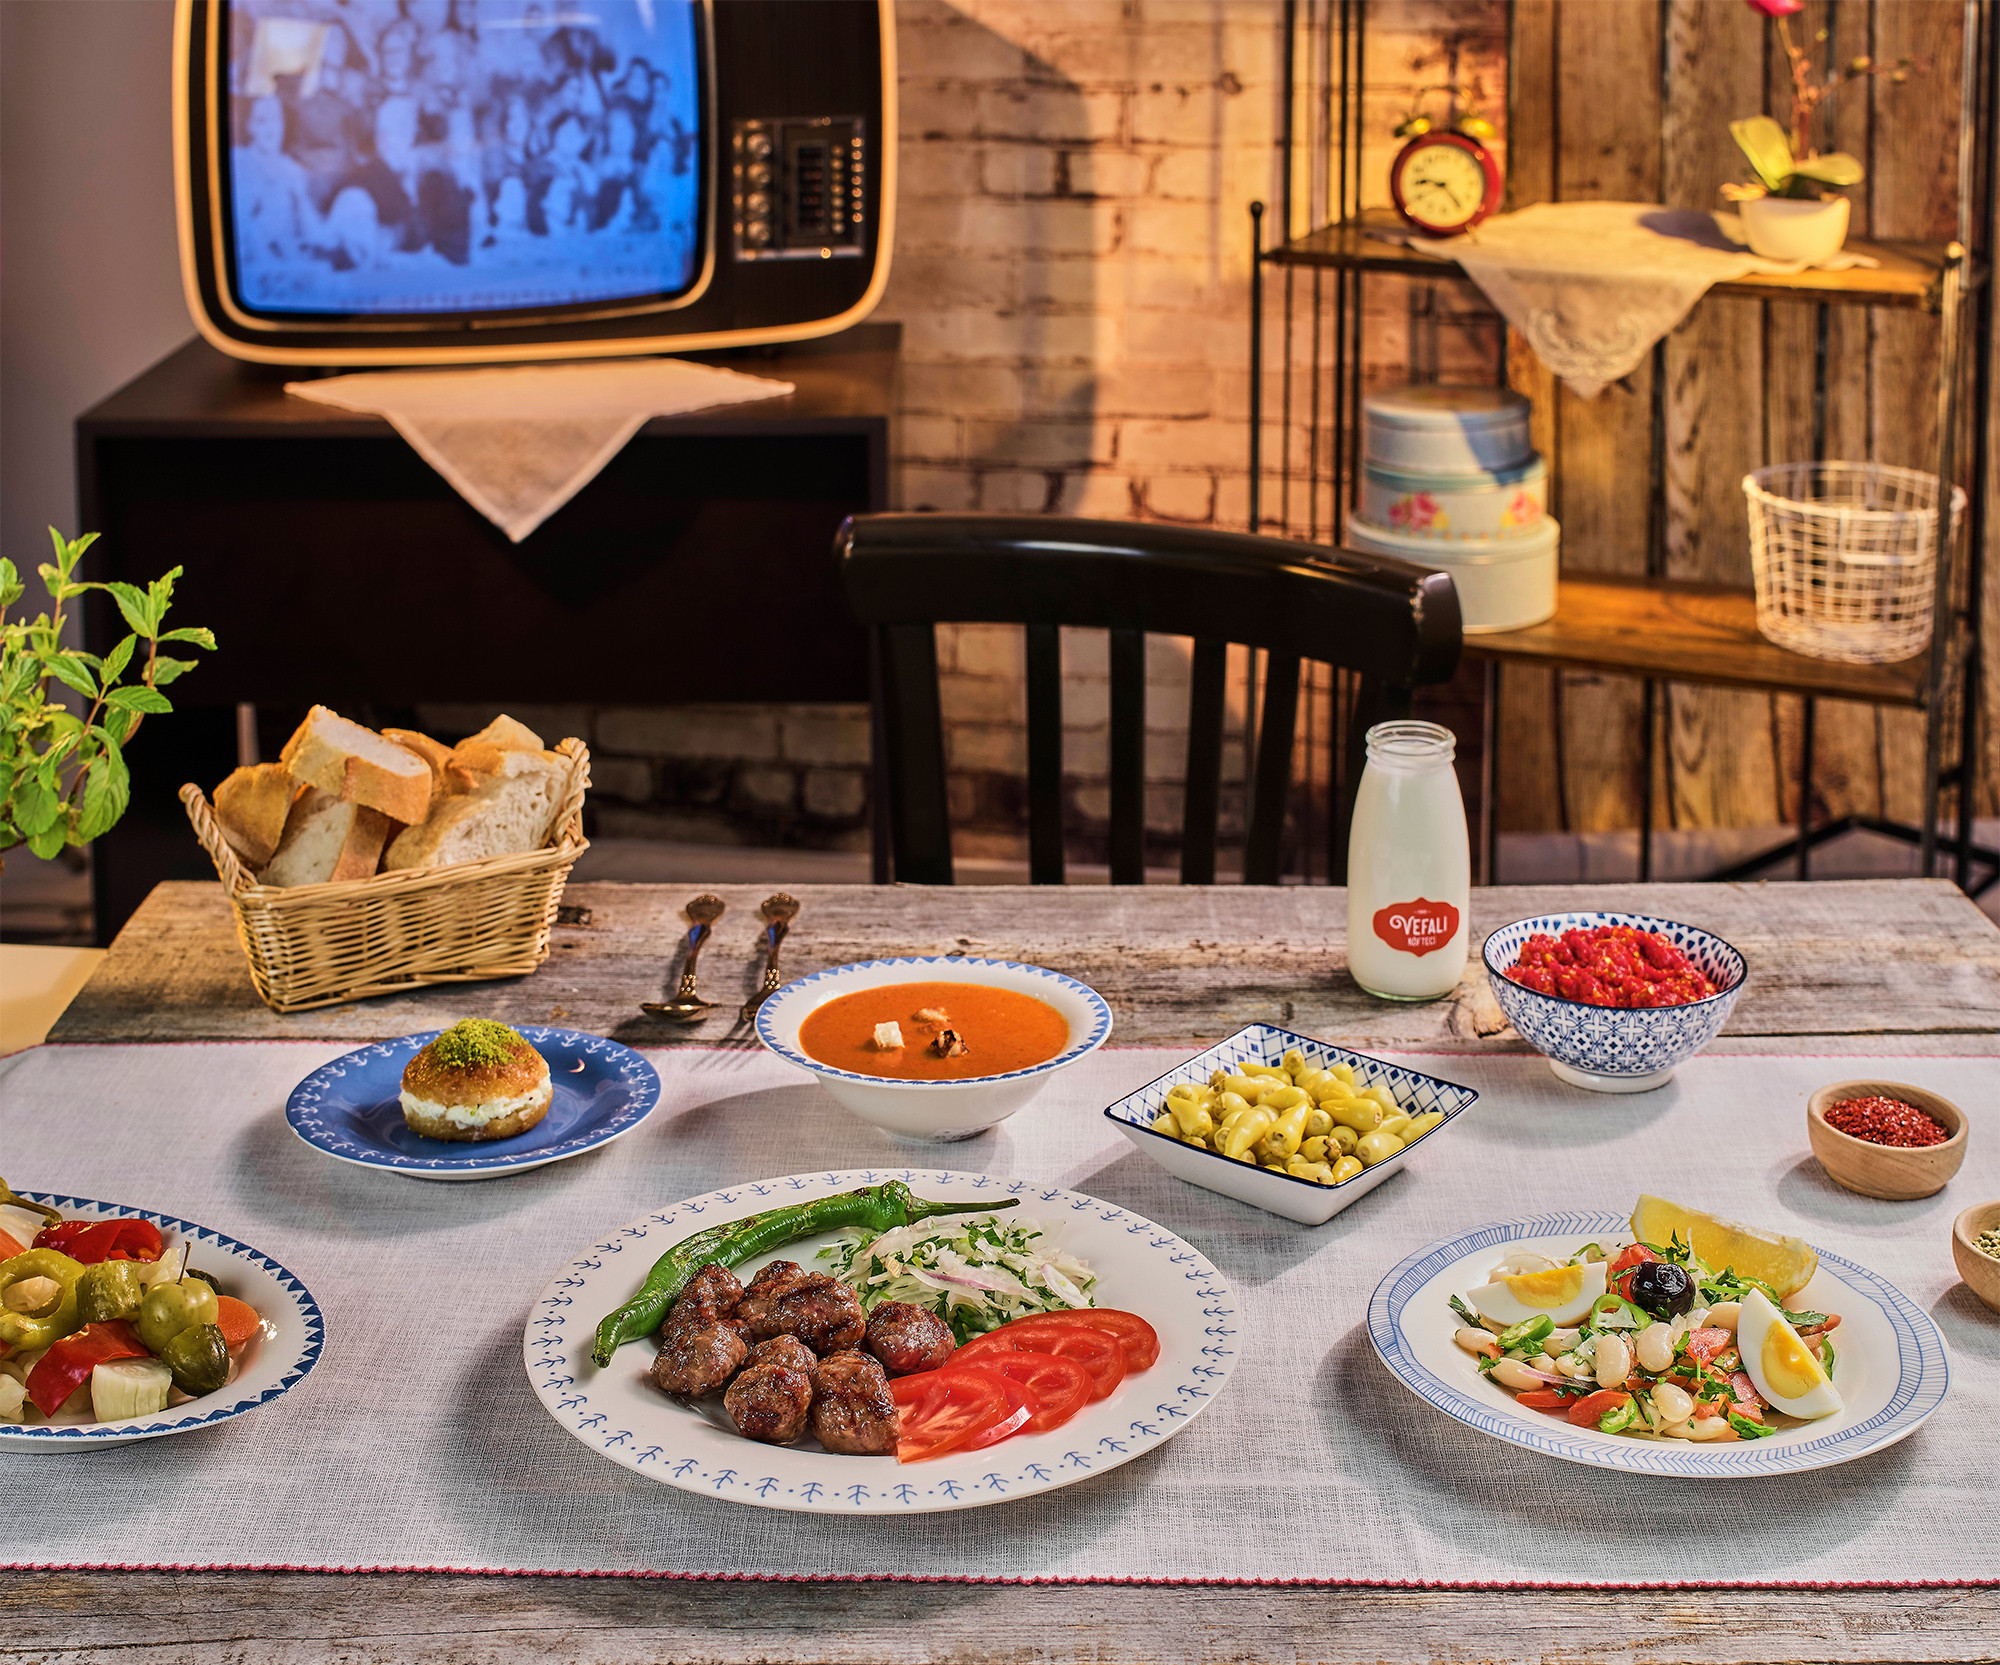
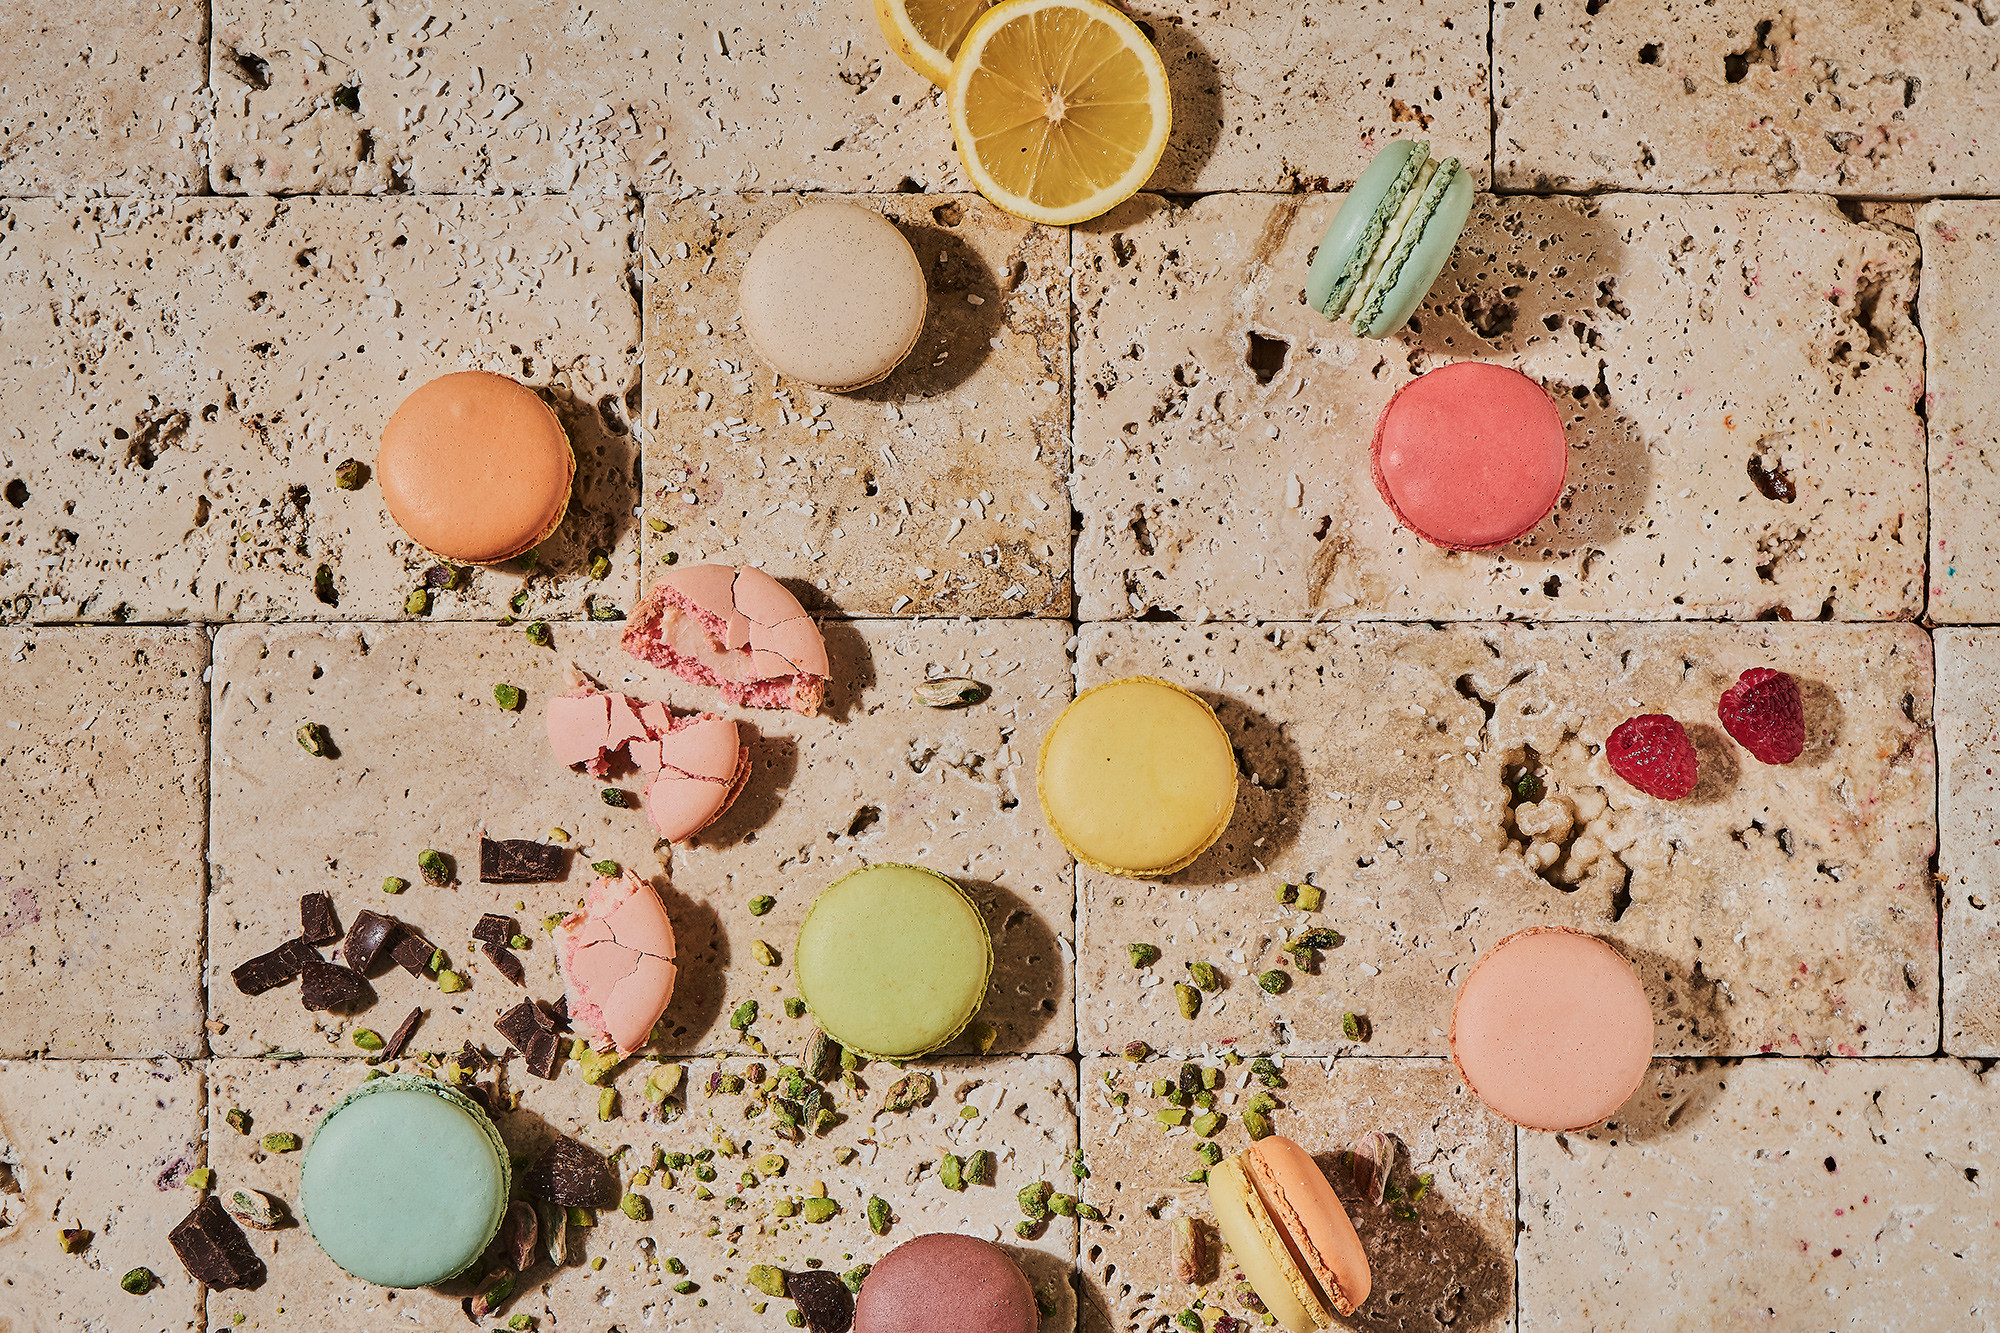
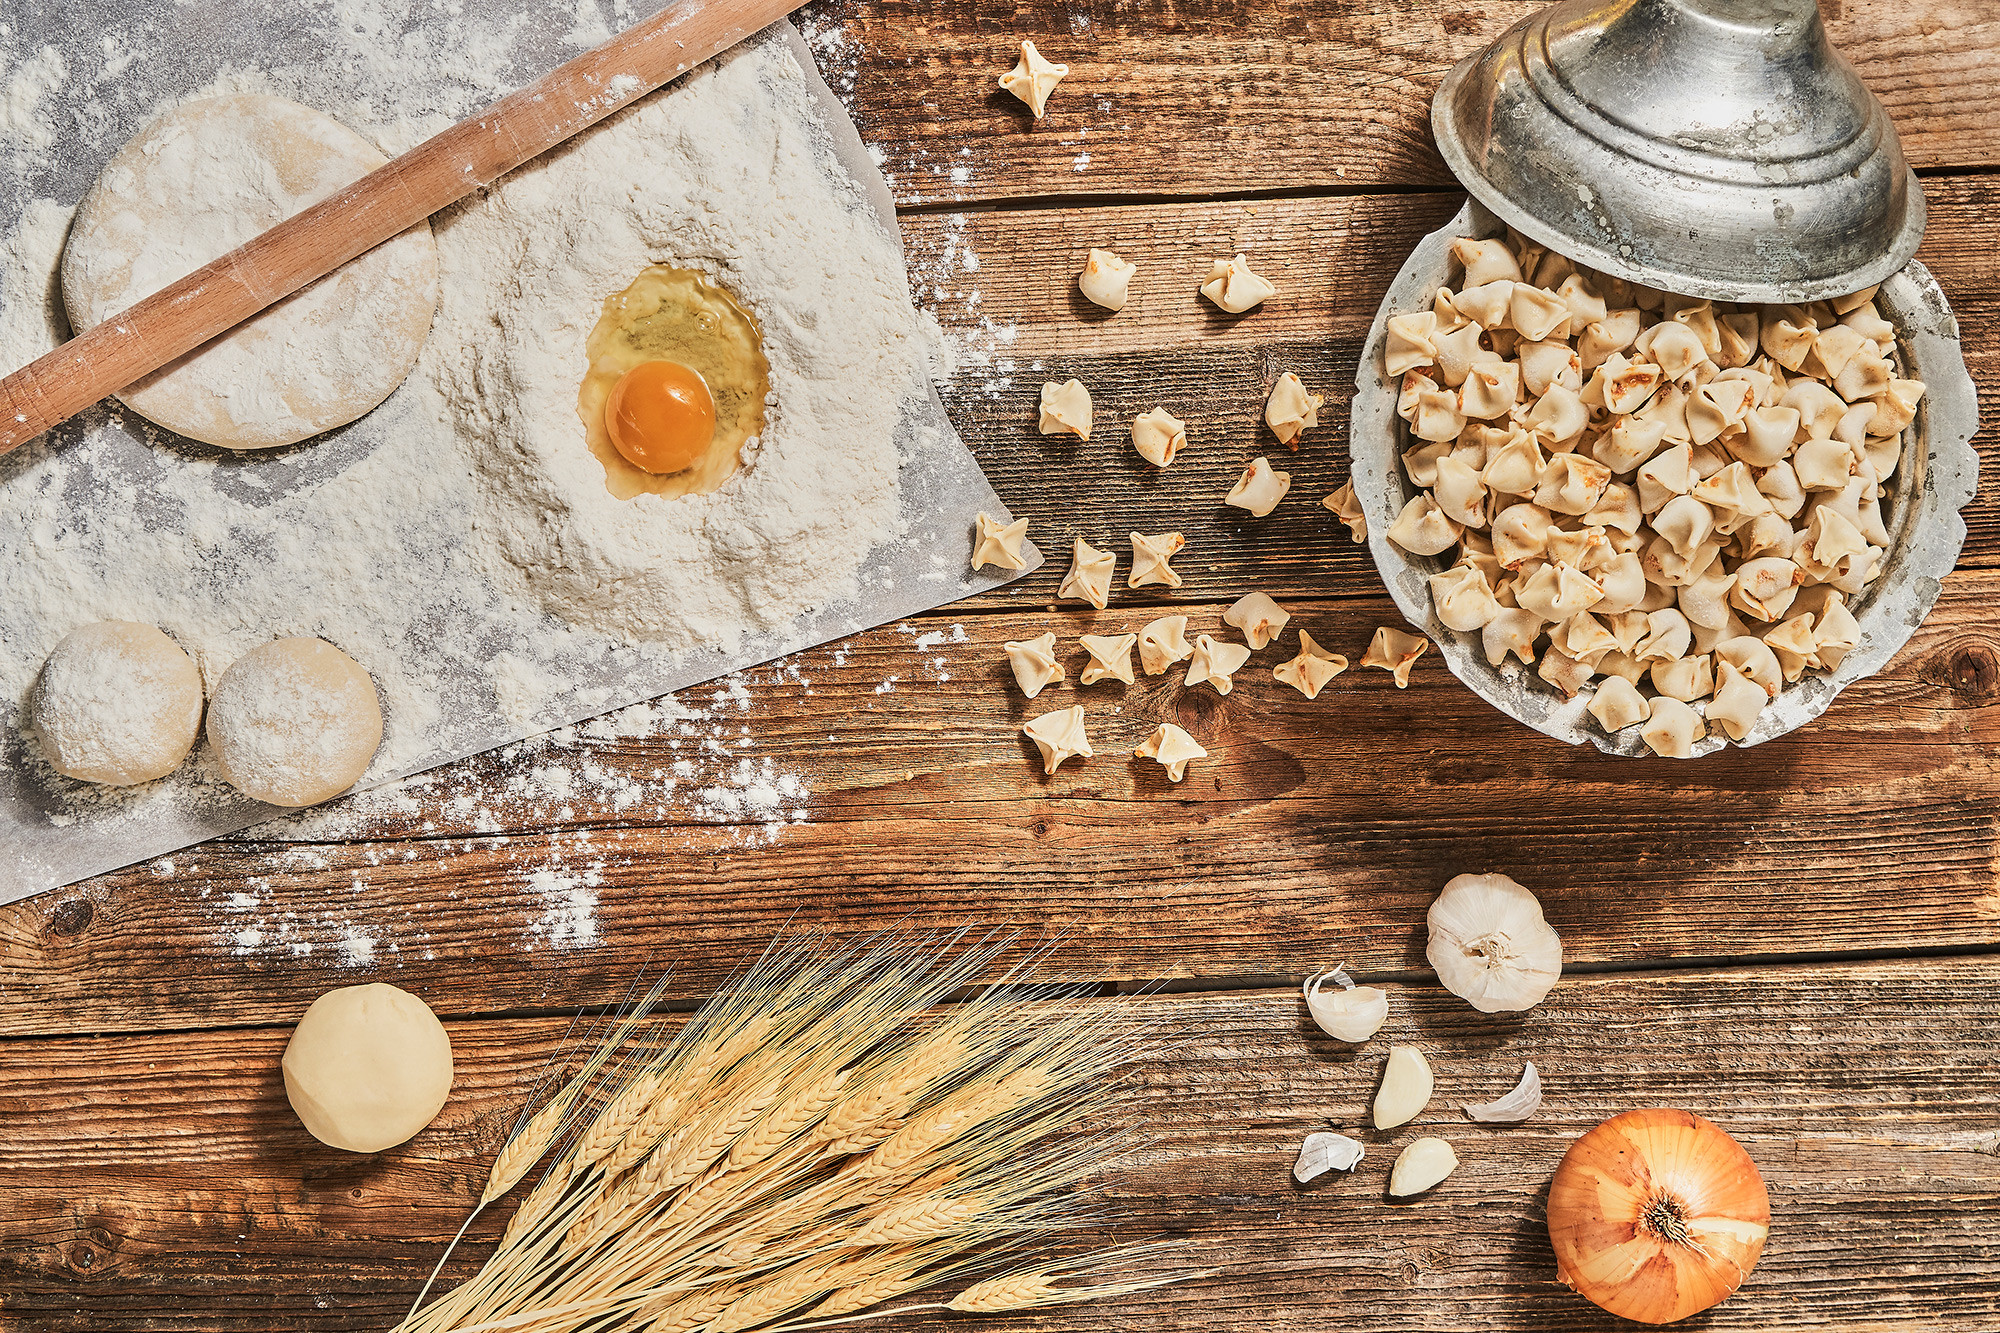
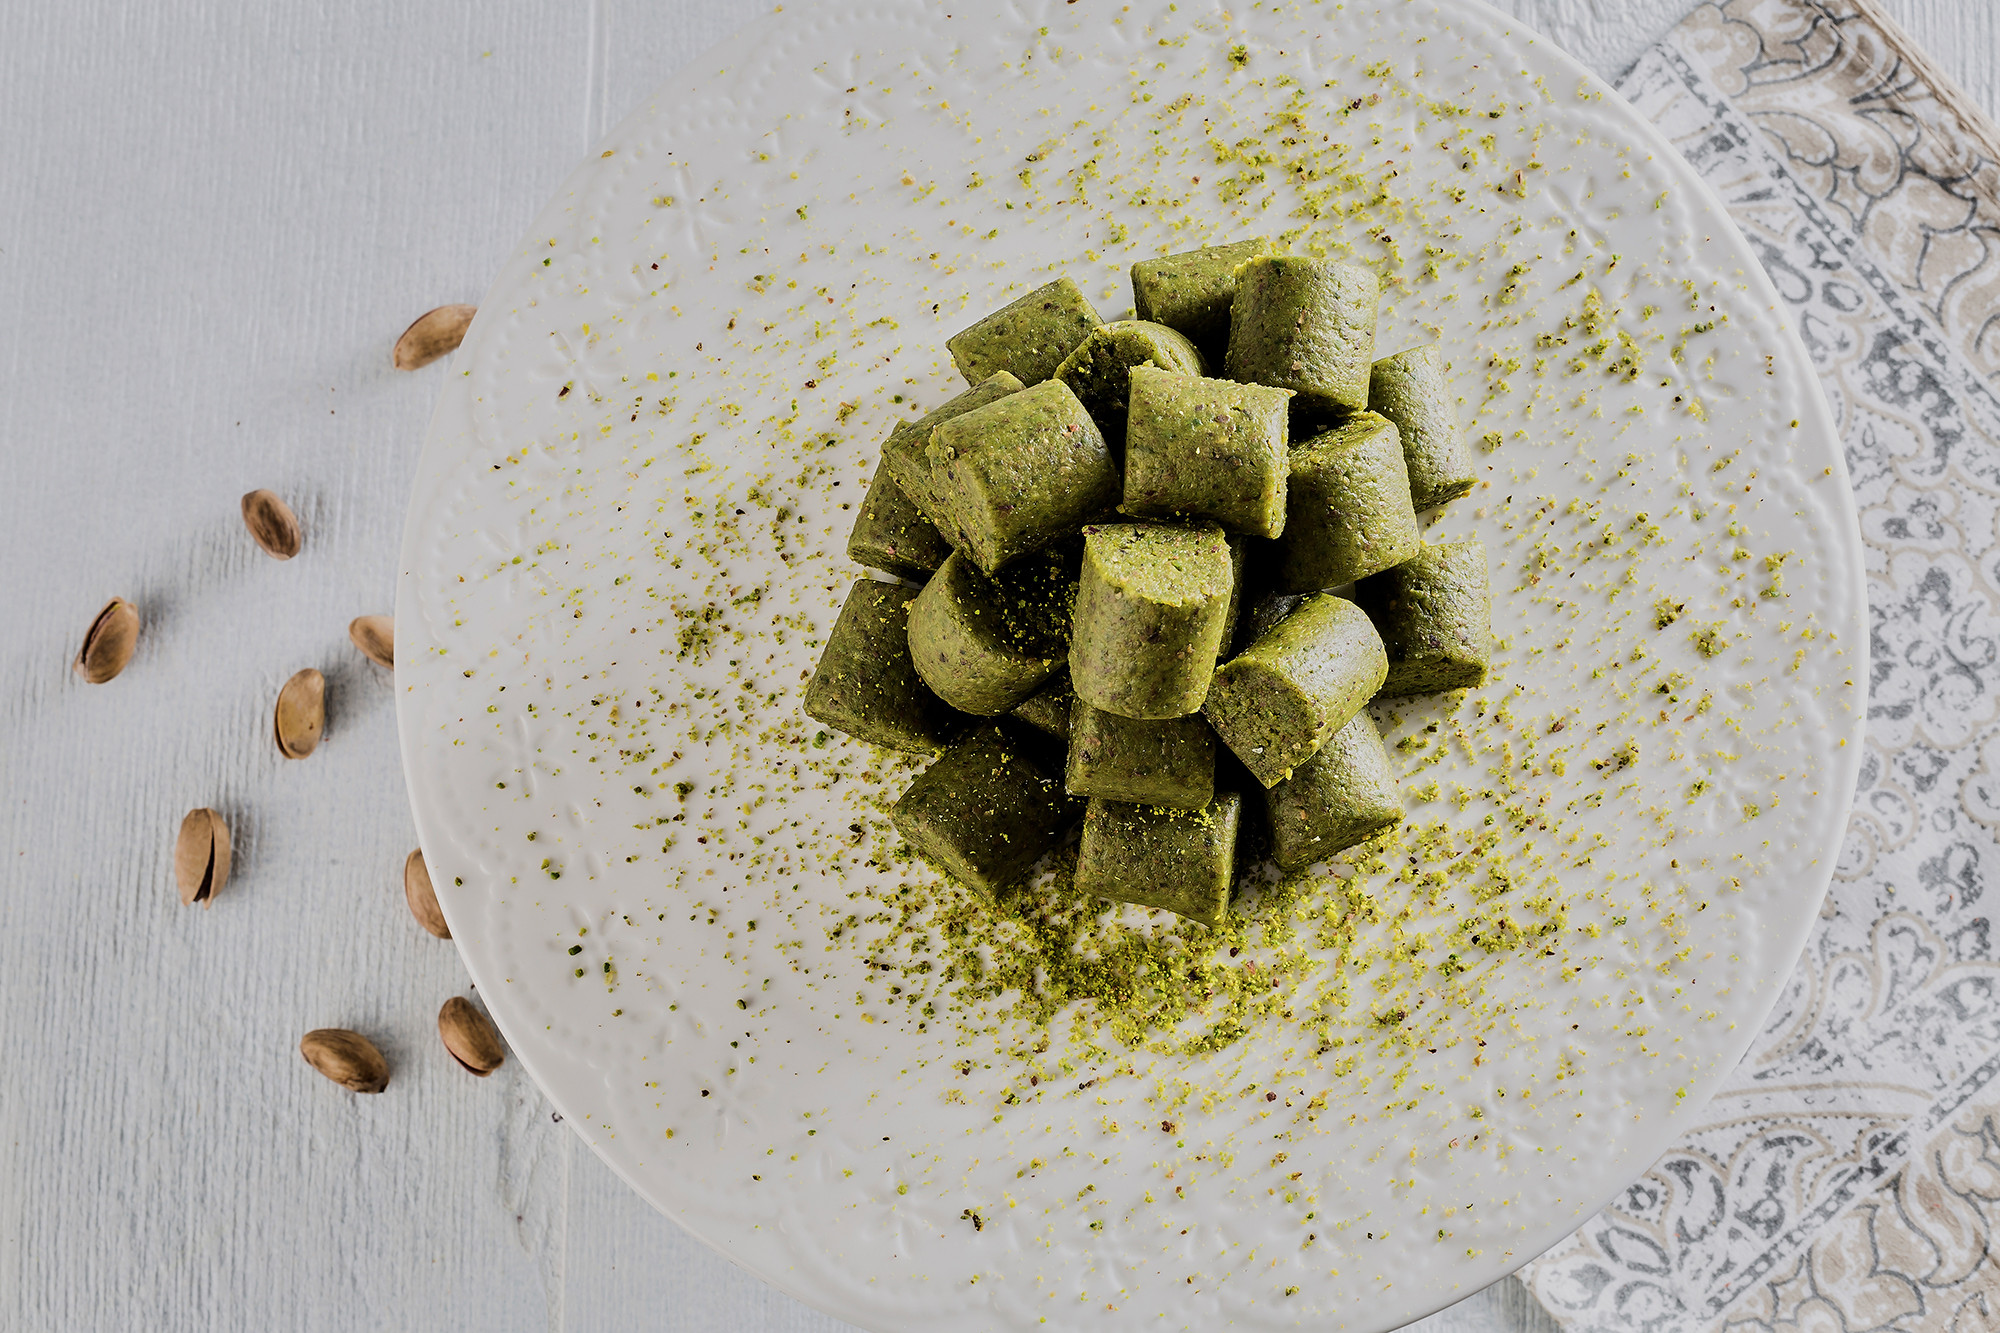
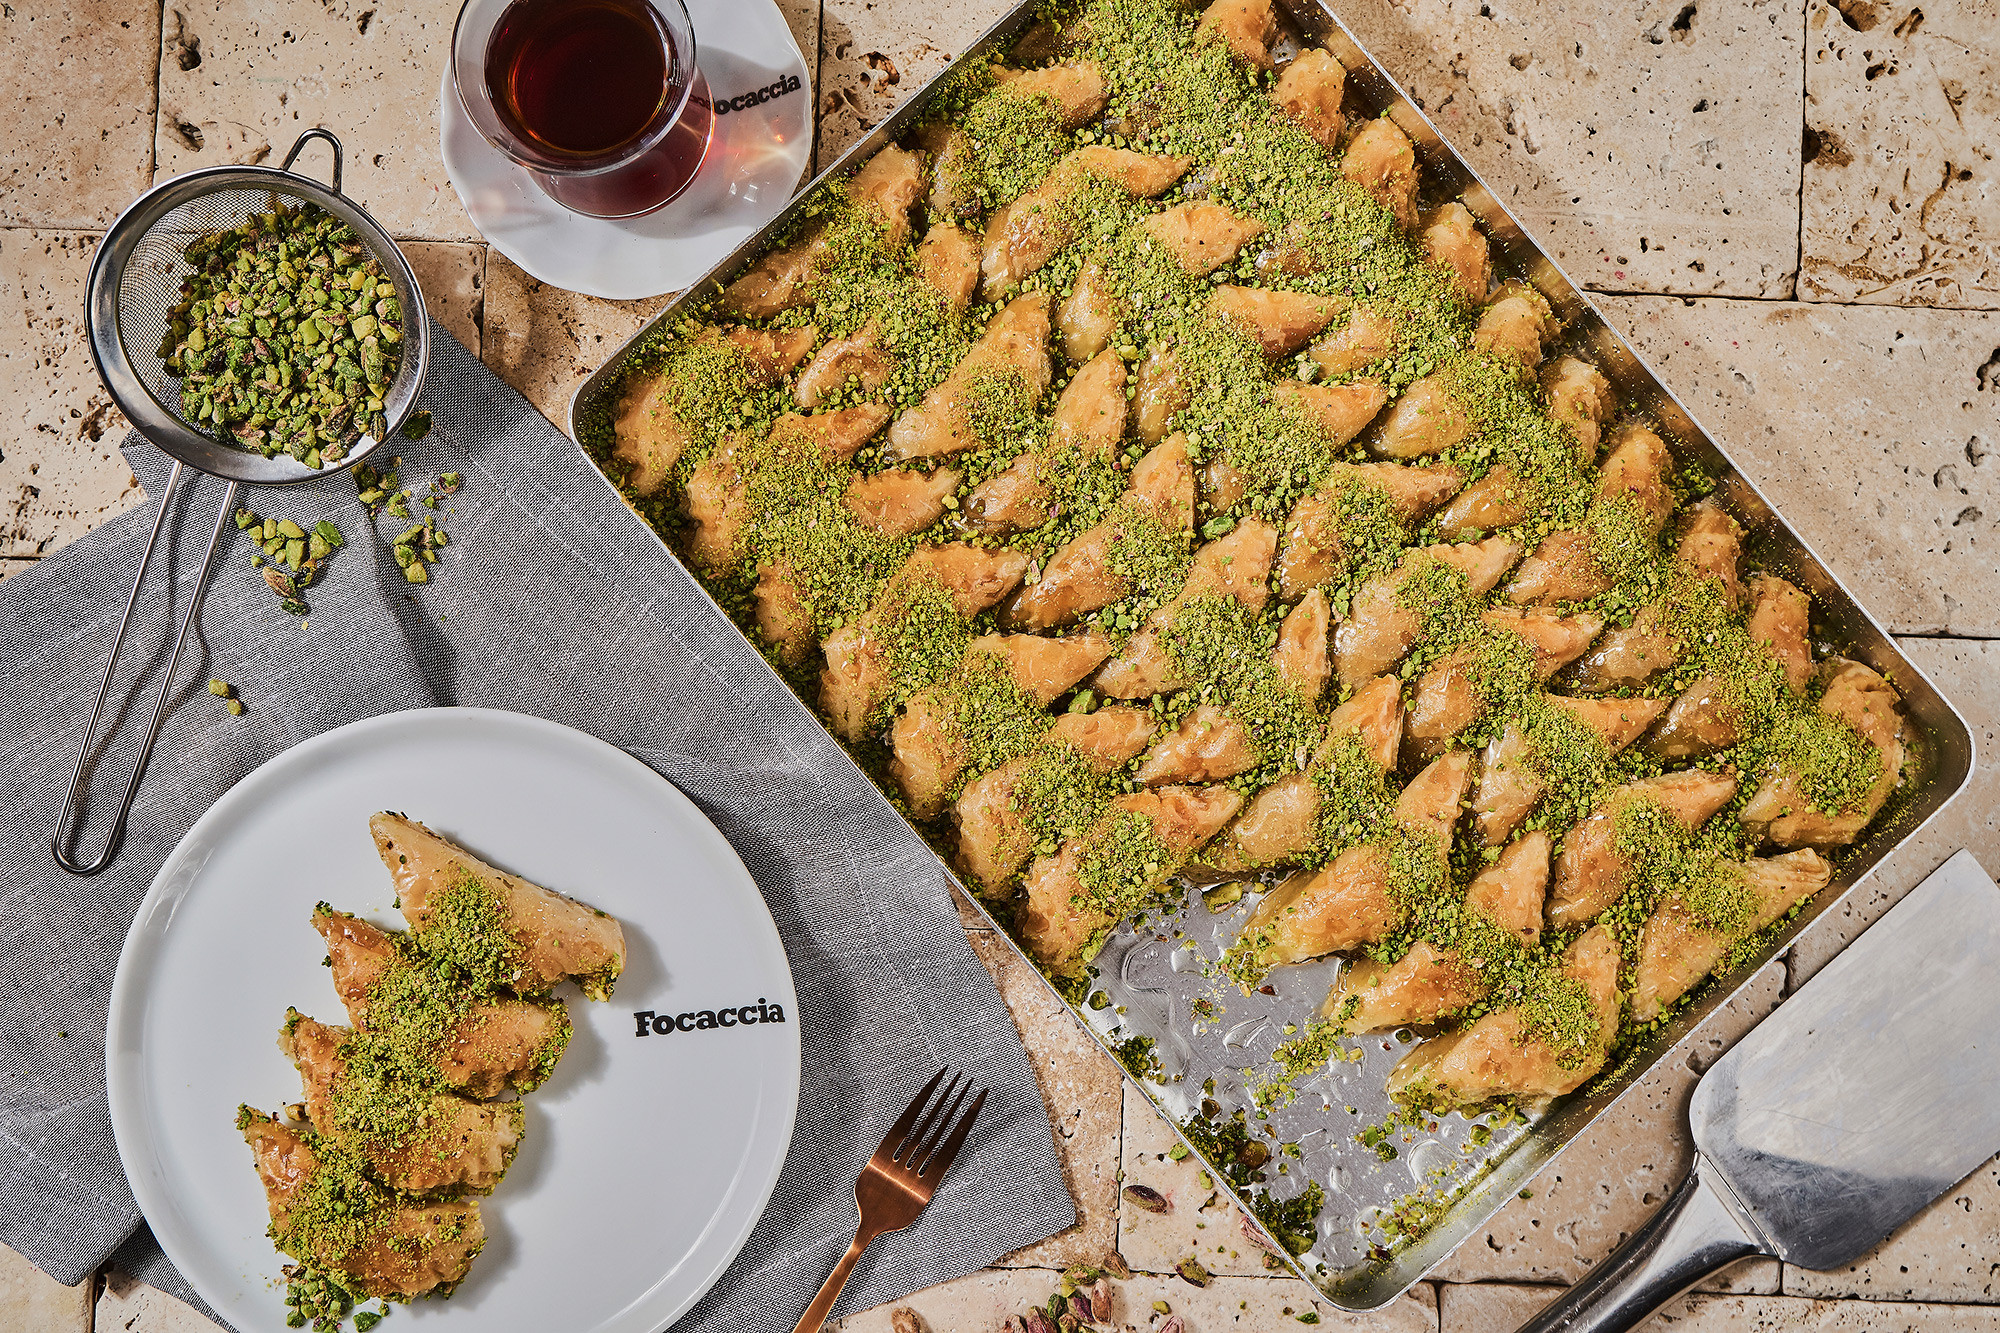
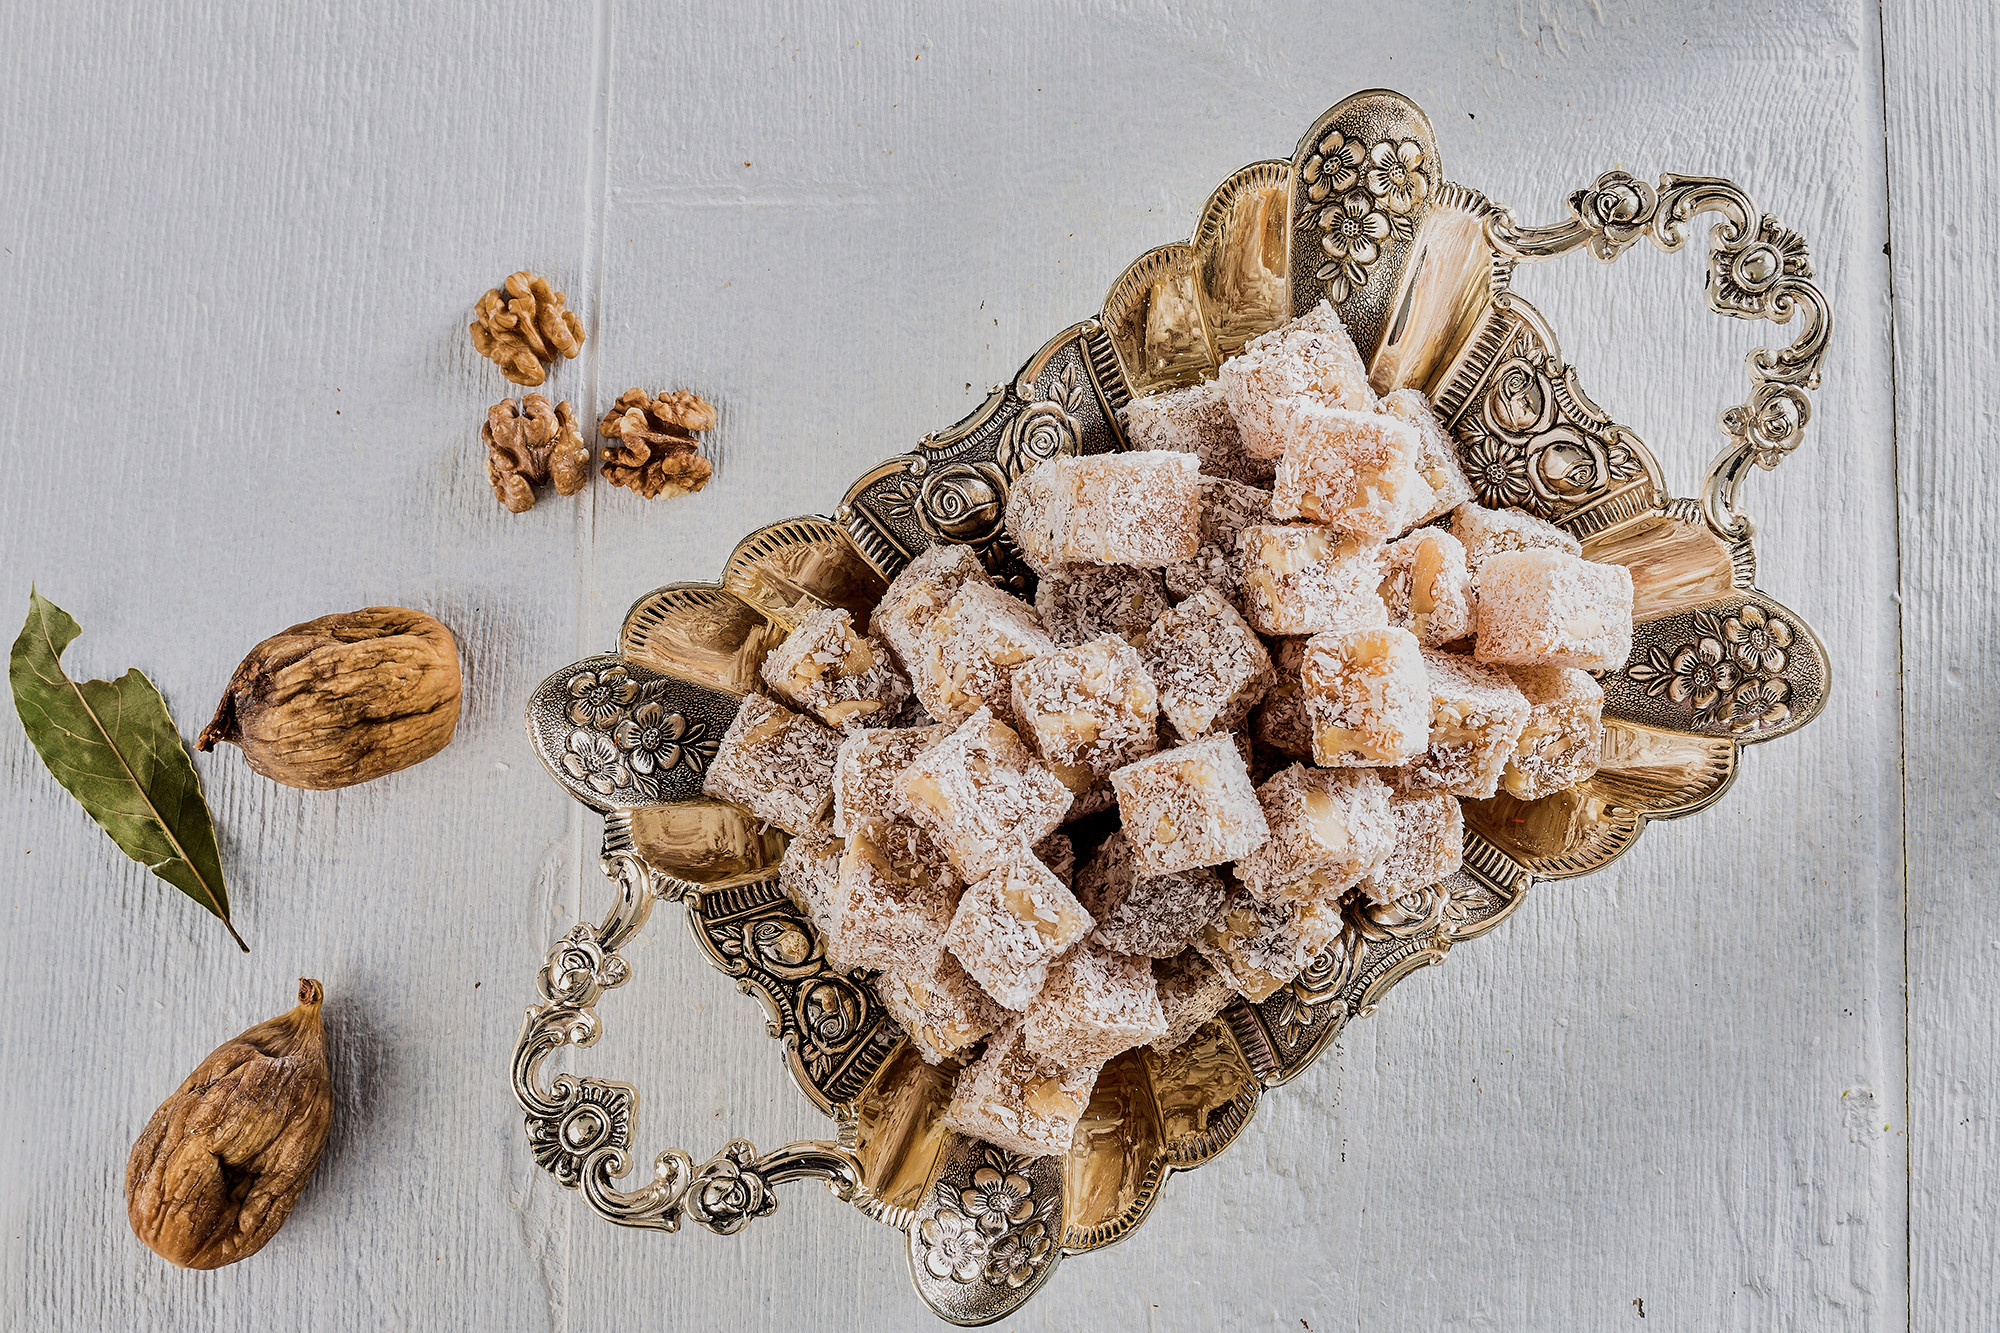
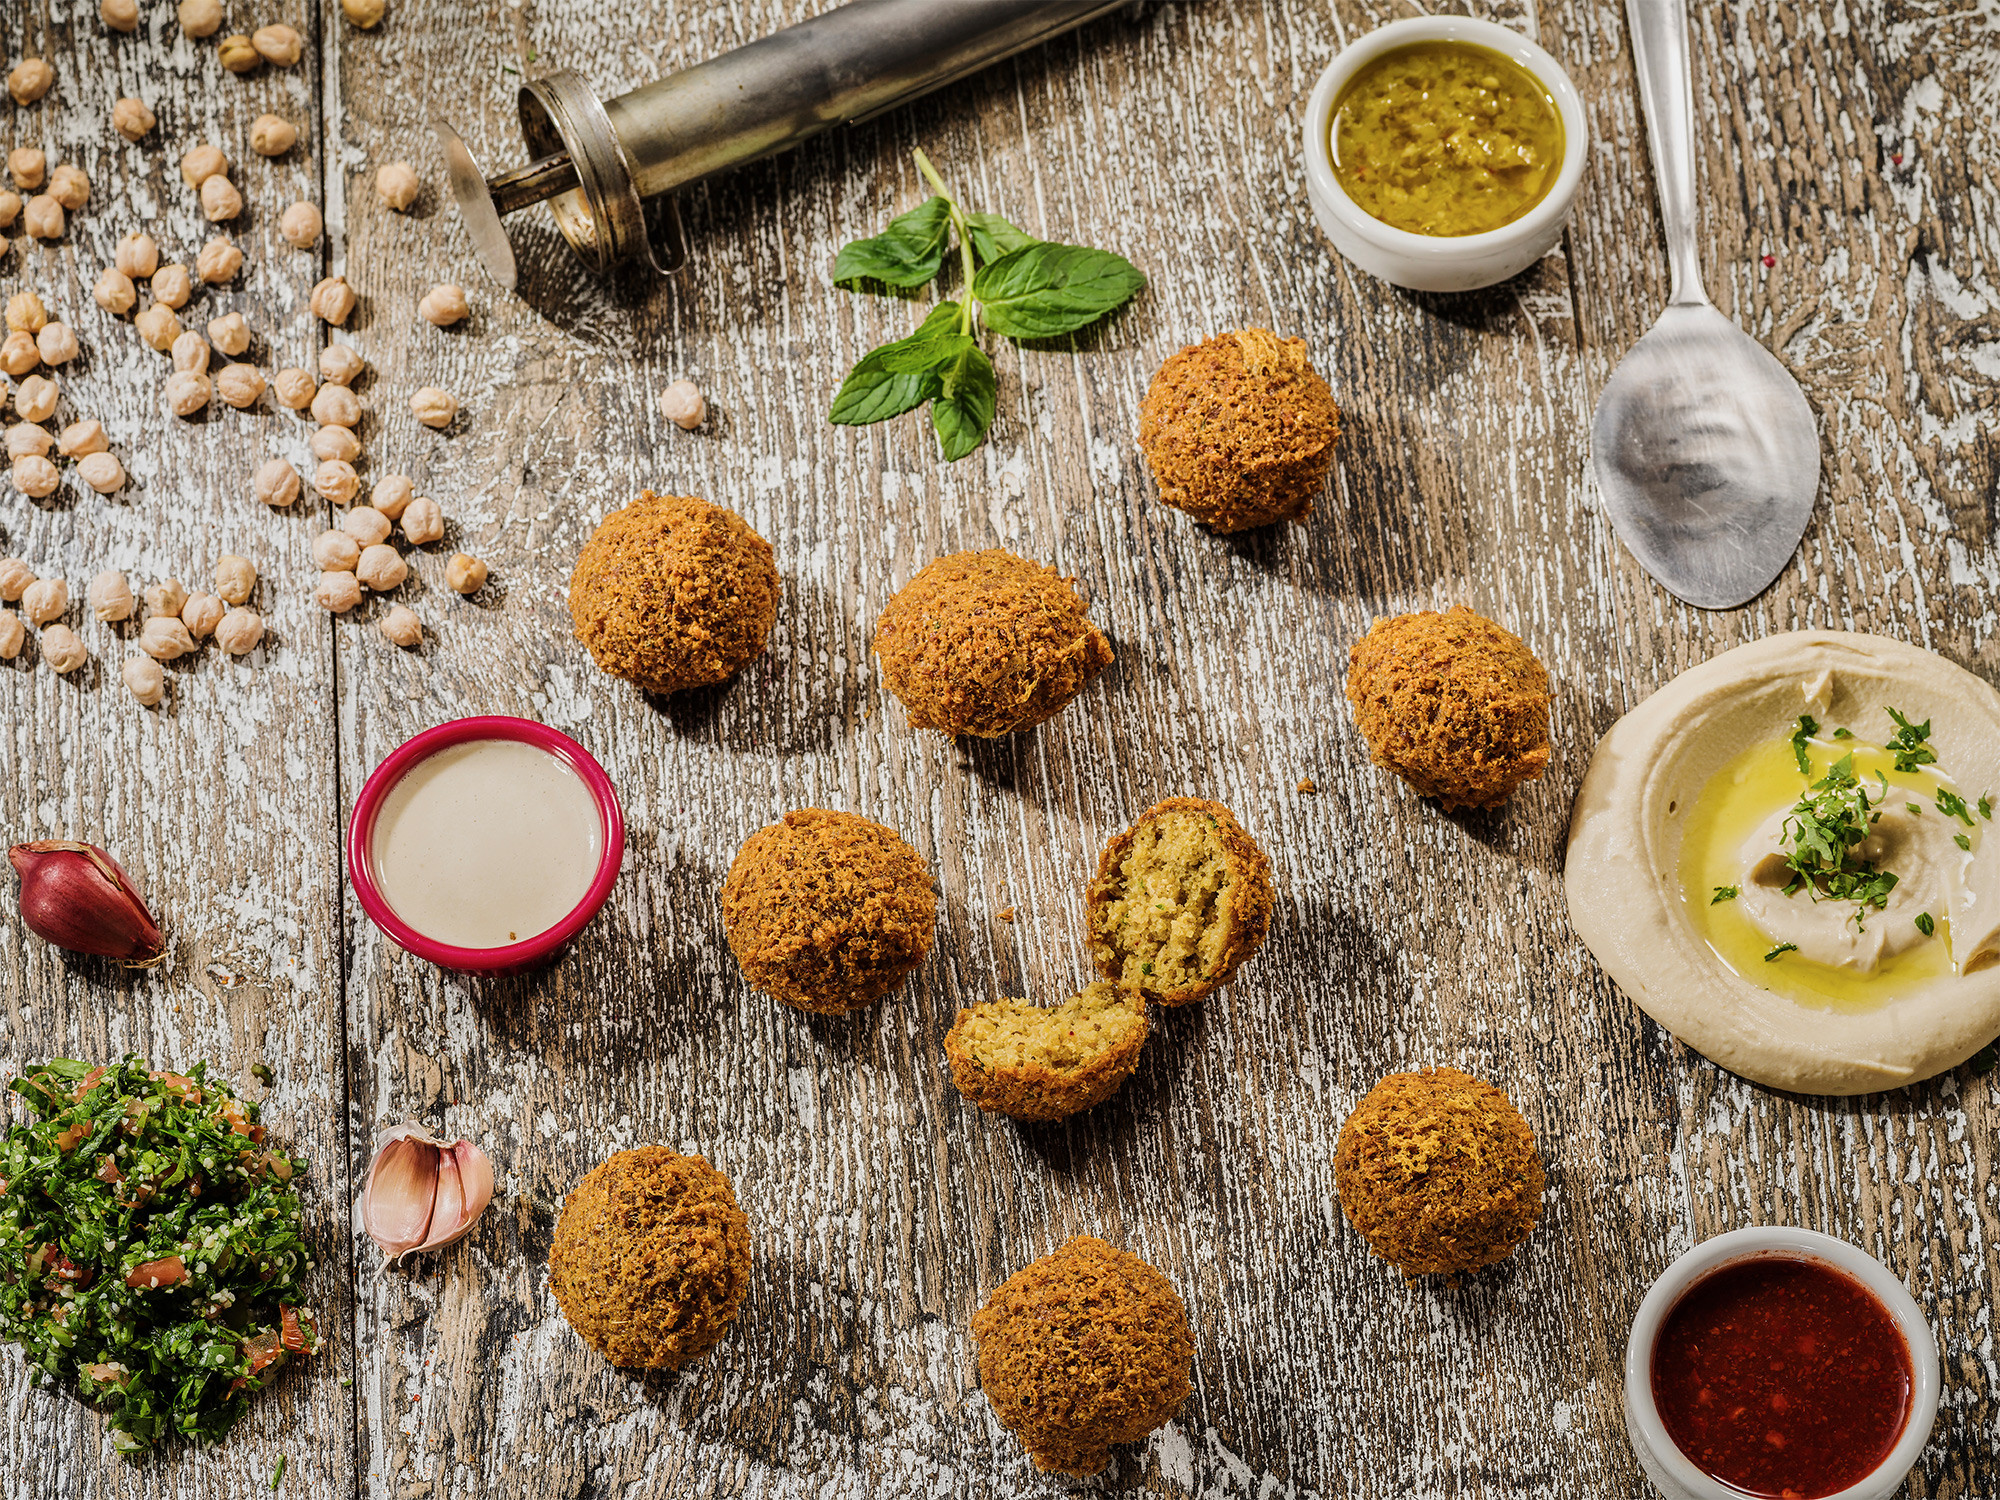
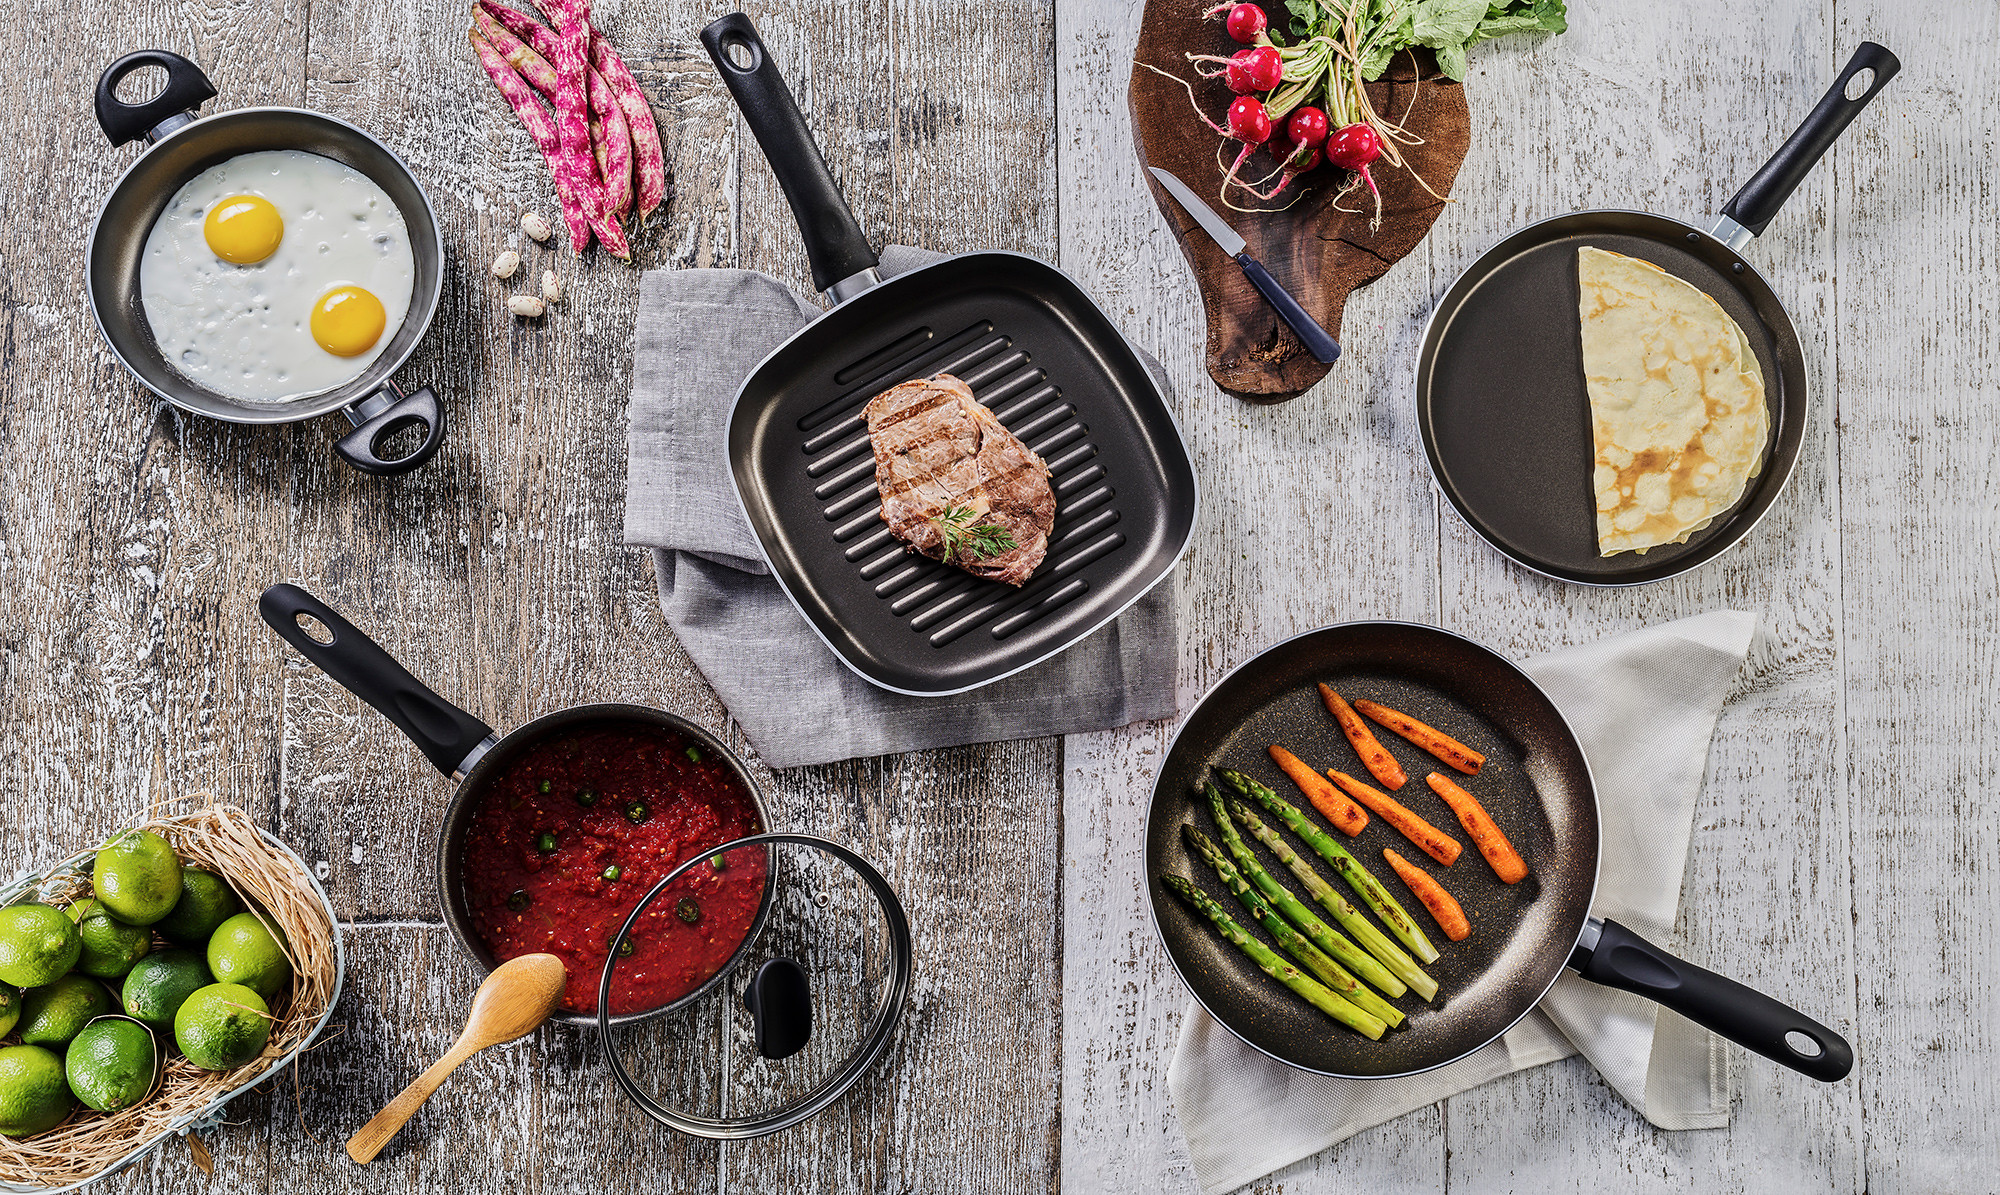
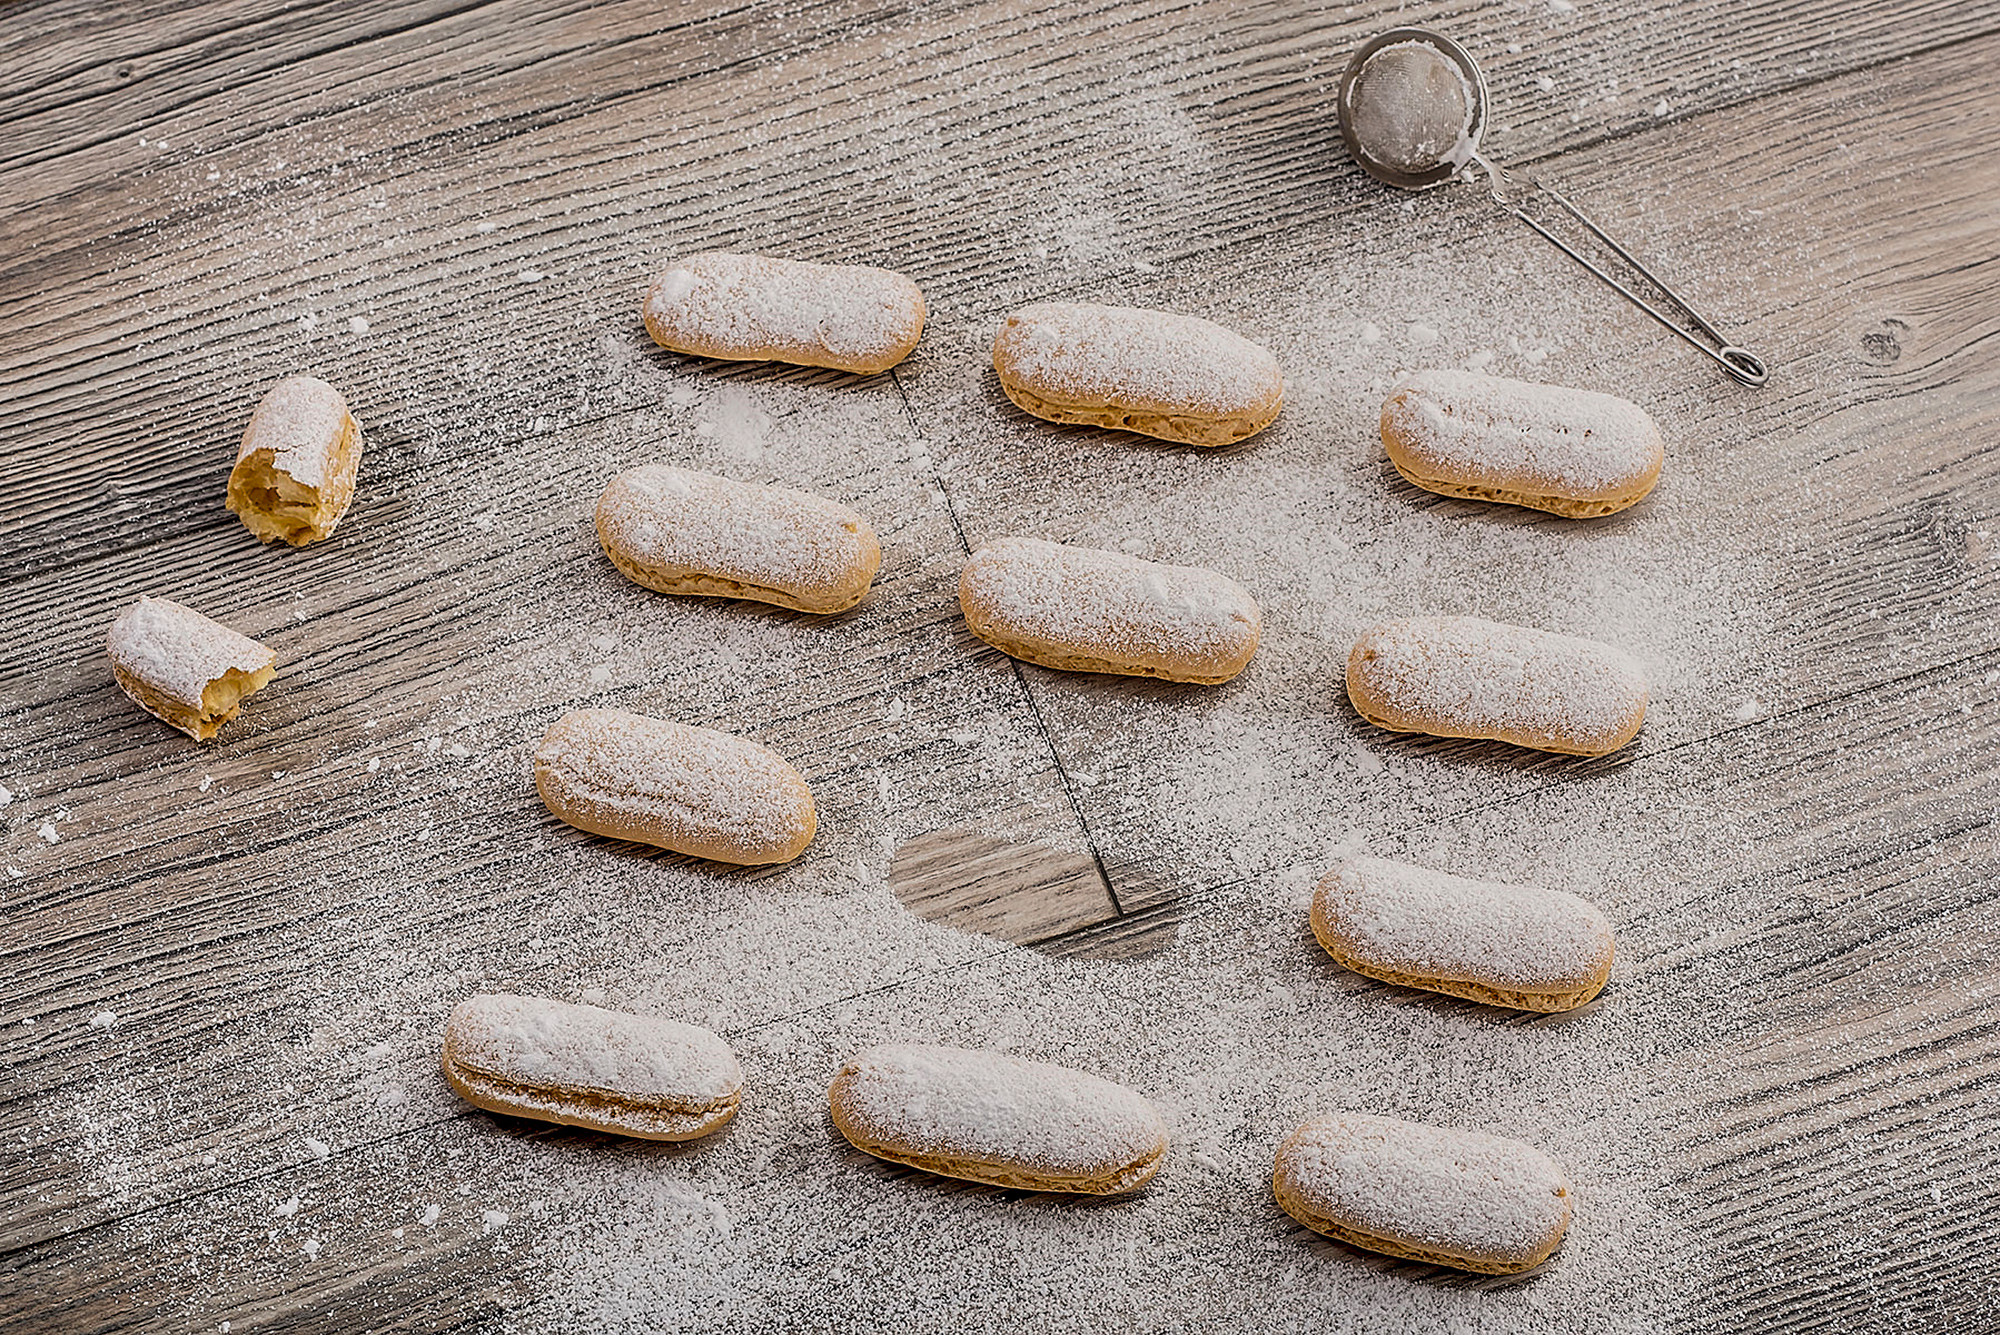
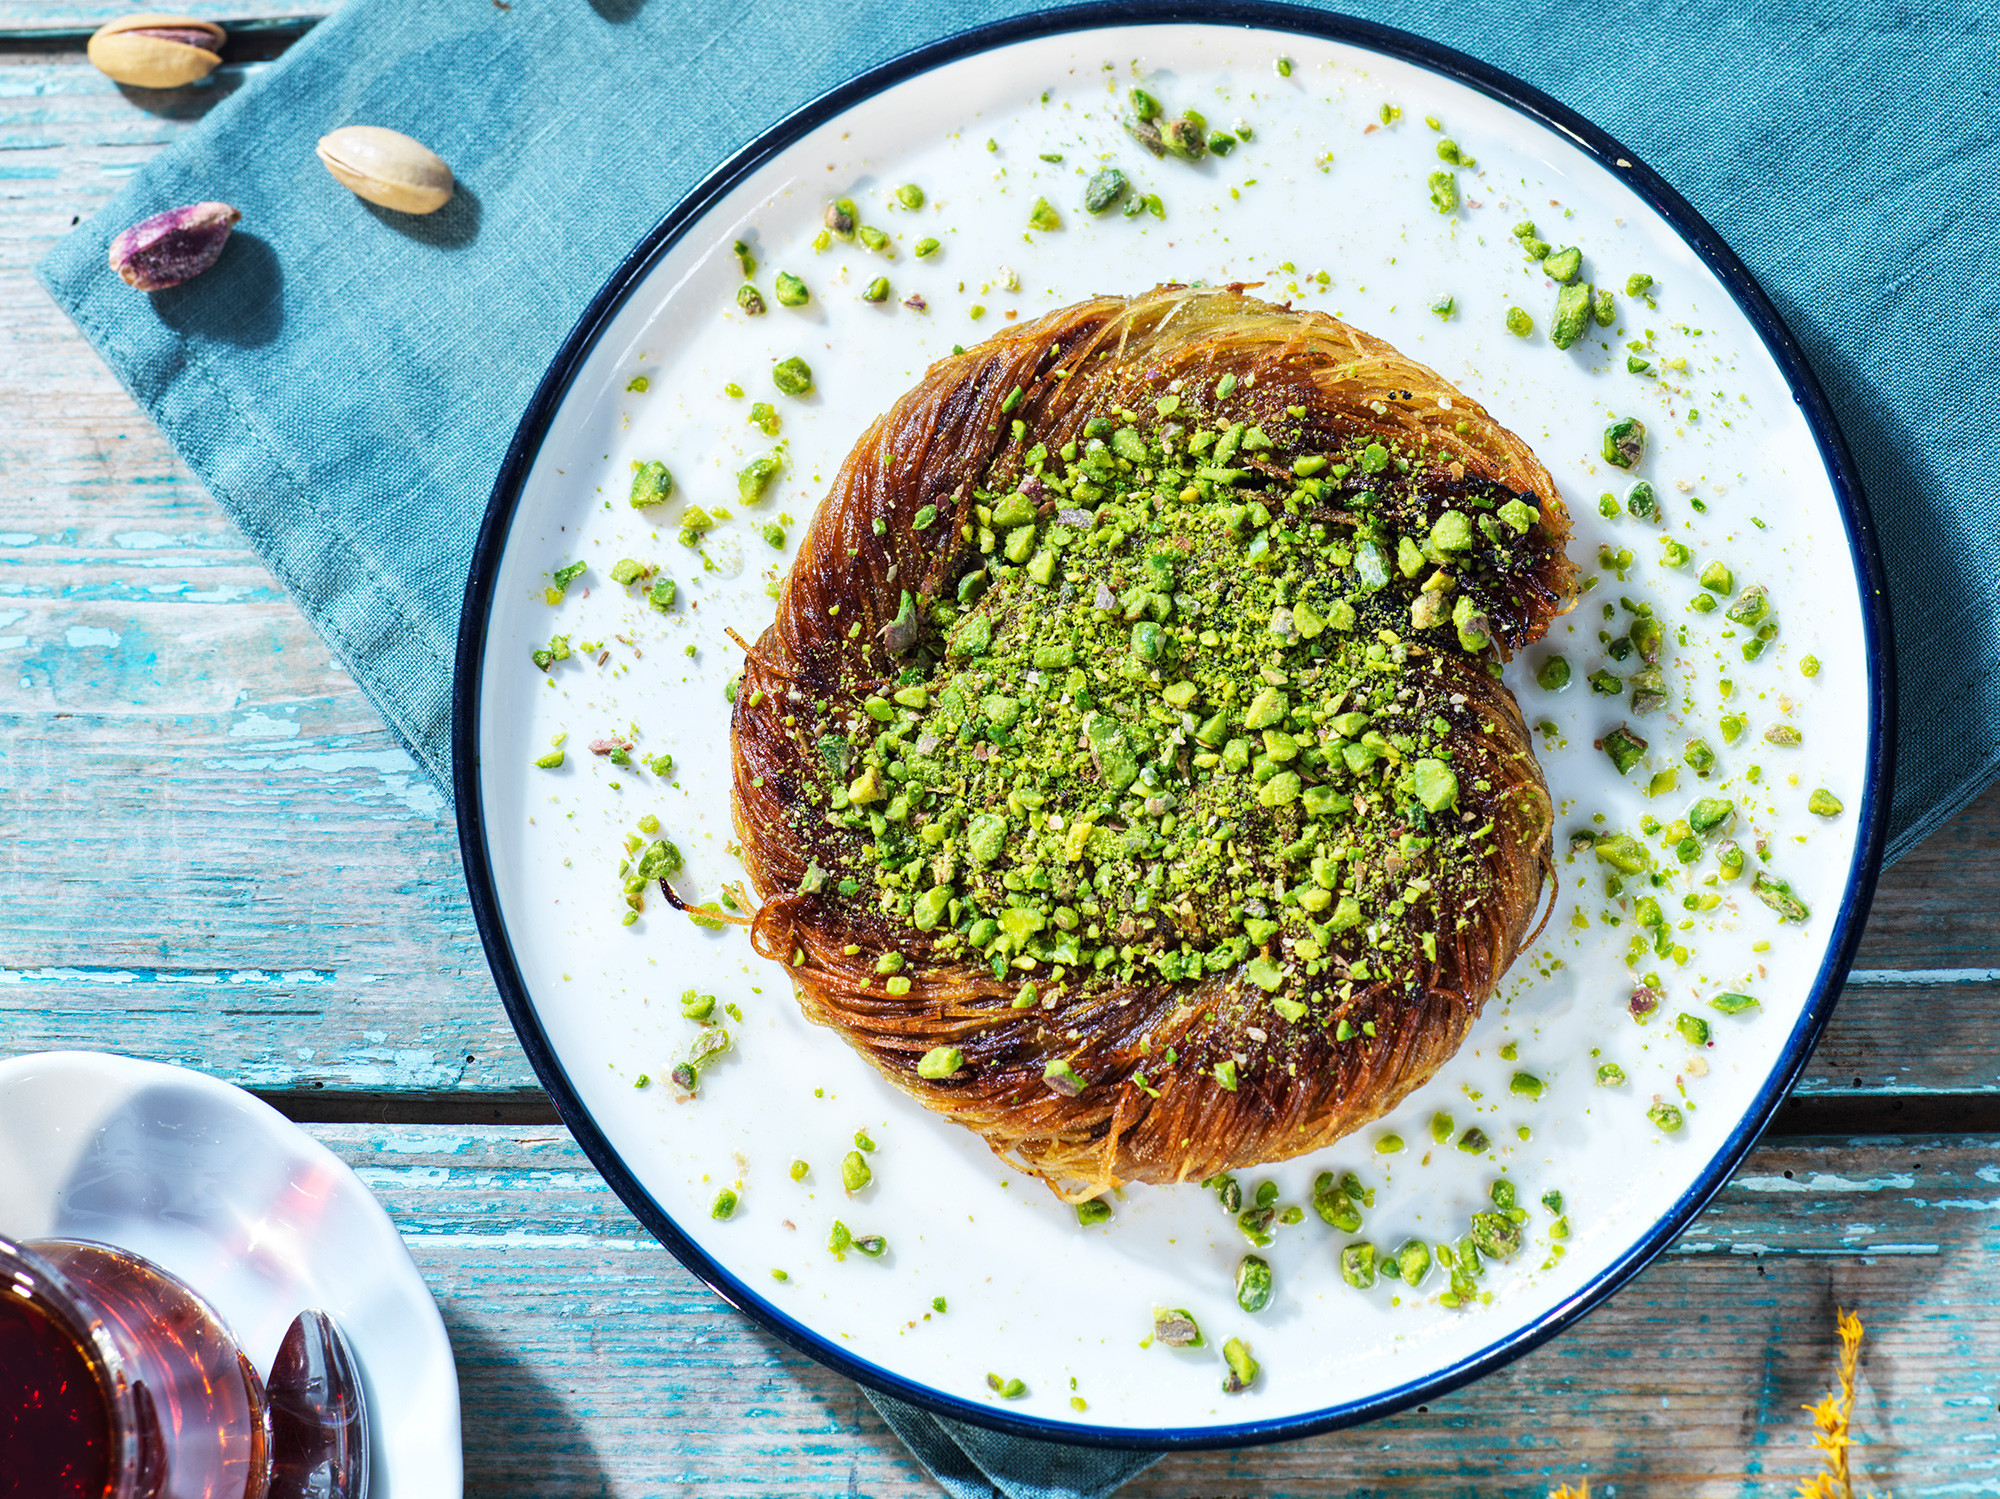
- Overhead (90° / Flatlay): Ideal for showing plate arrangements, patterns, and many small ingredients together—perfect for flat dishes, soups, pizzas, or full table scenes.
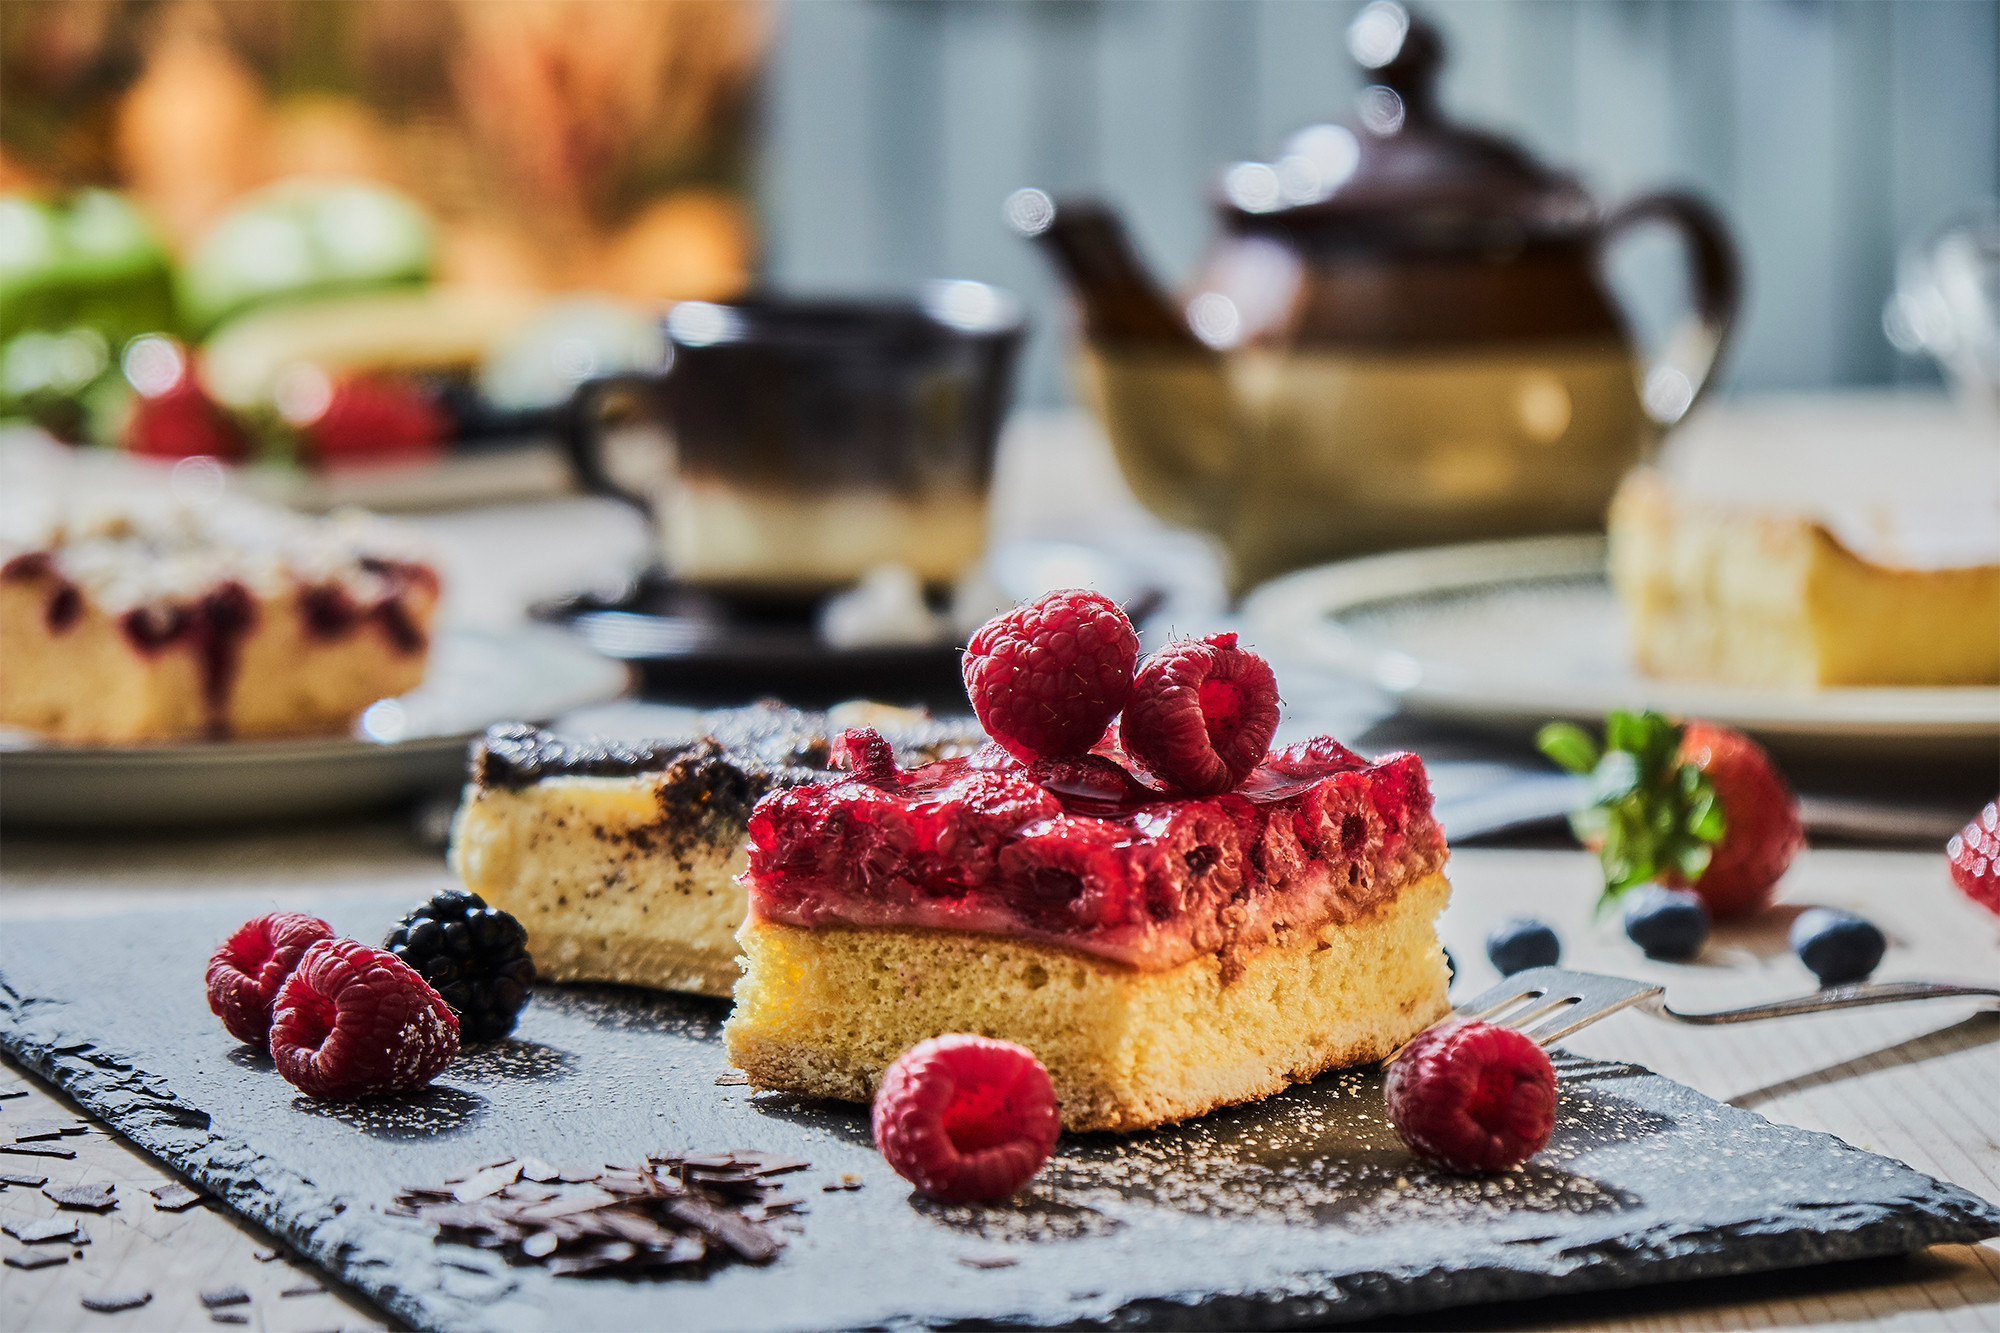
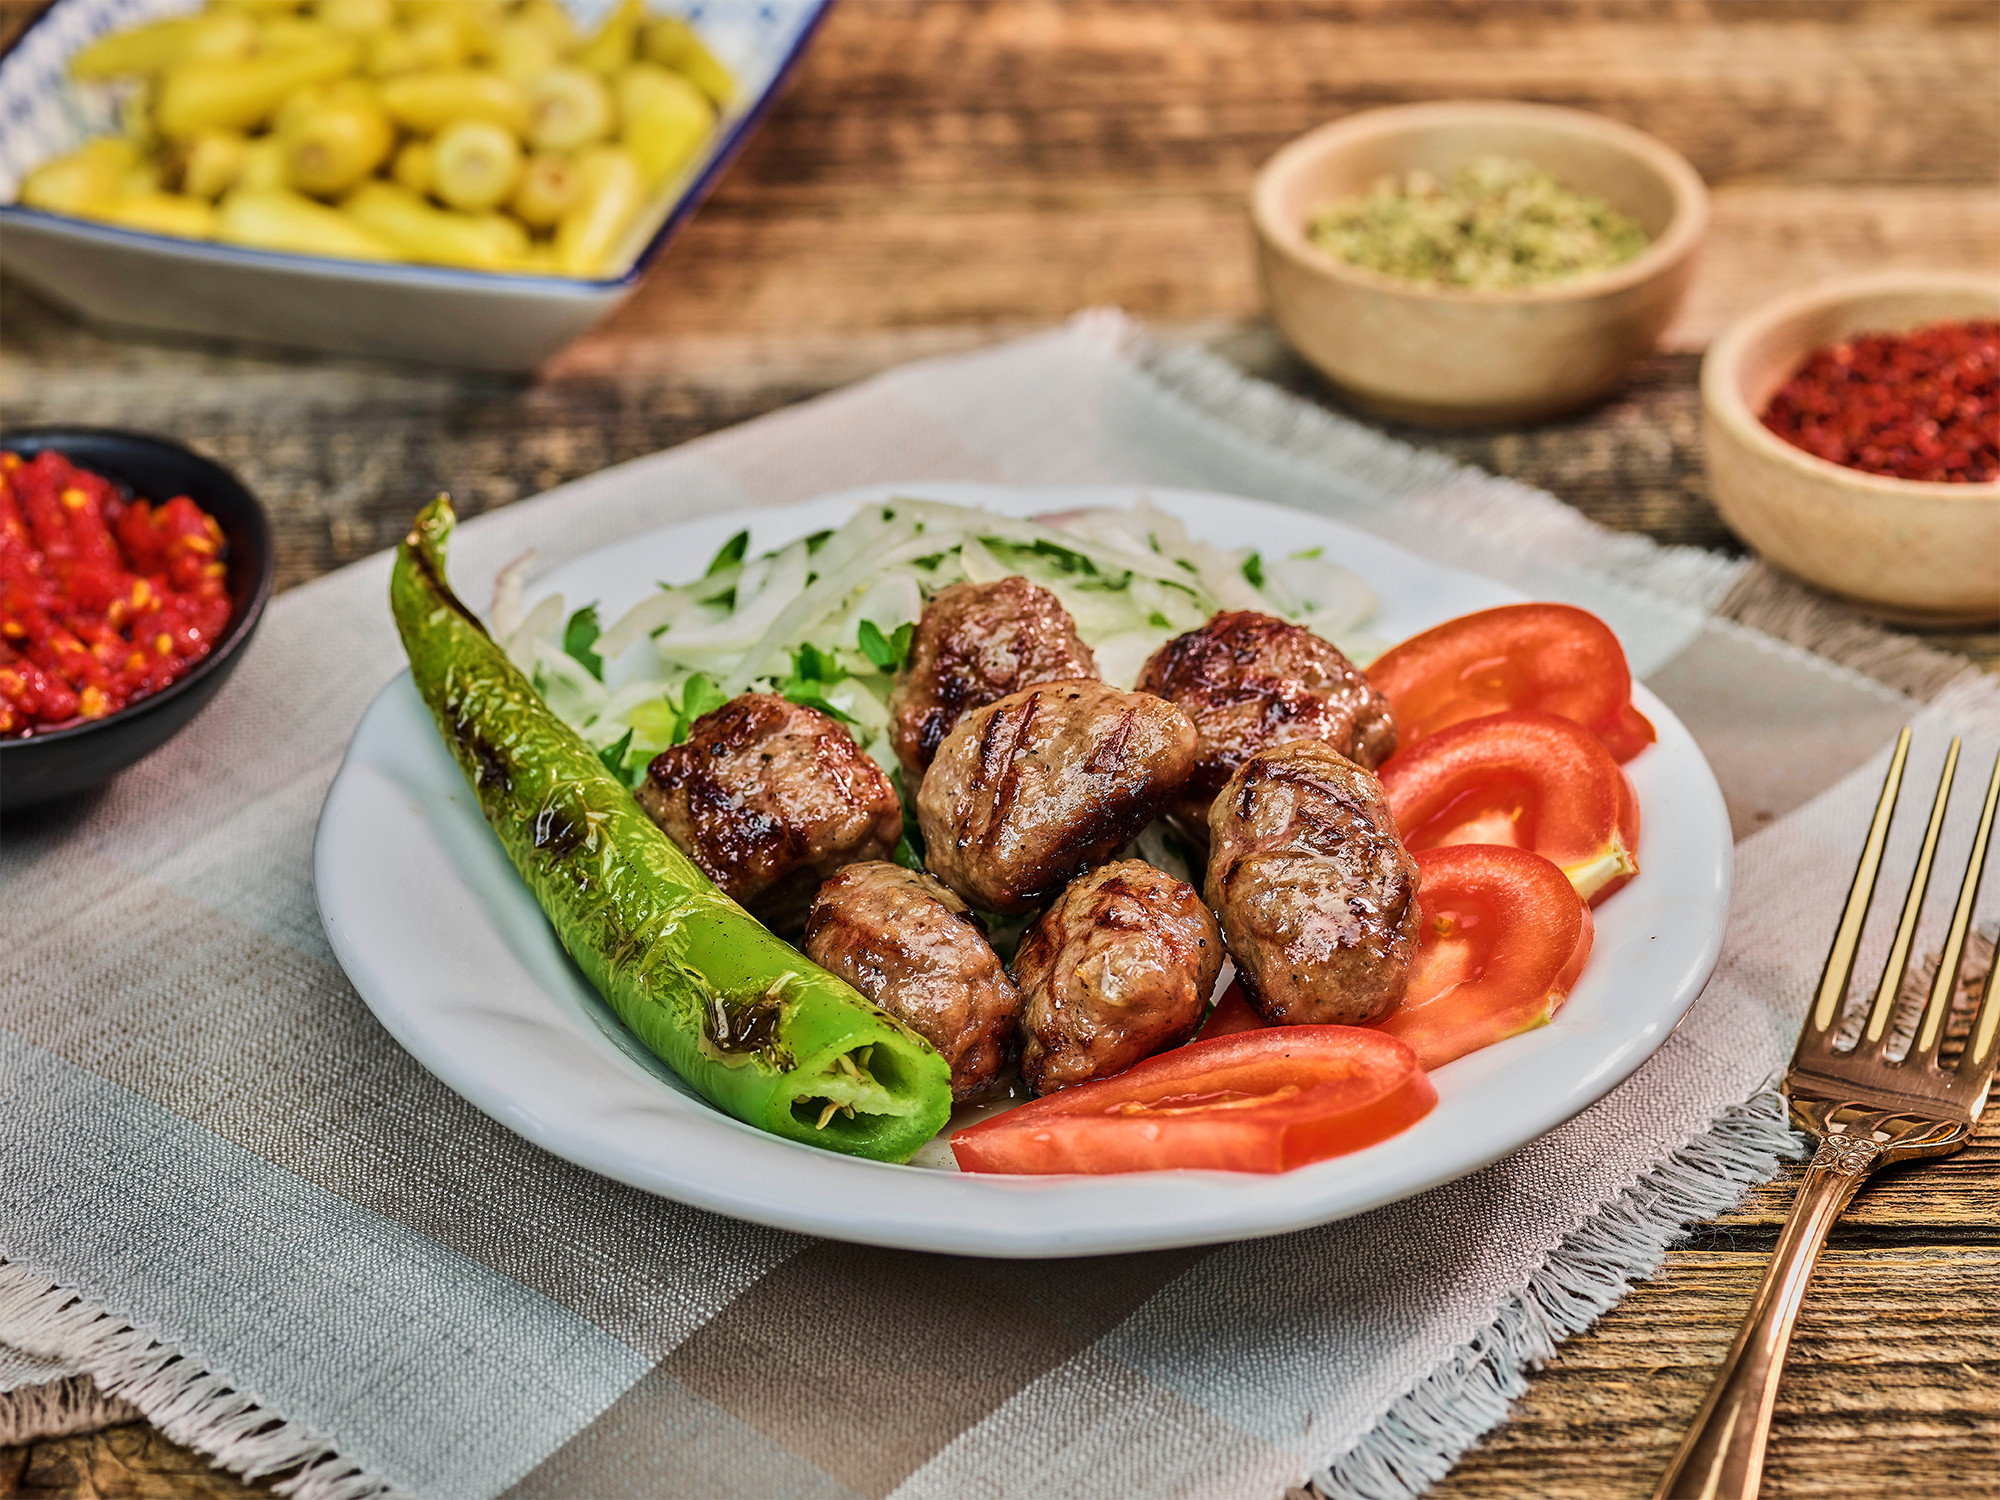
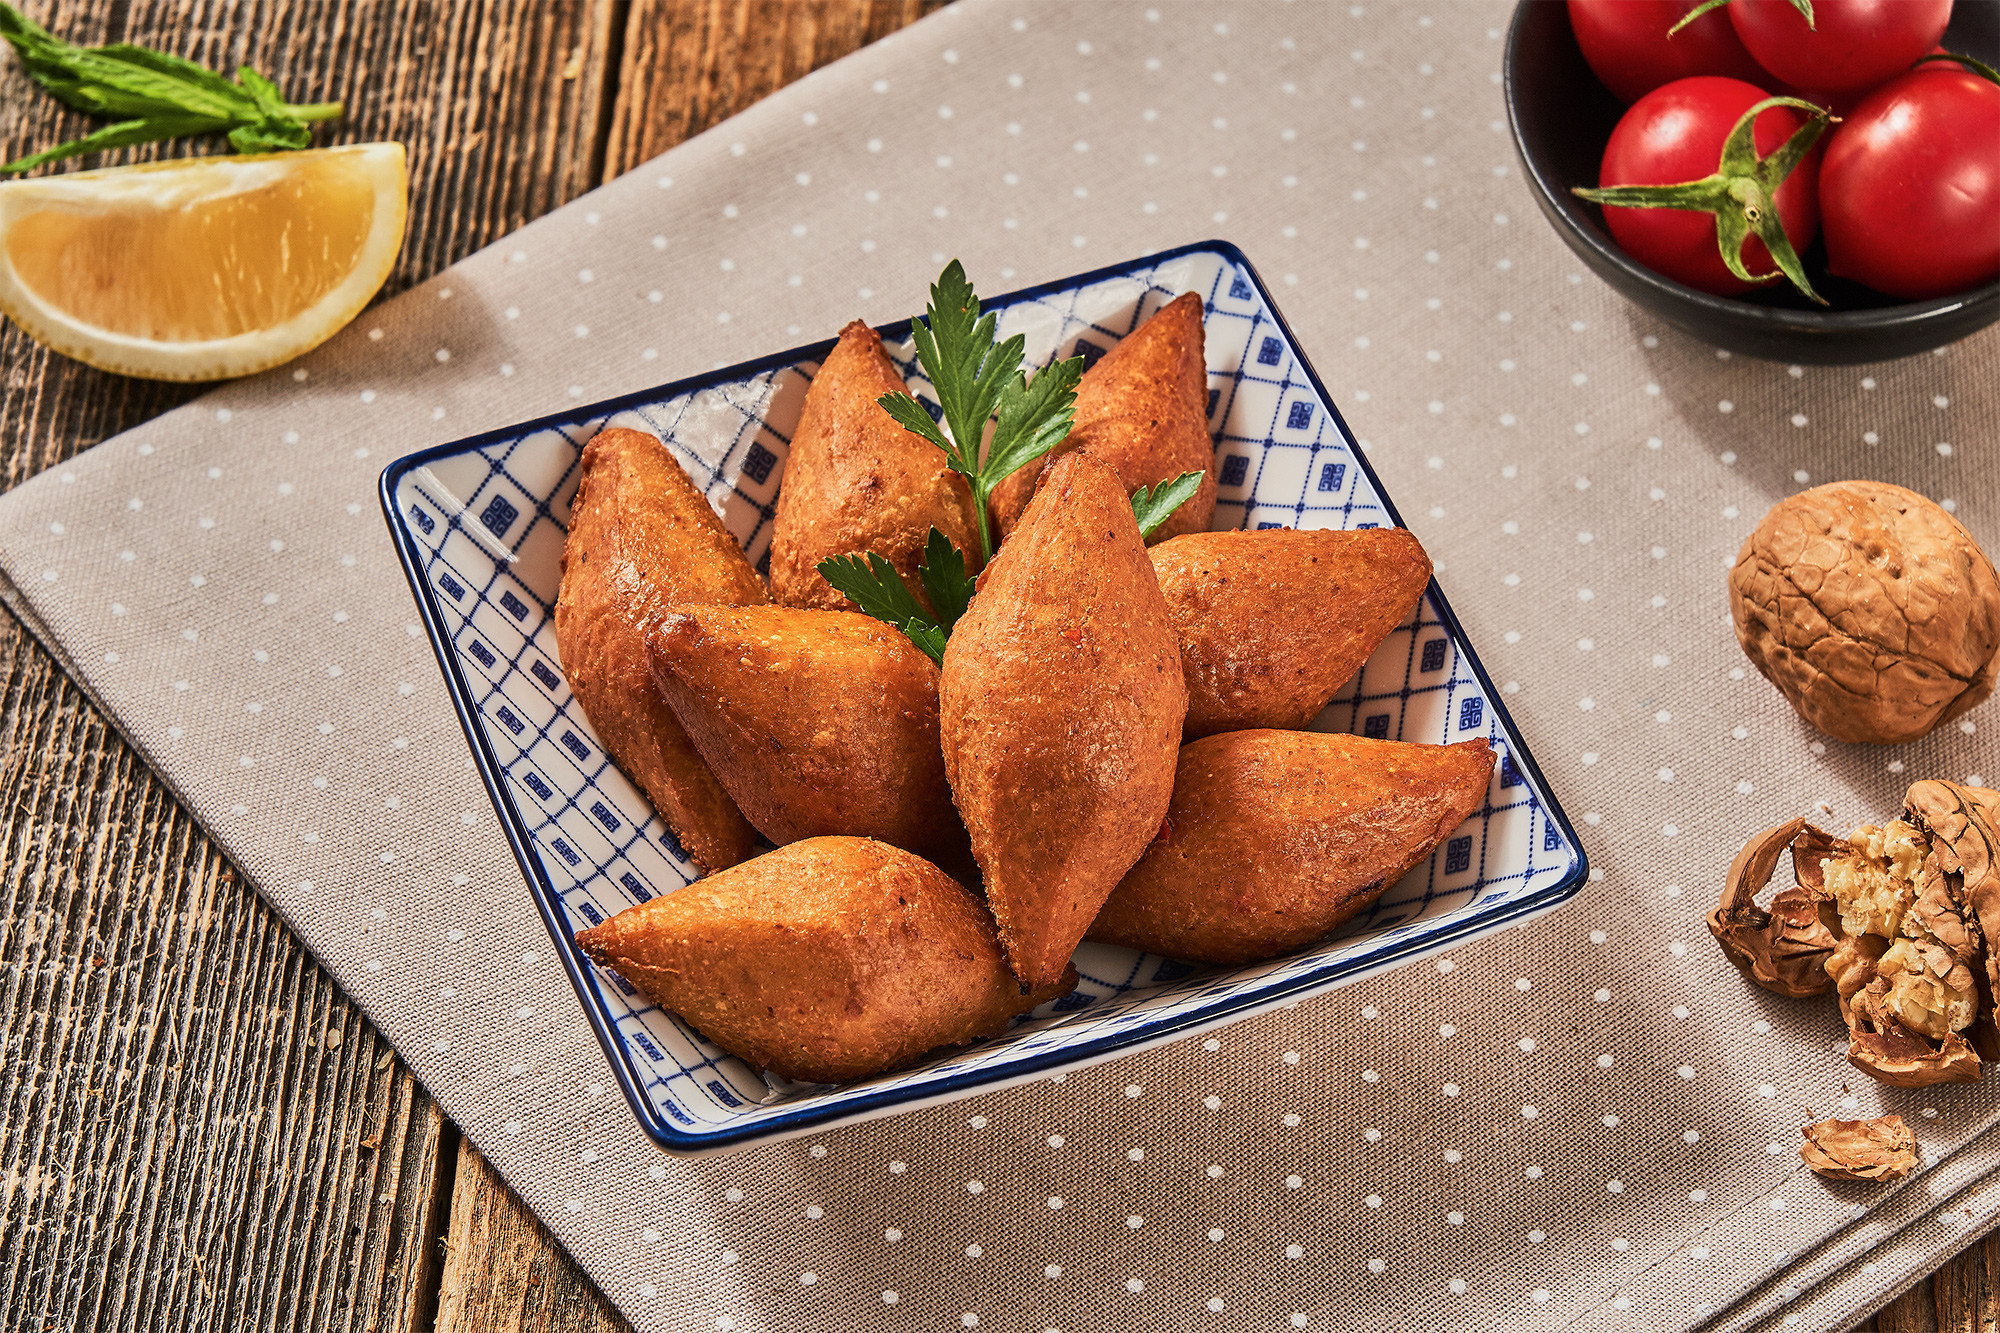
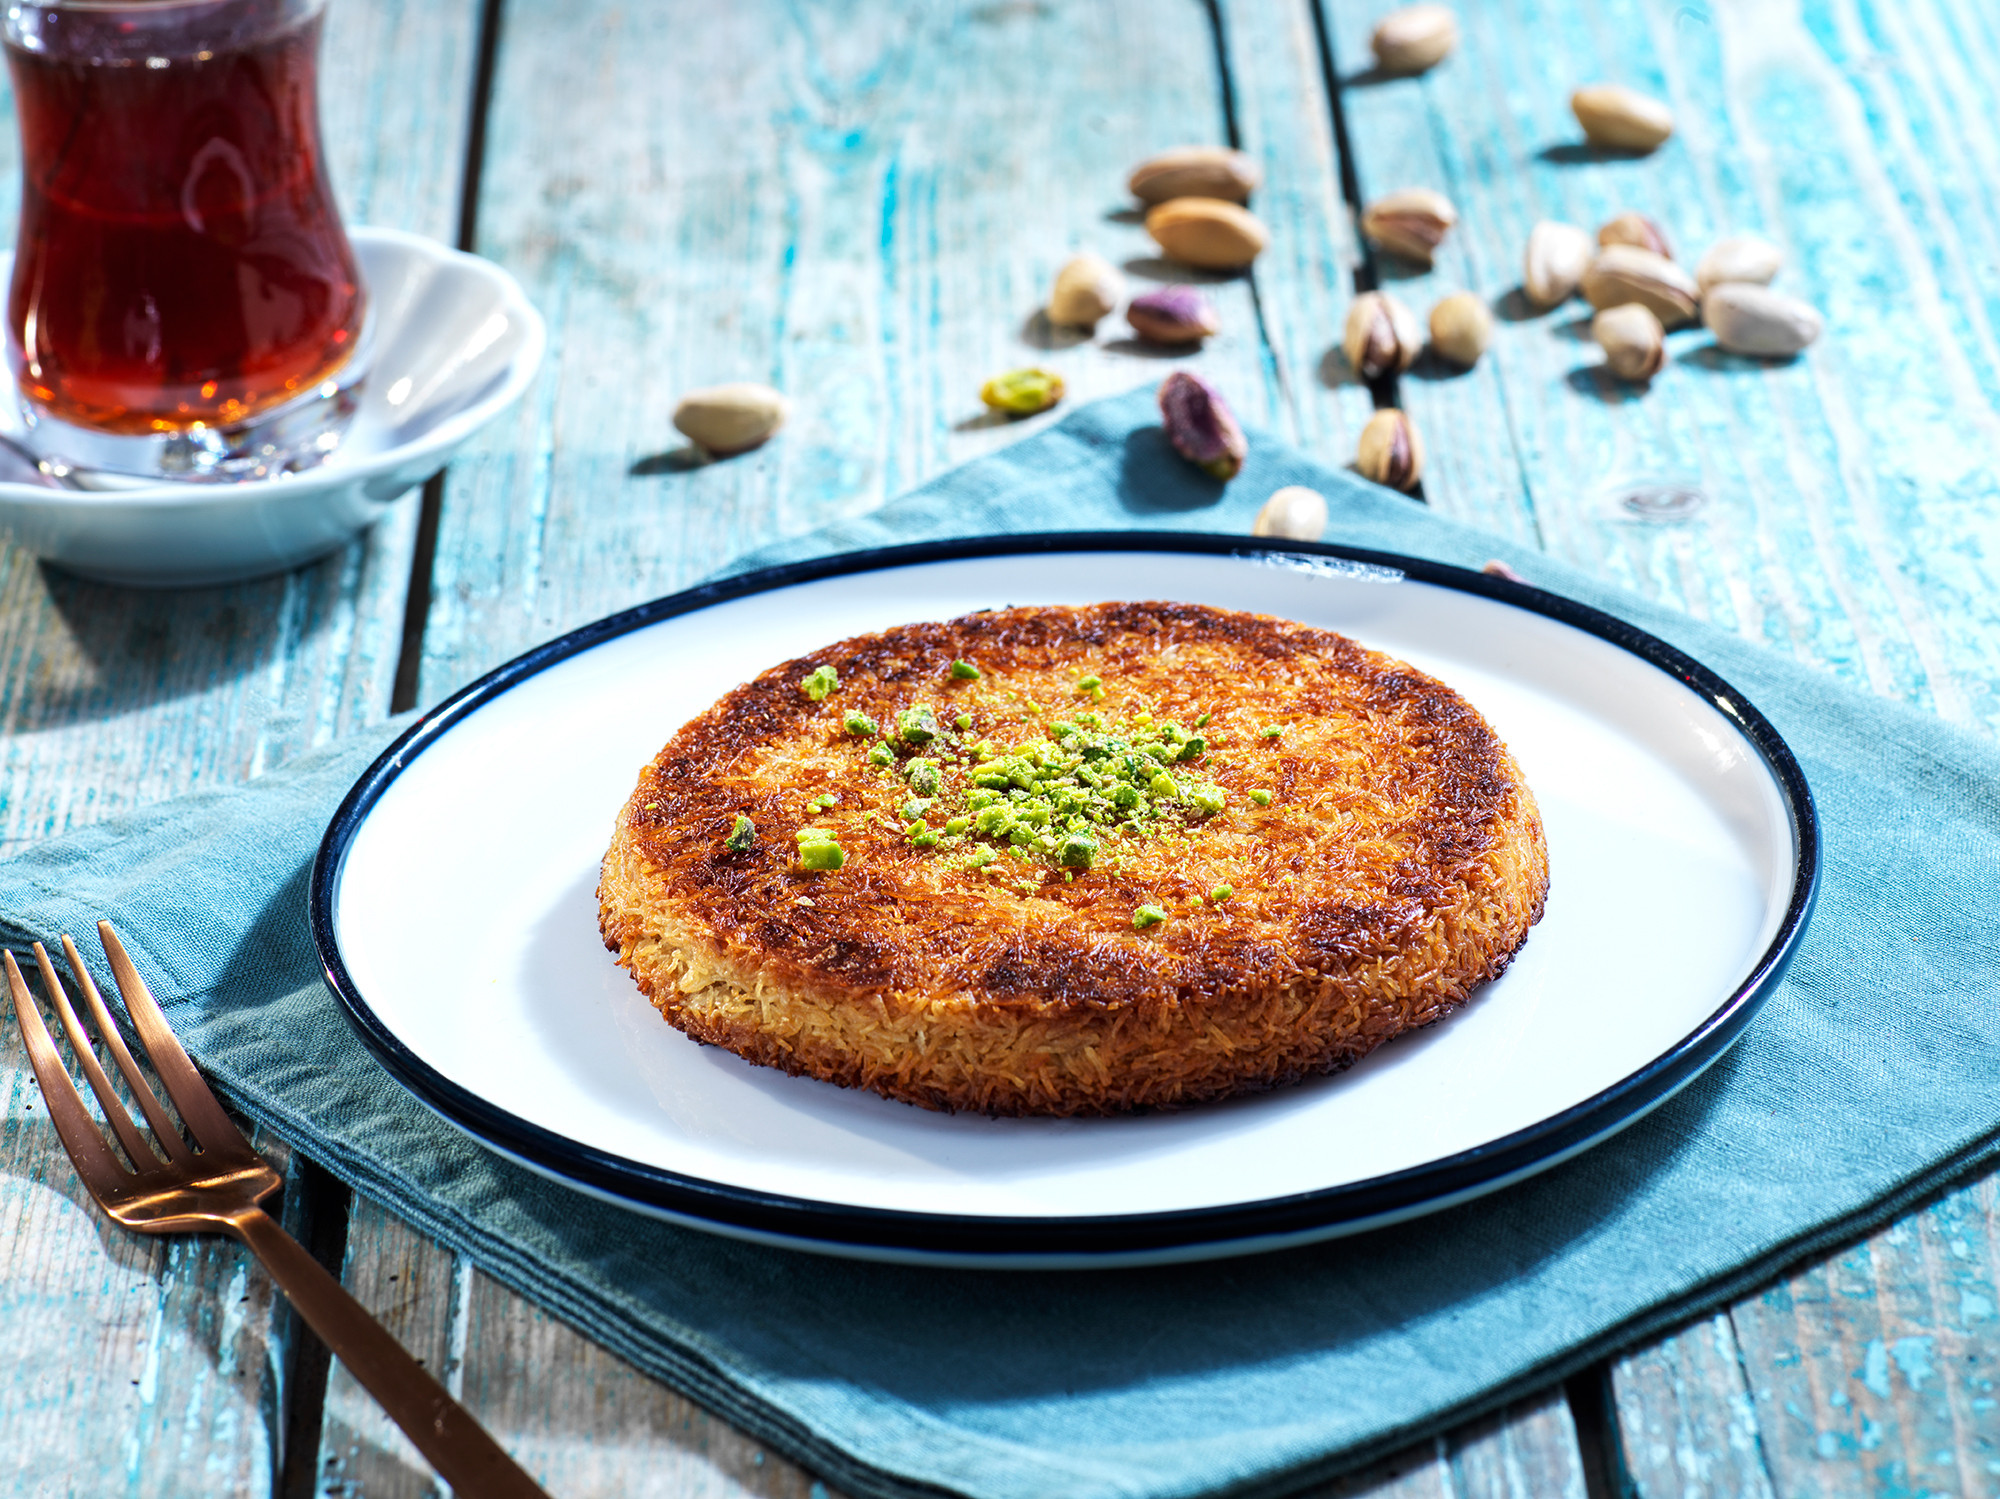
- 45° Angle: The most common and versatile angle, often simulates the view from a diner’s perspective. Great for bowls, desserts, and dishes where the surface is important.
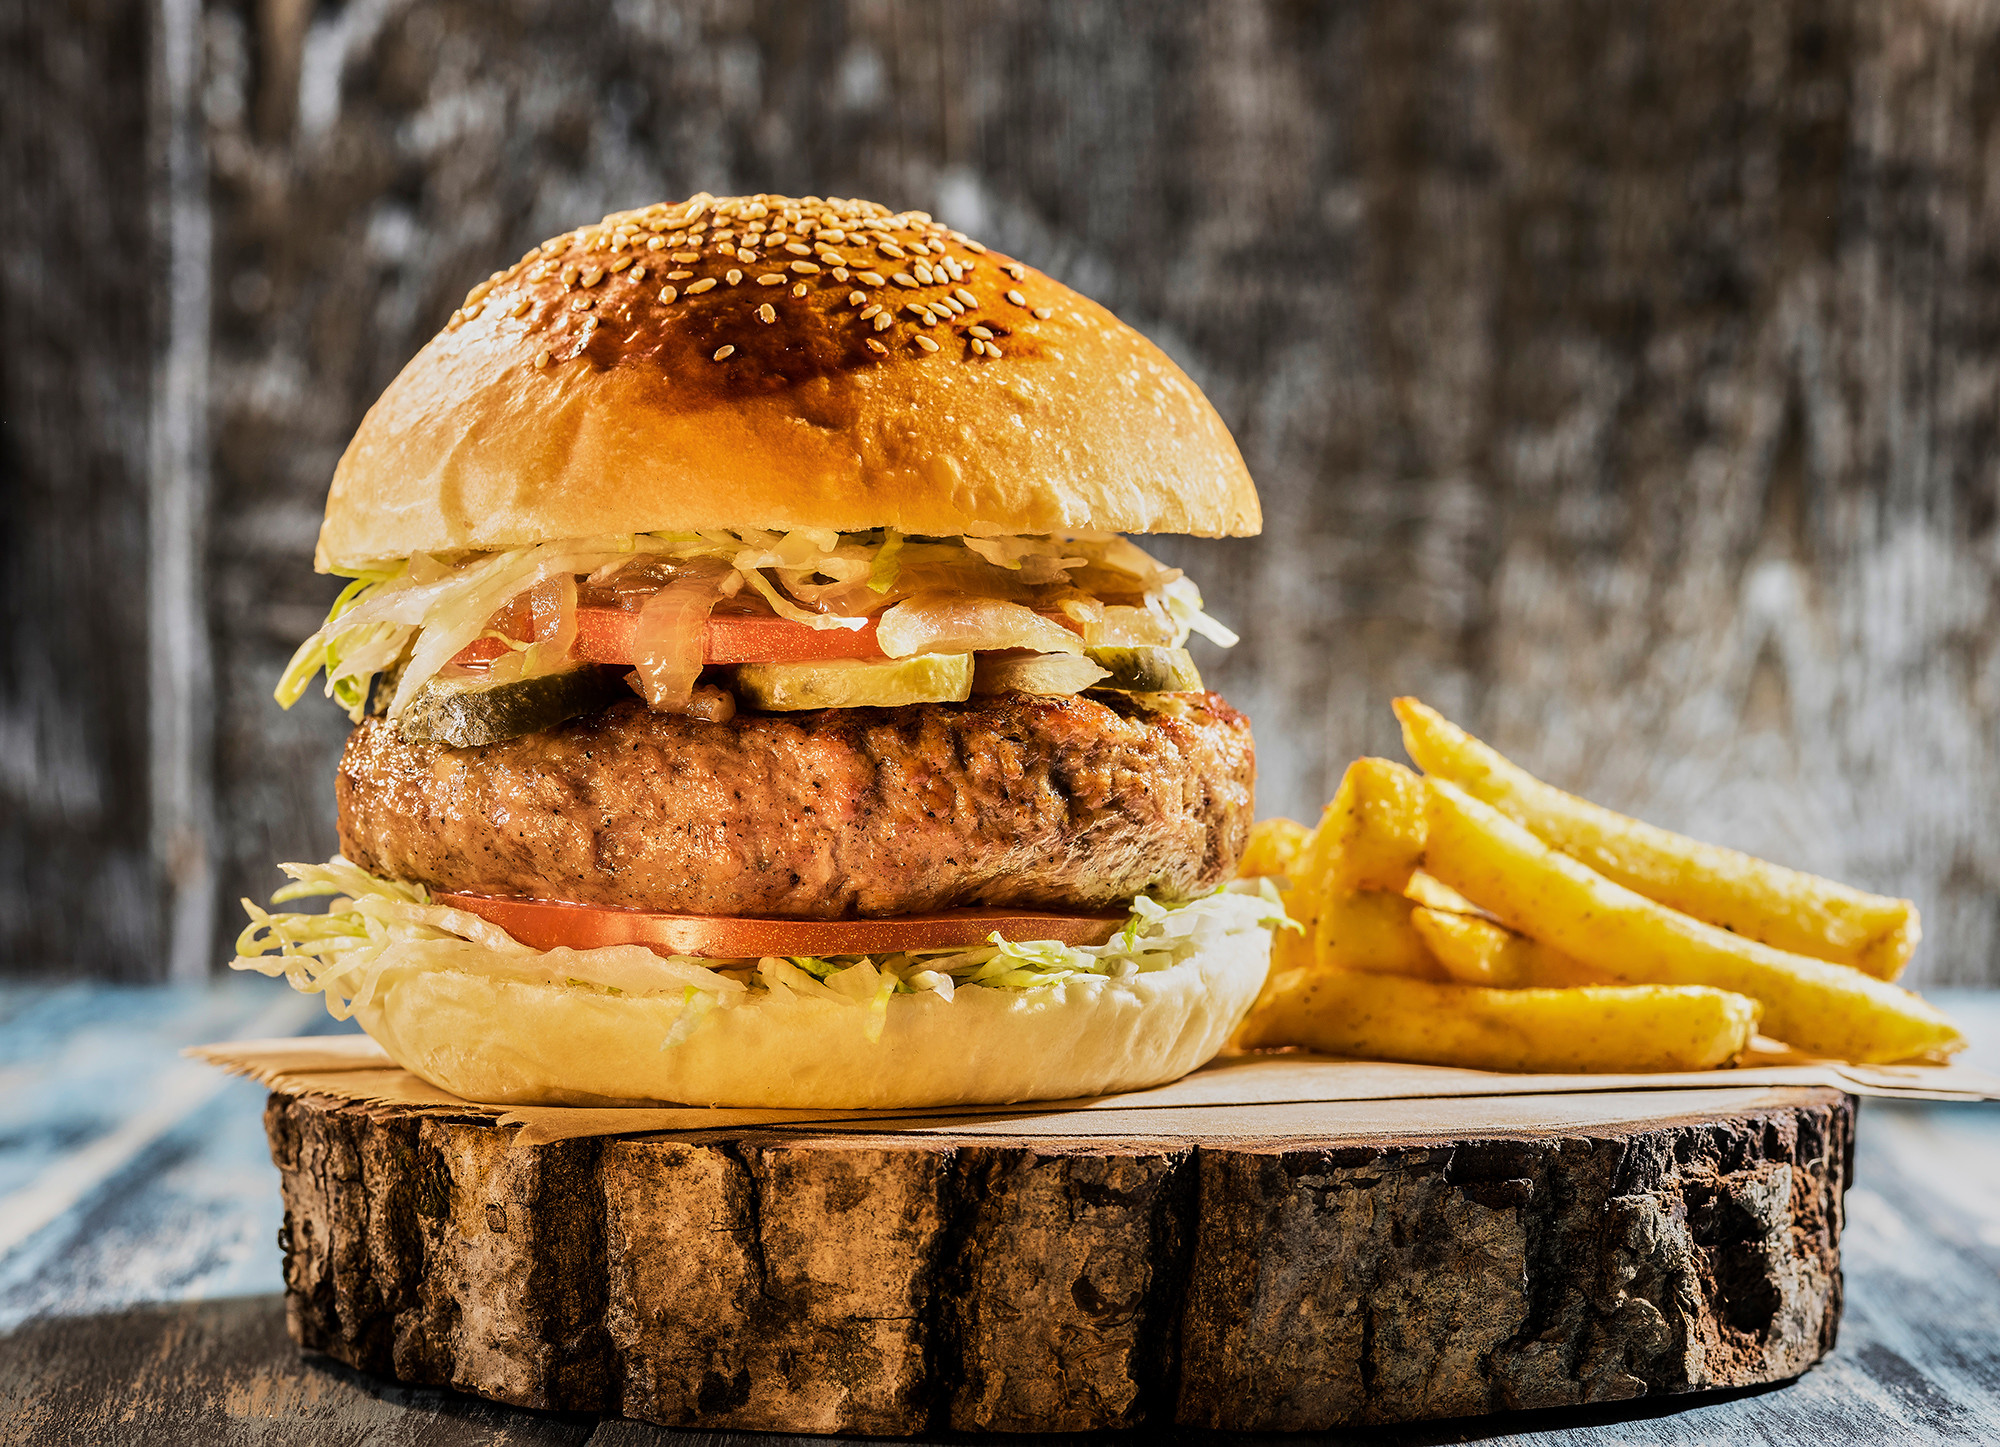
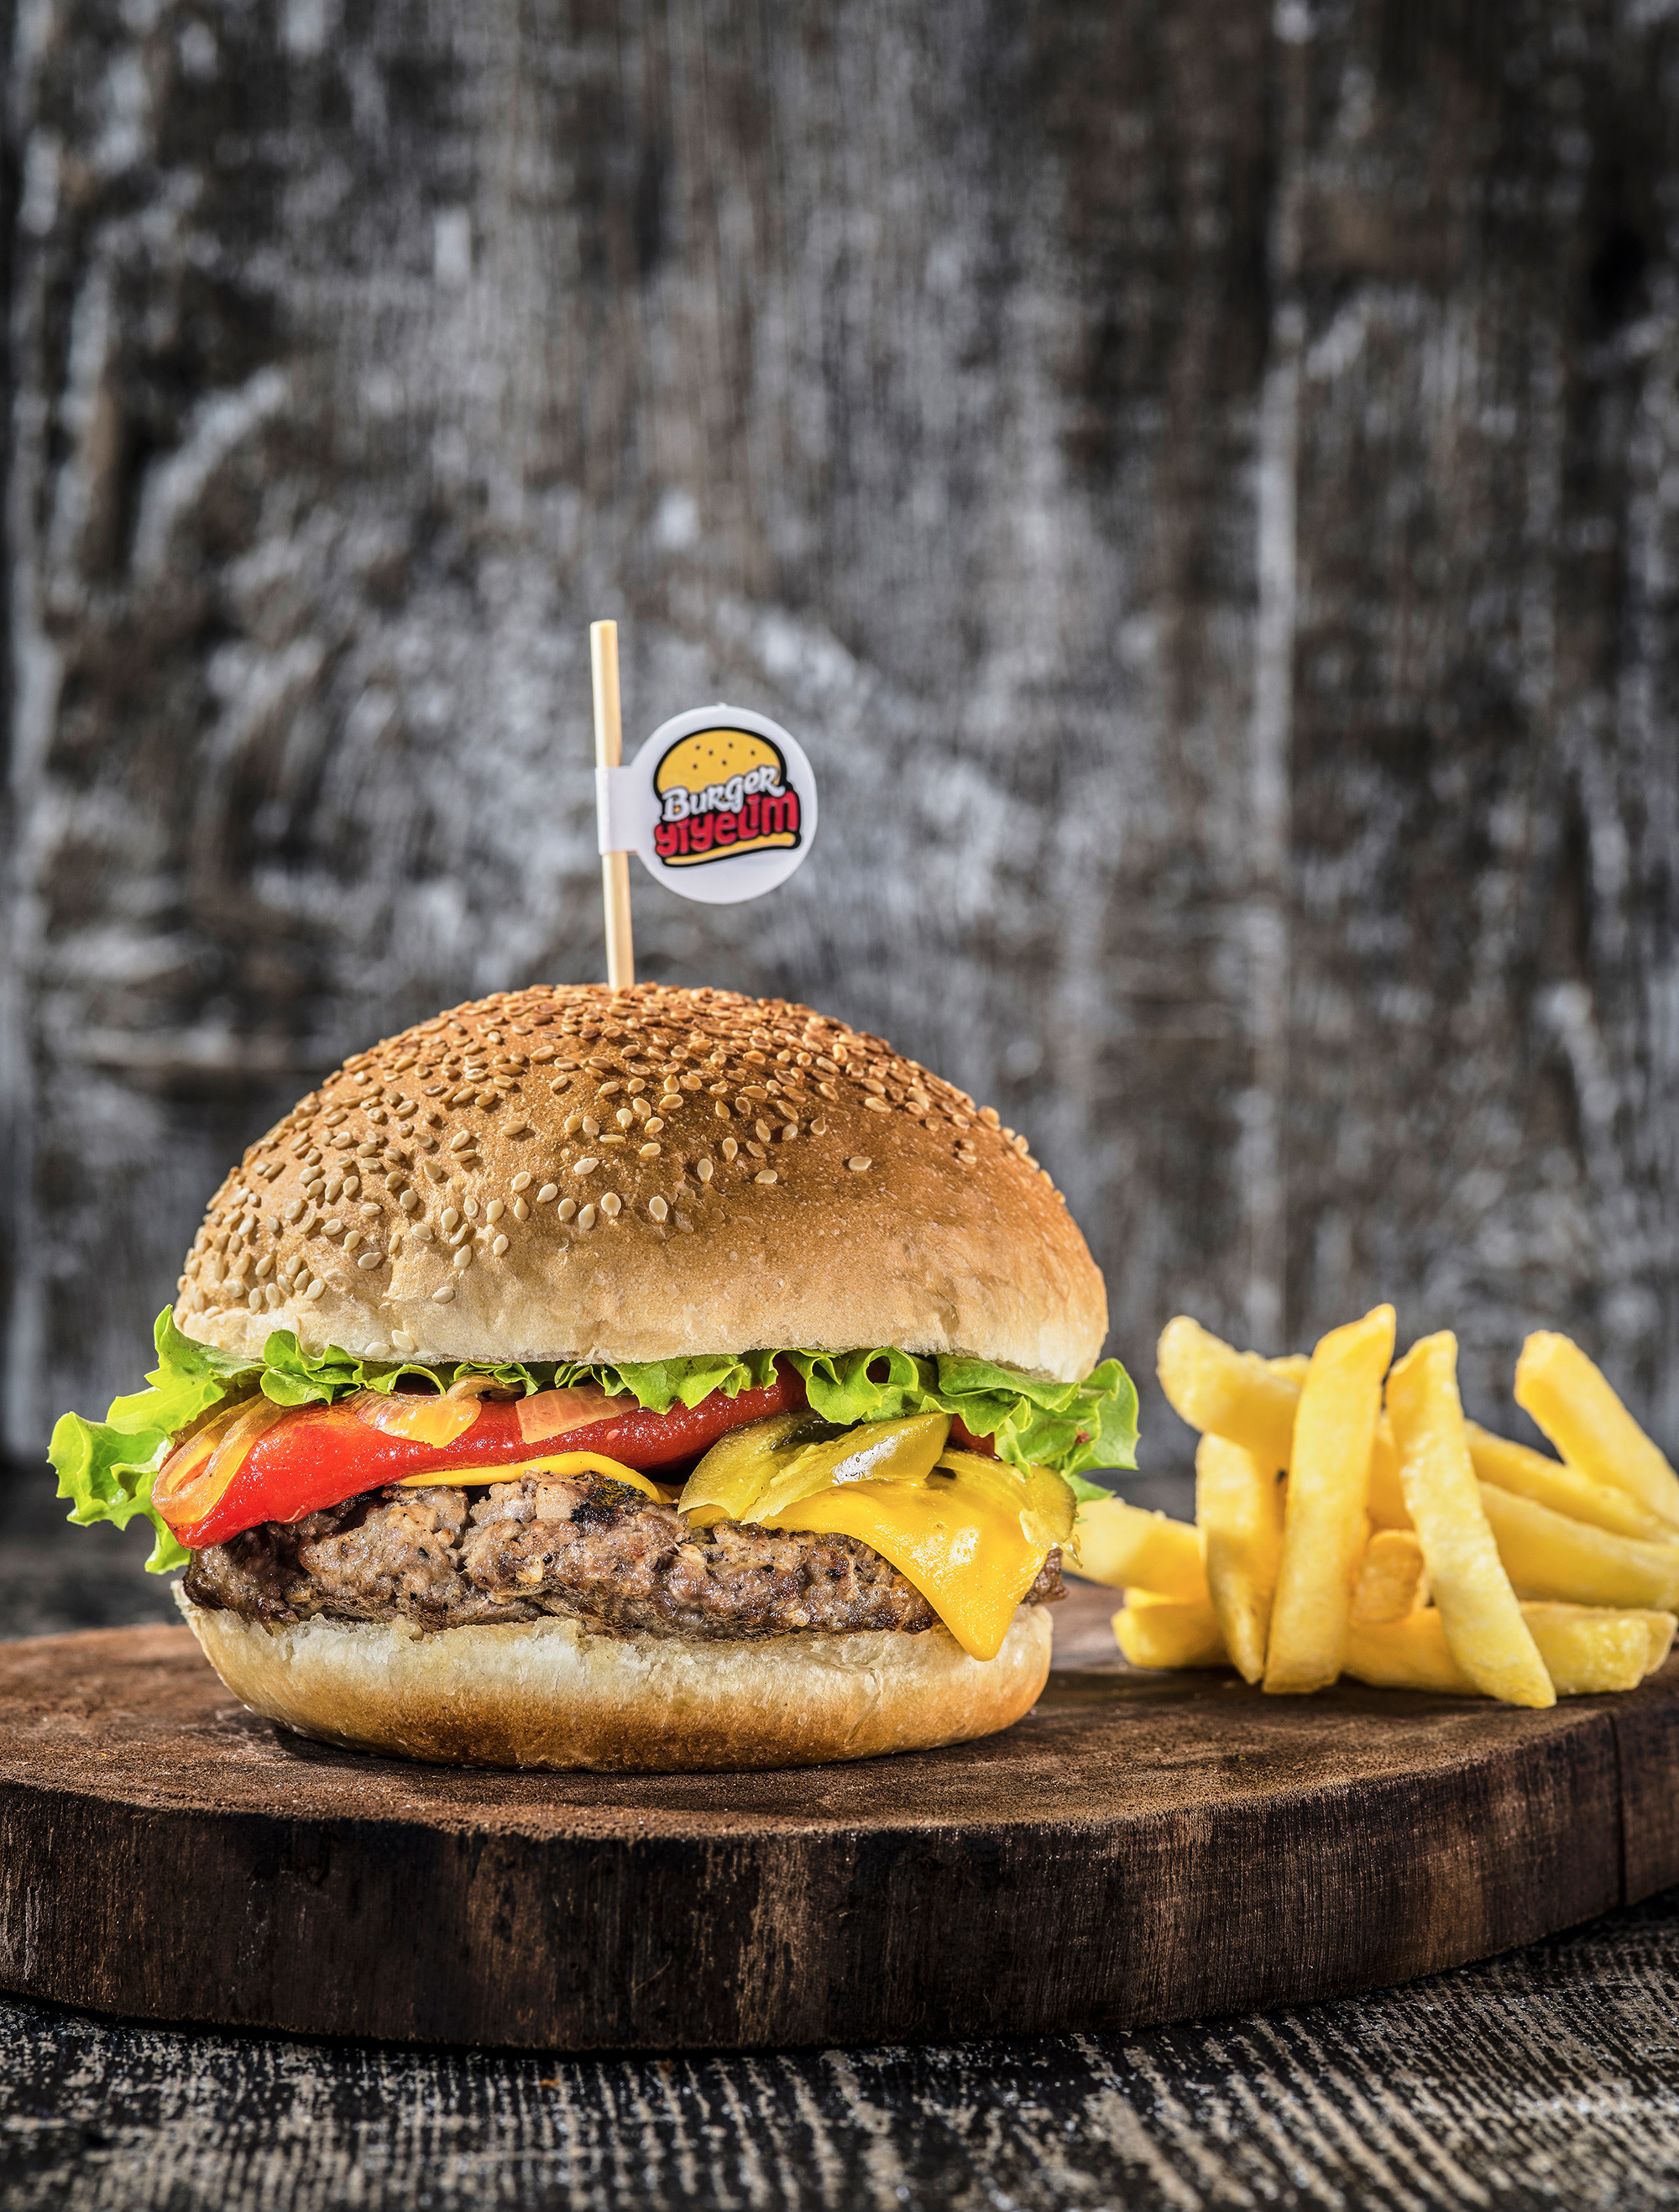
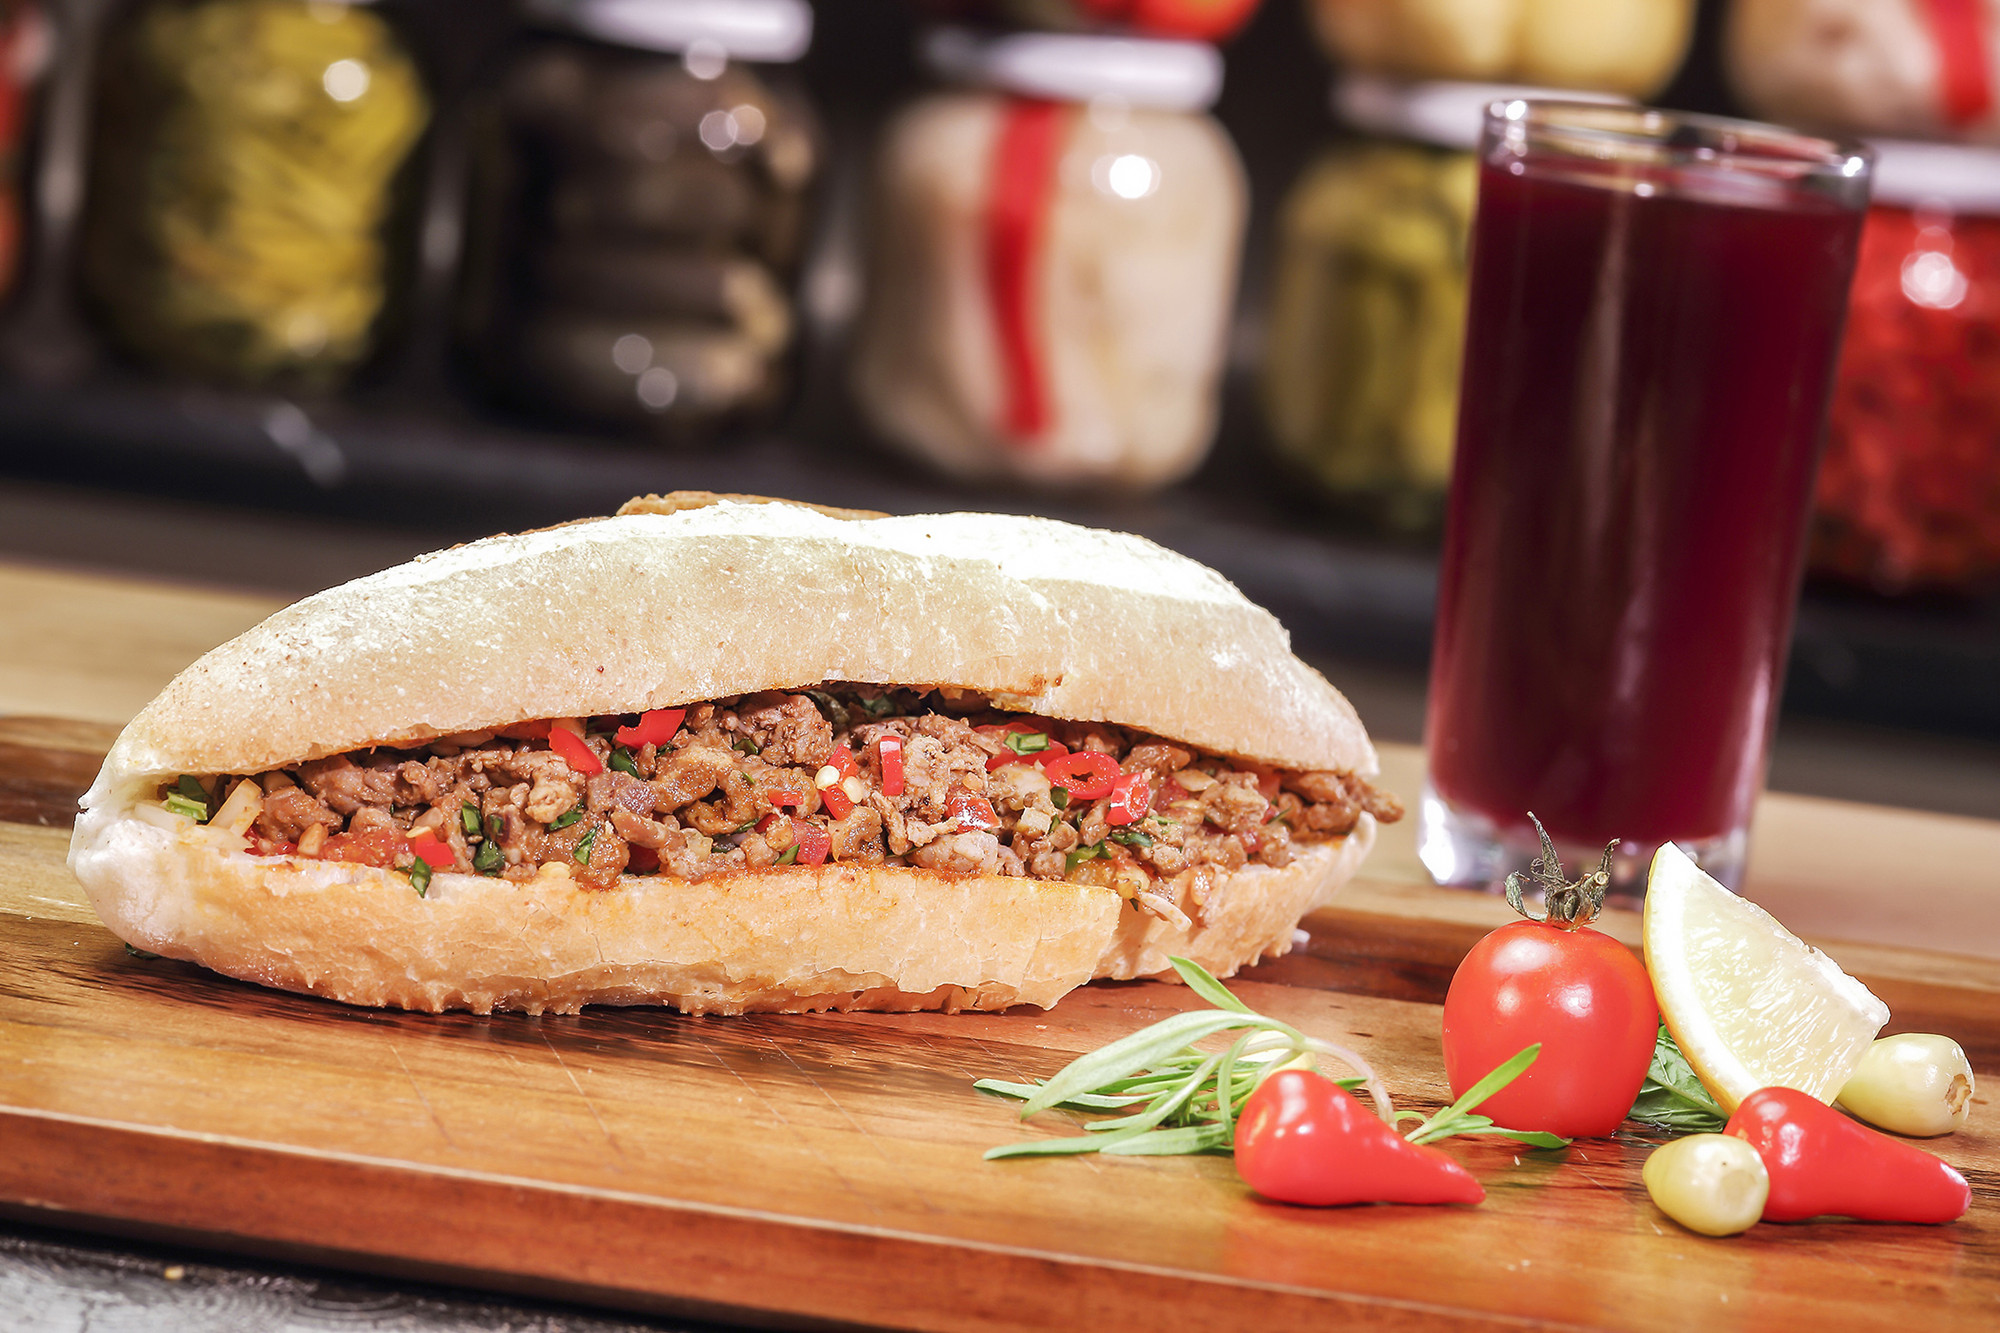
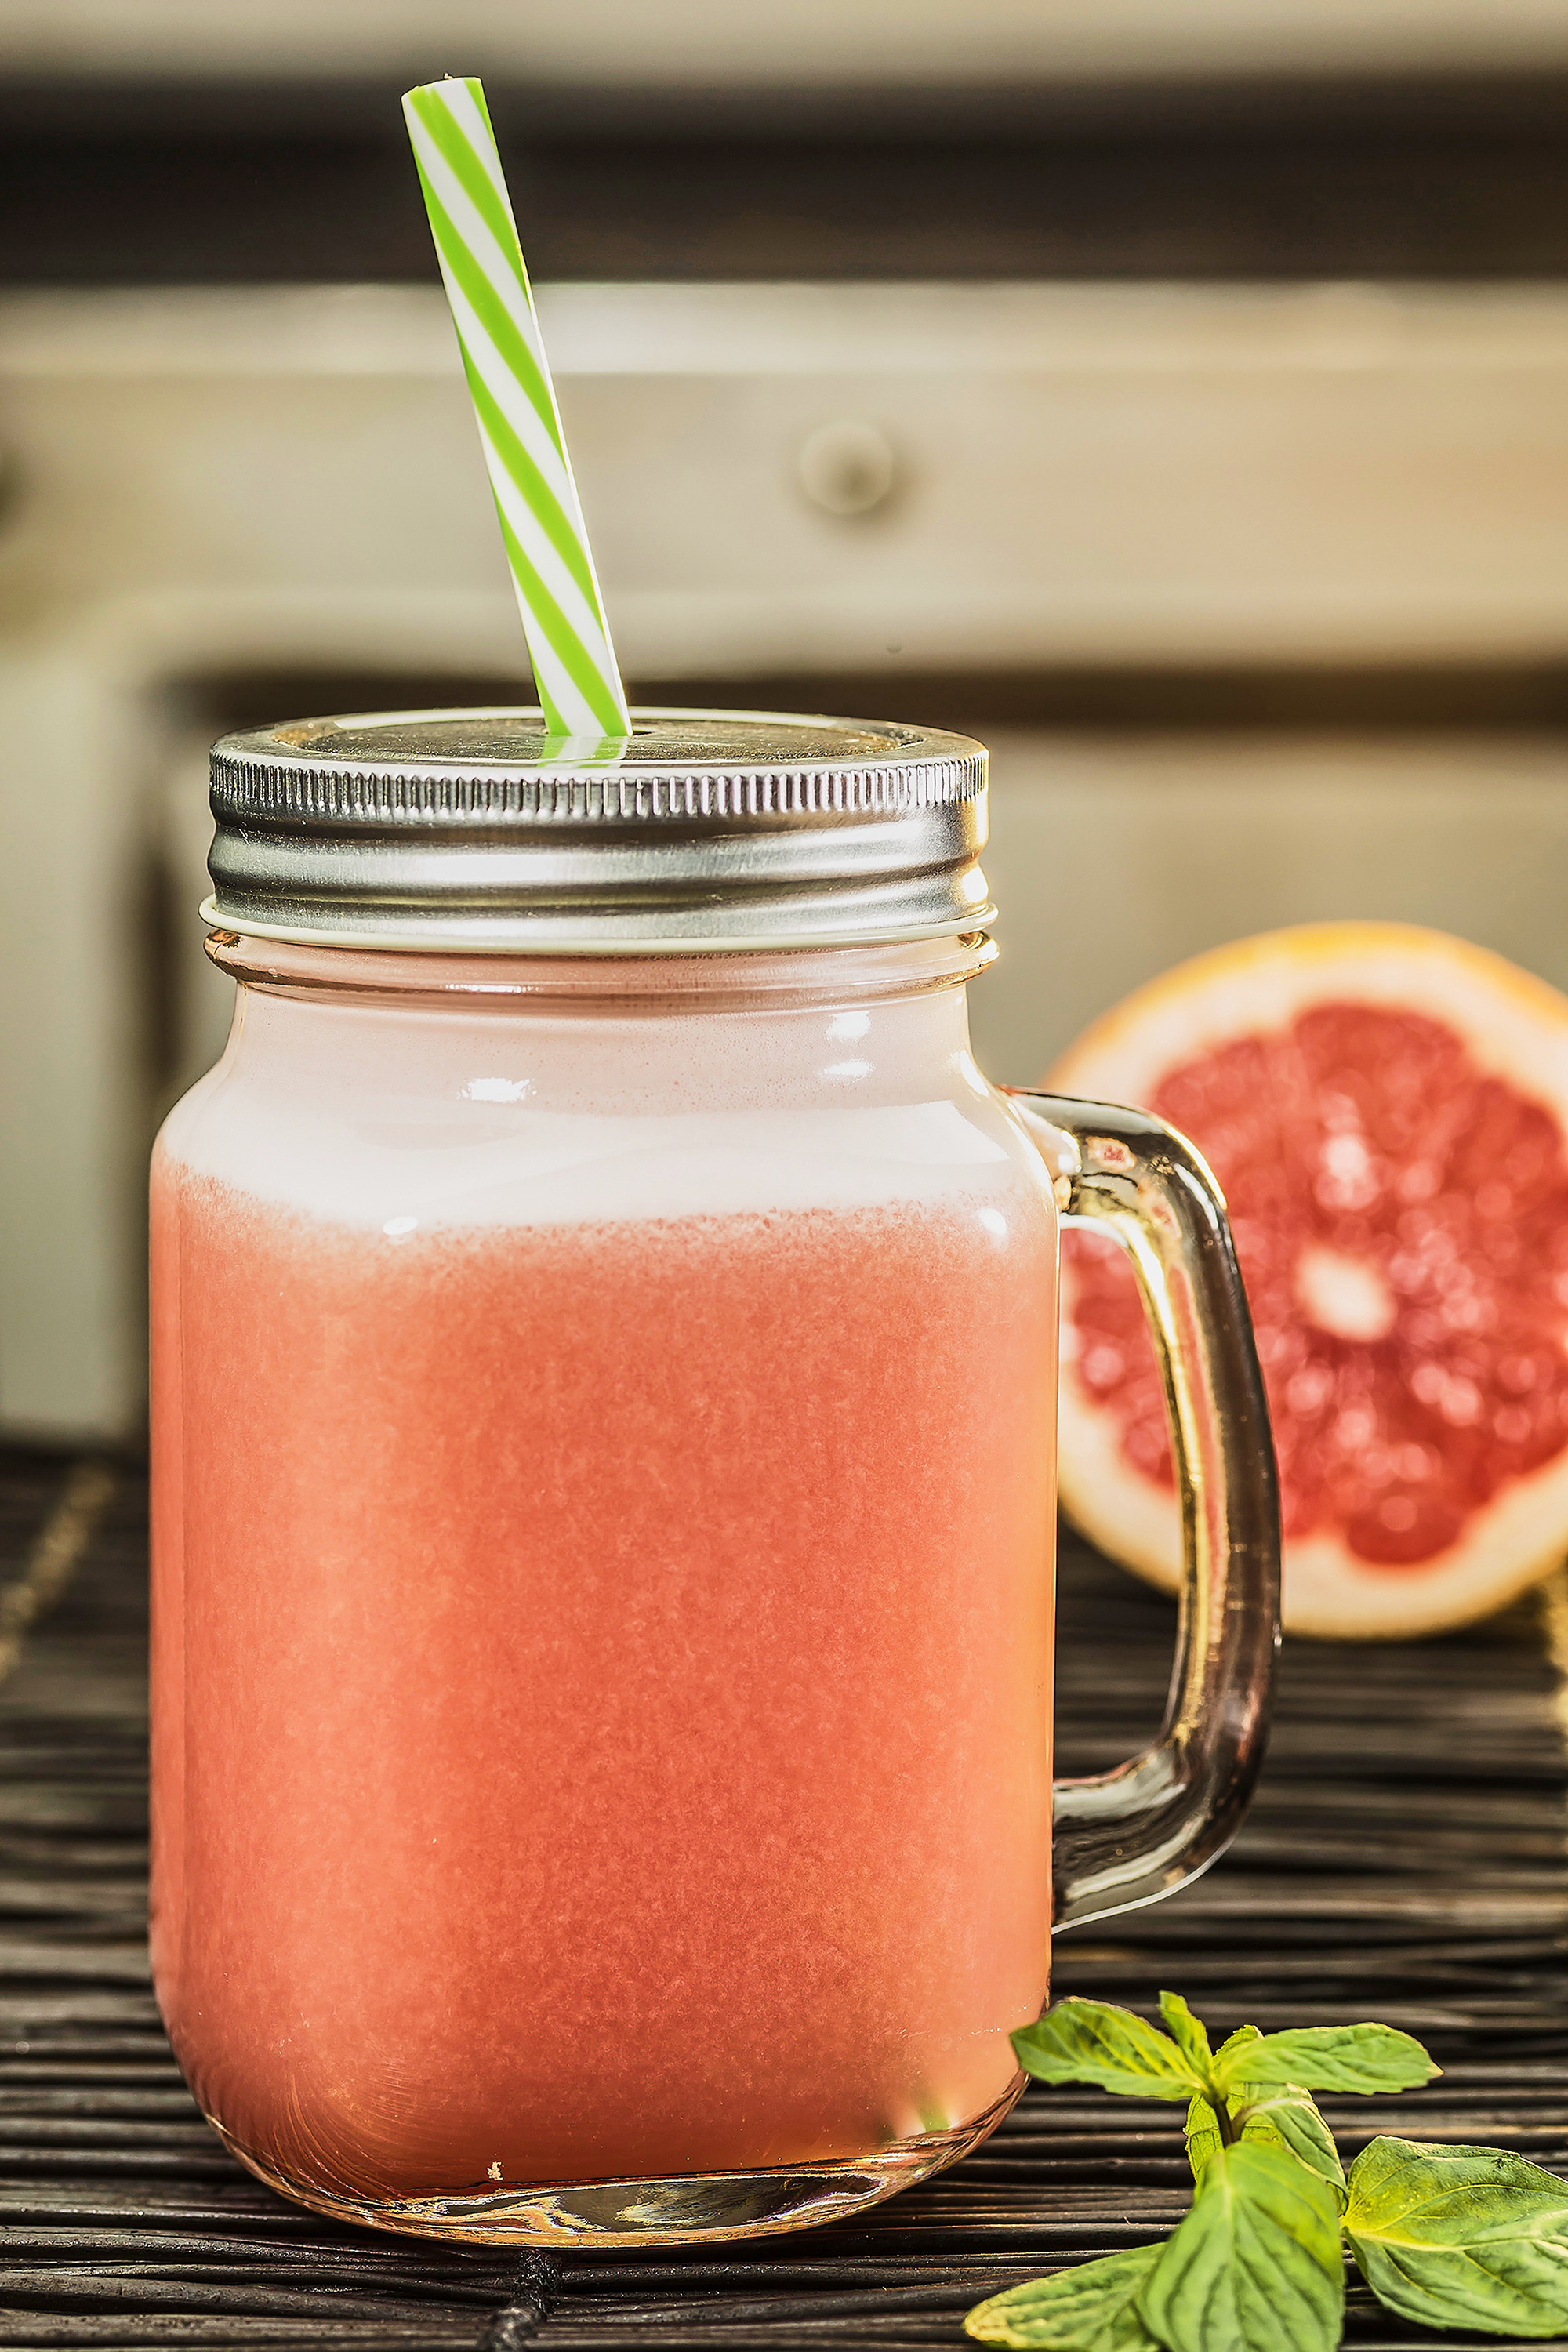
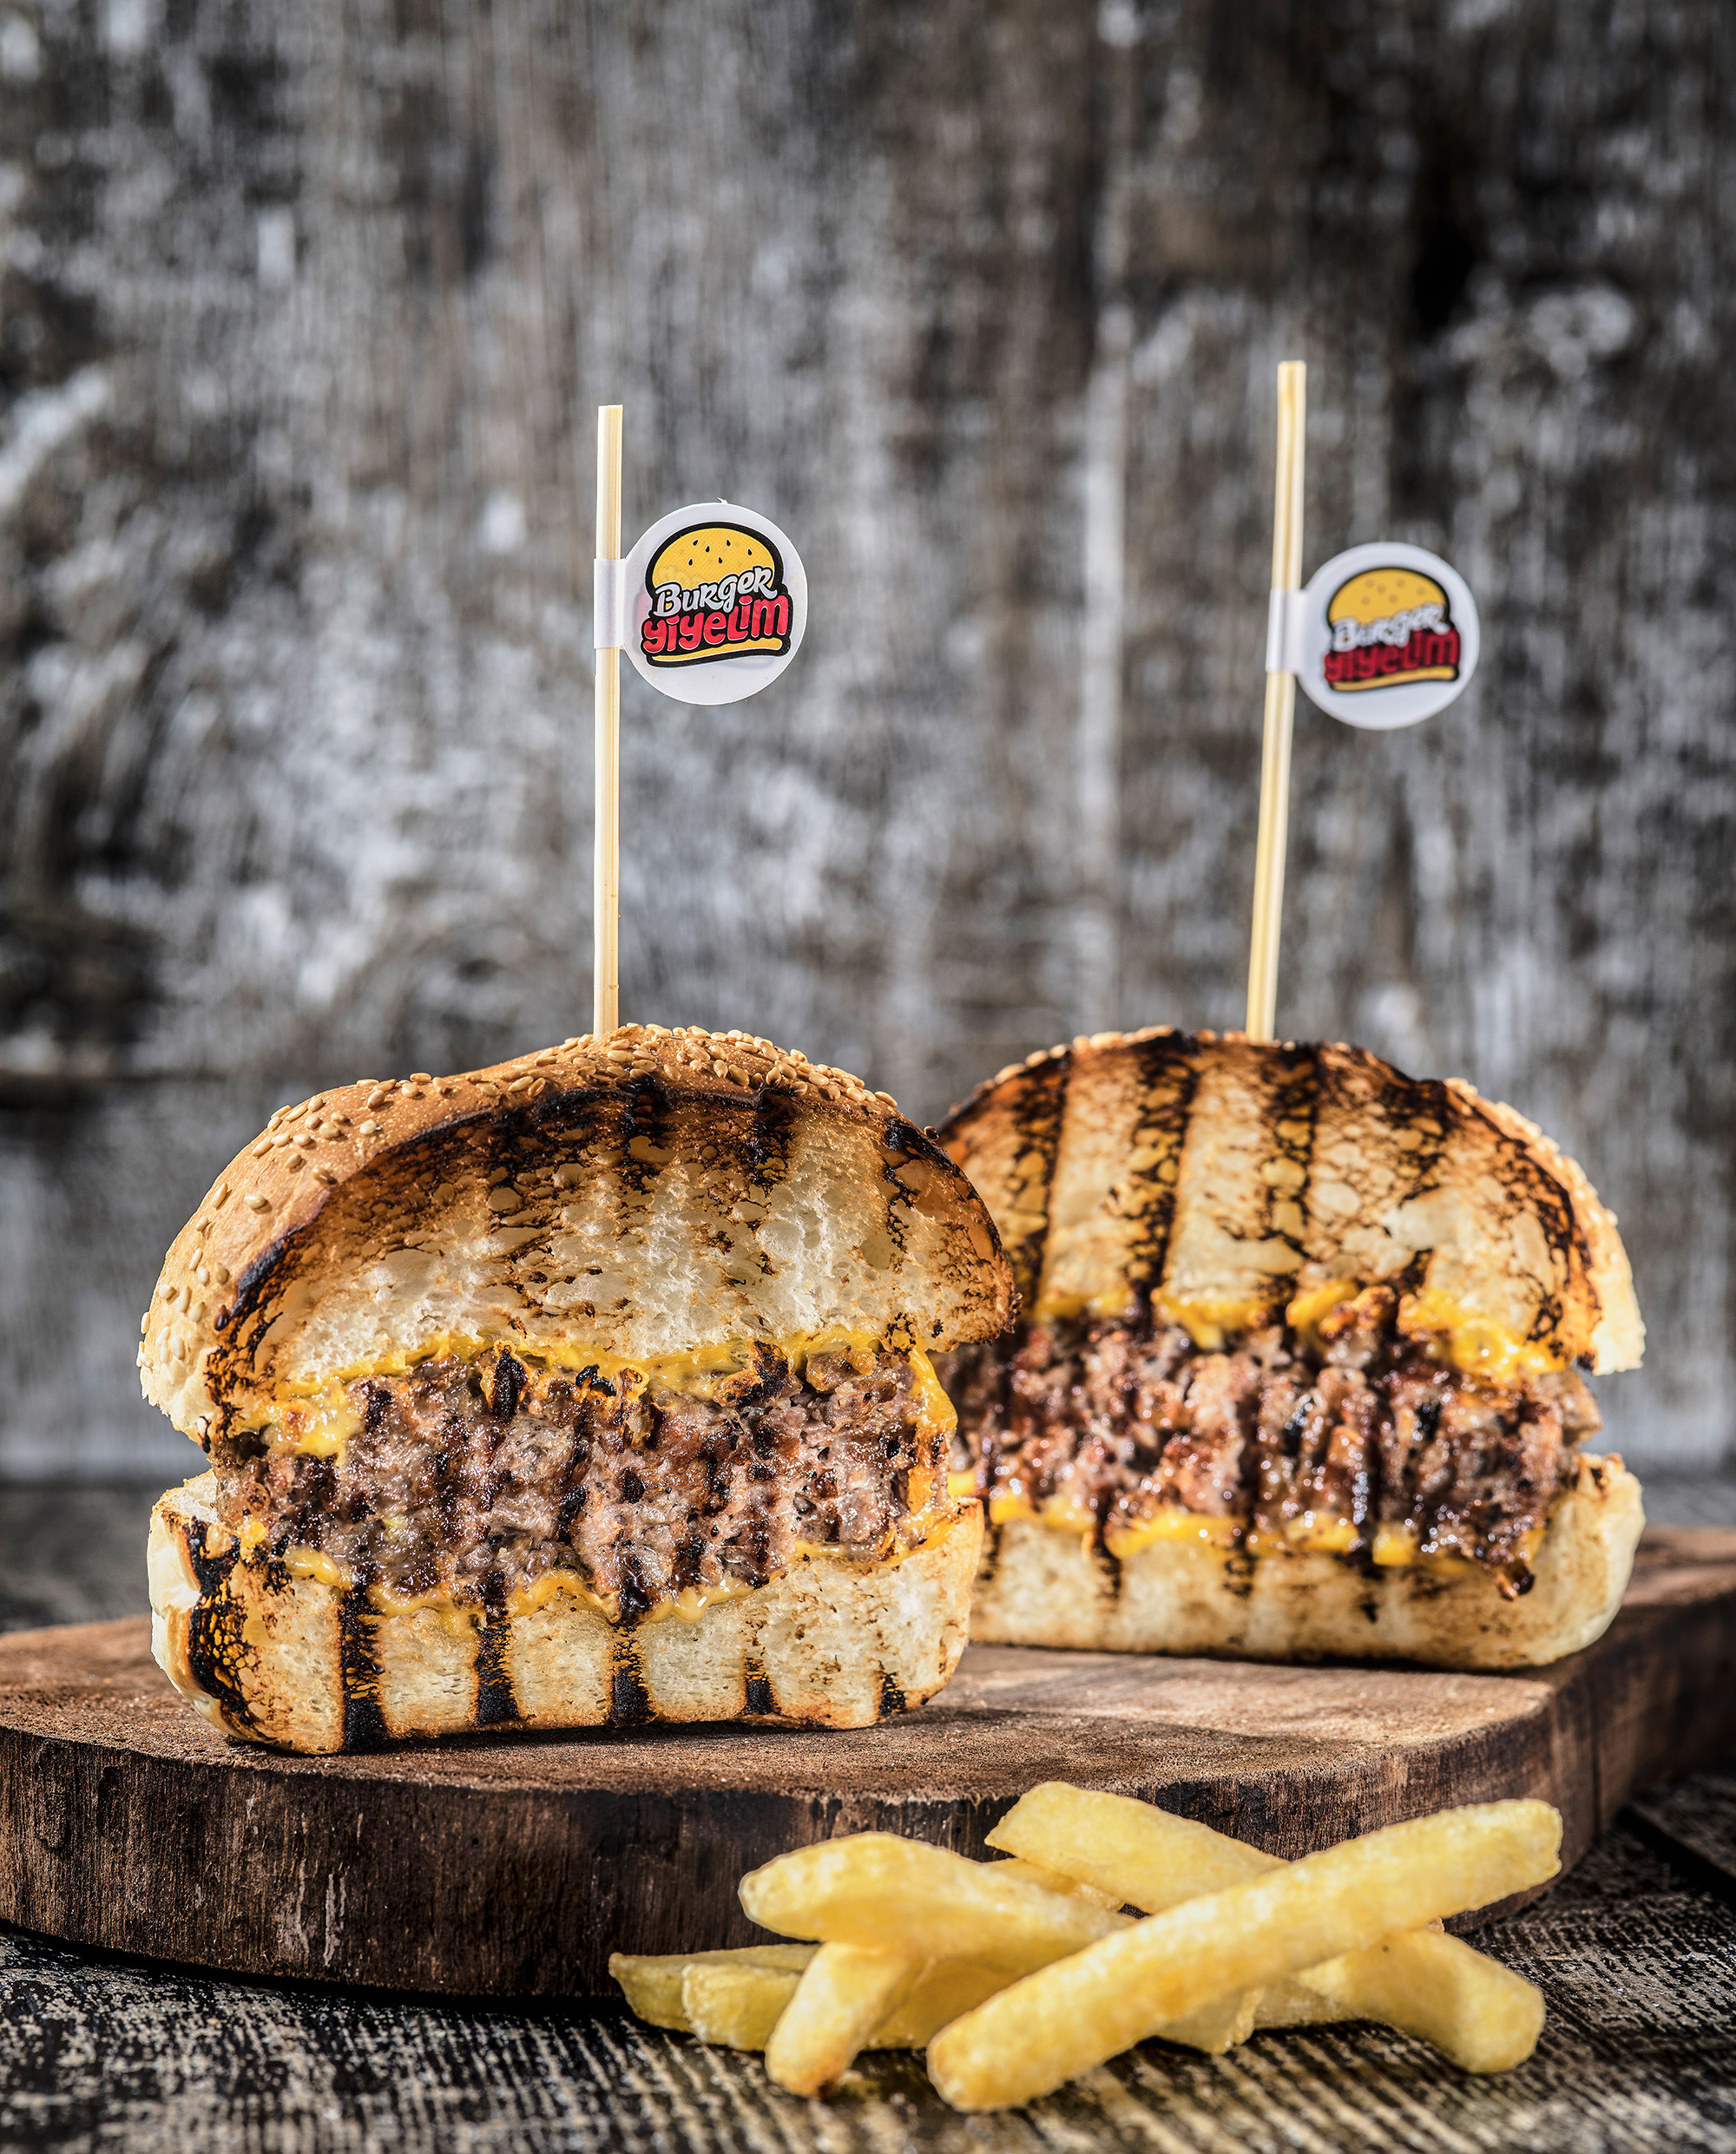
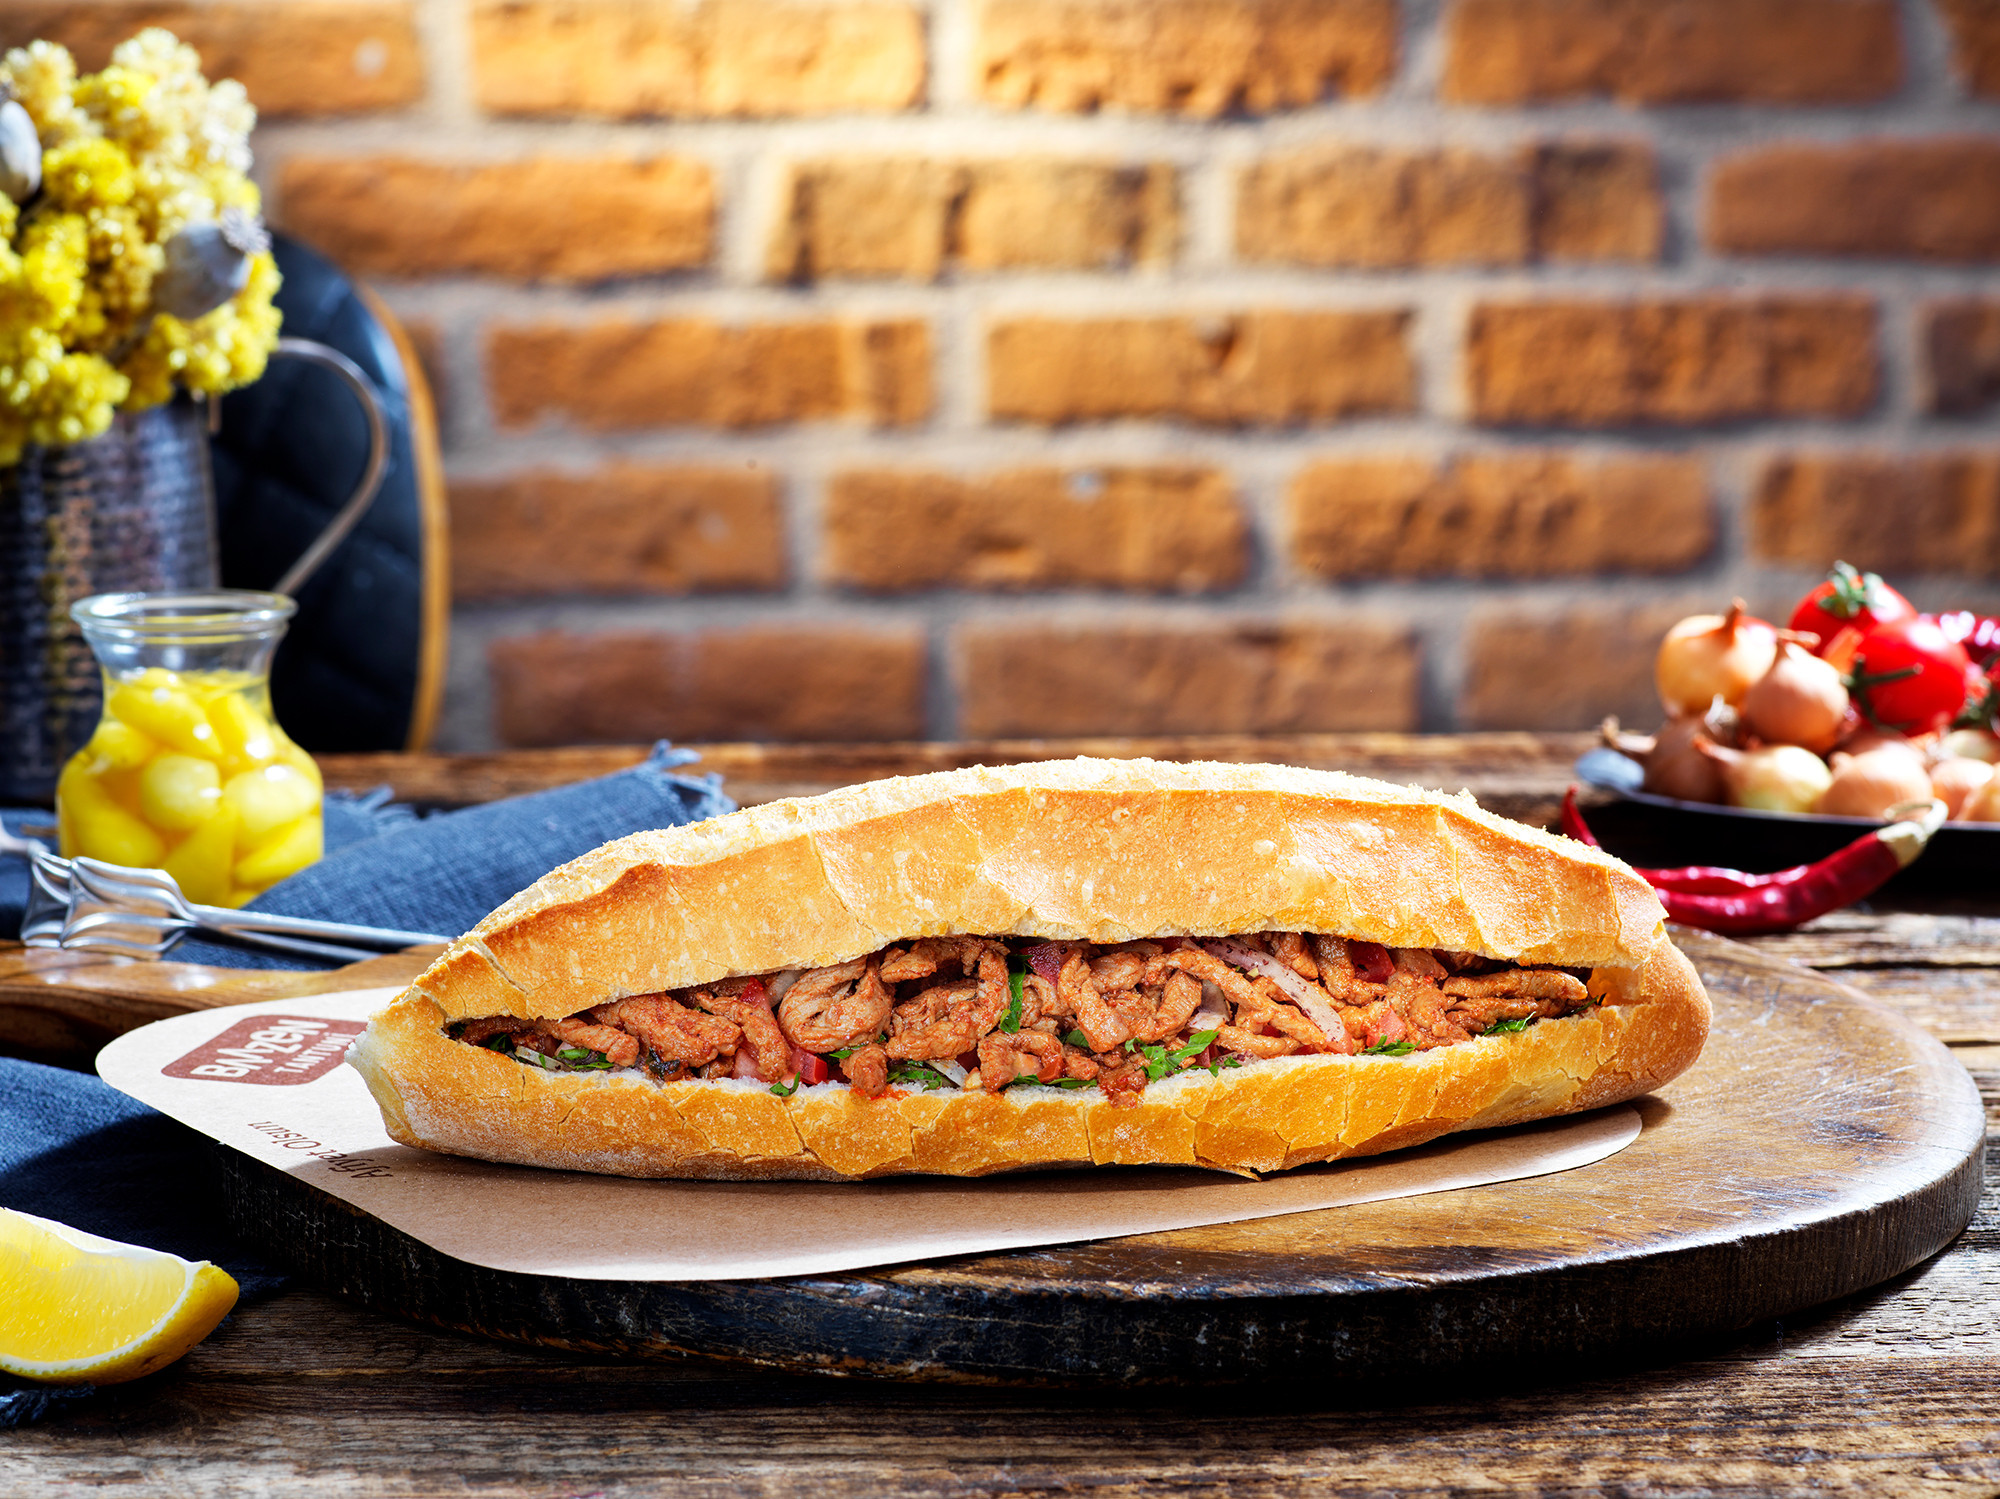
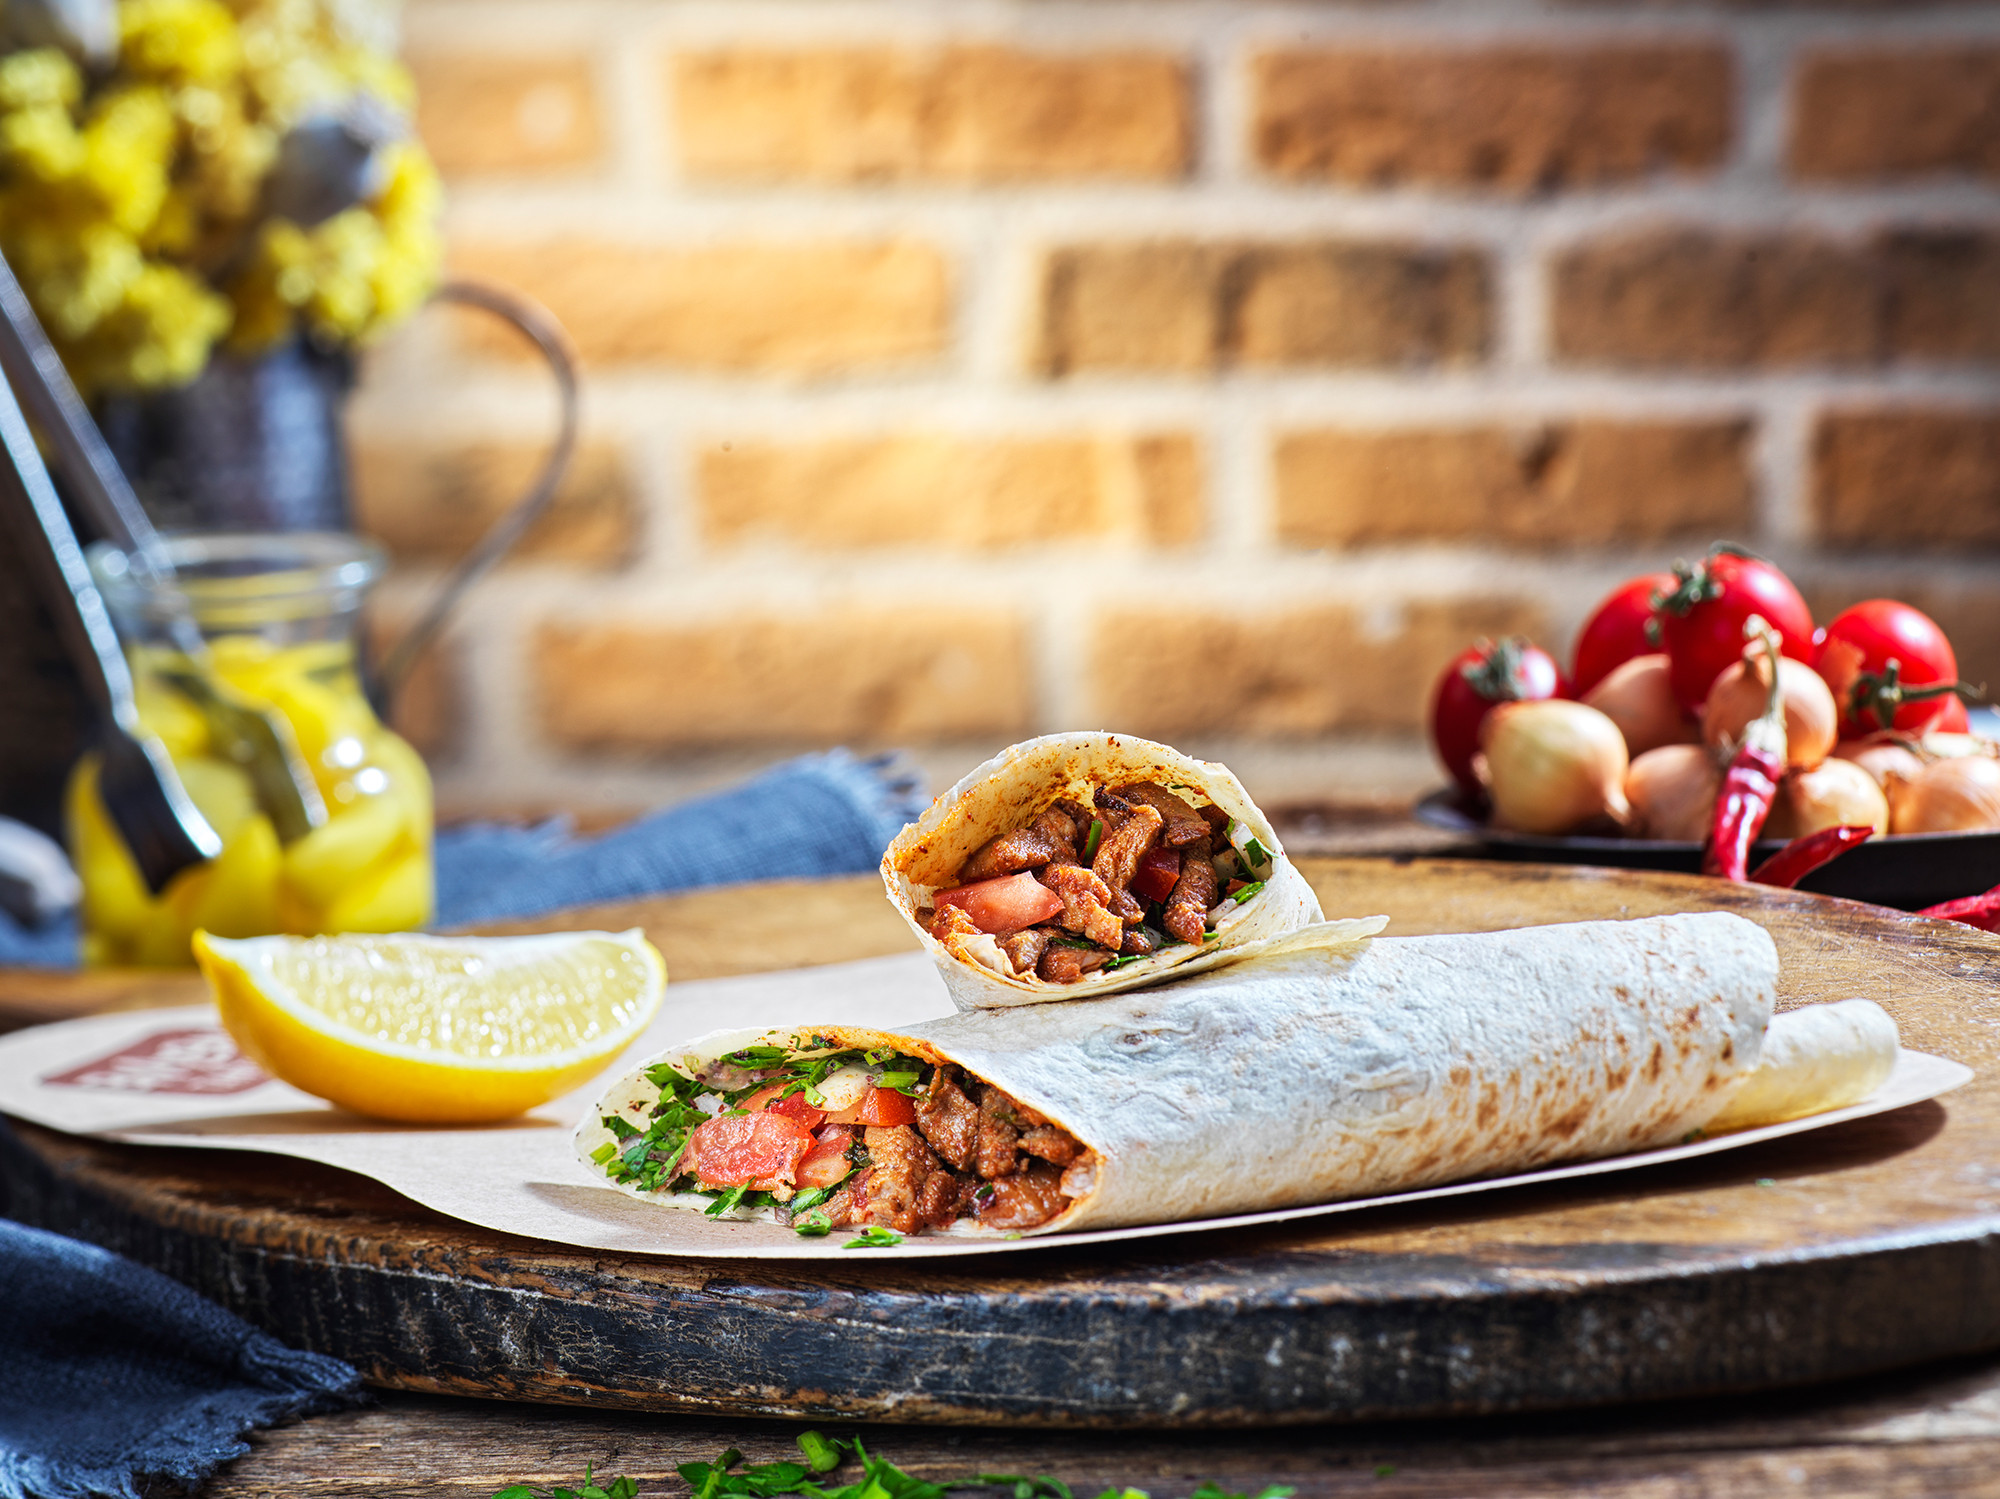
- Eye-Level (0°): Best for tall or layered foods like burgers, sandwiches, or pancakes to showcase texture and height.
Rules and Balance:
- Use the Rule of Thirds to place your subject off-center.
- Employ diagonal layouts and negative space to guide the viewer’s eye naturally across the frame.
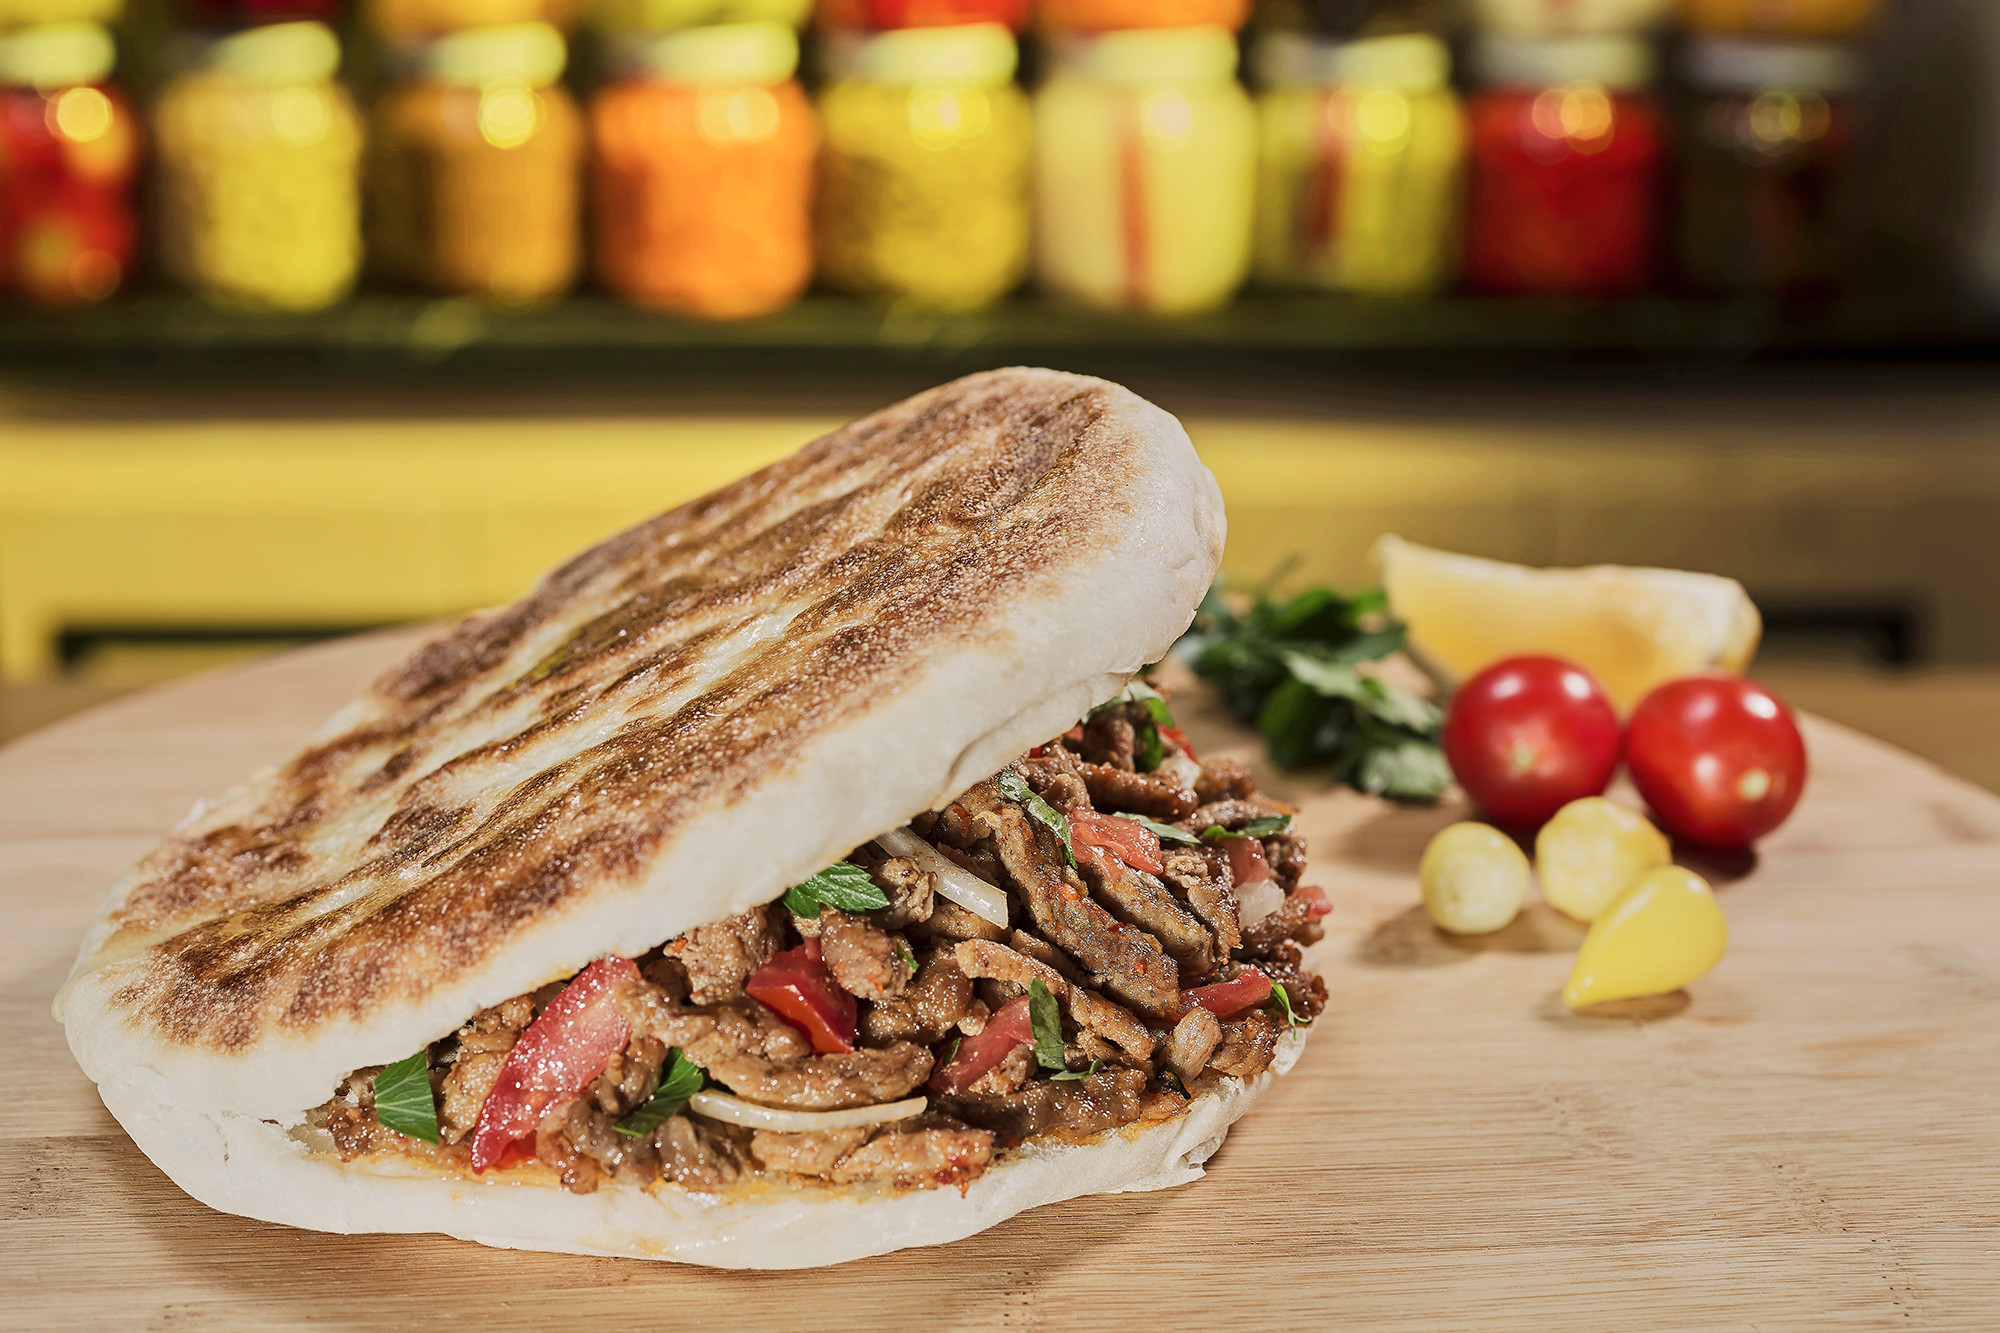
Depth of Field (DOF): A shallow DOF (low f/stop value) blurs the background (bokeh), drawing attention directly to the food. Especially effective for emphasizing texture.
3. Styling and Storytelling
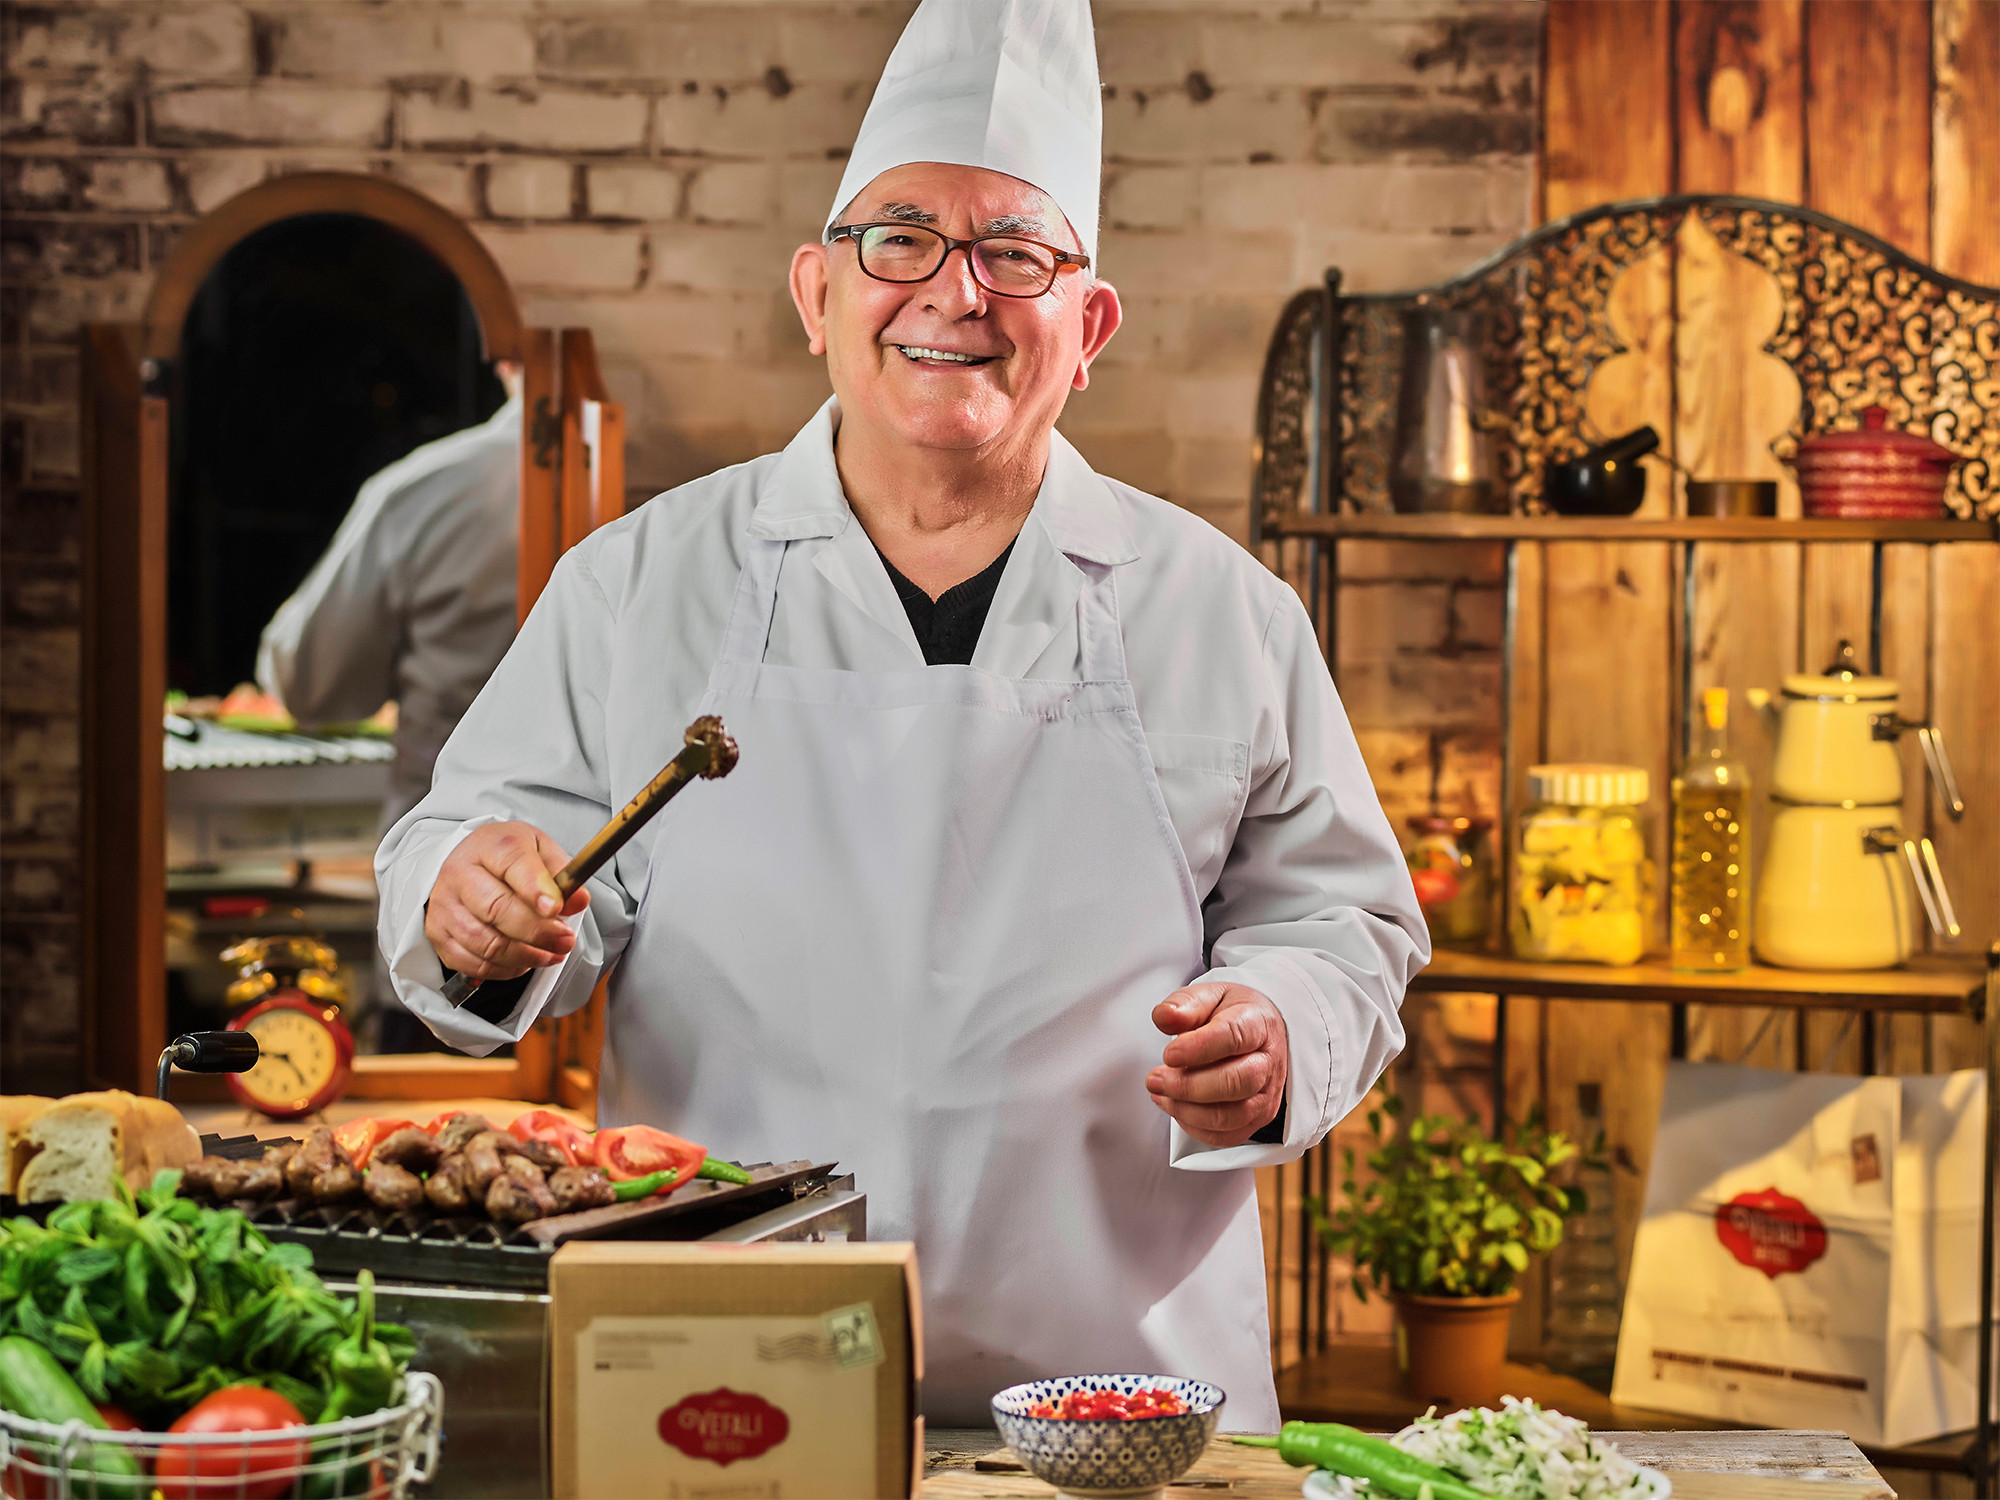
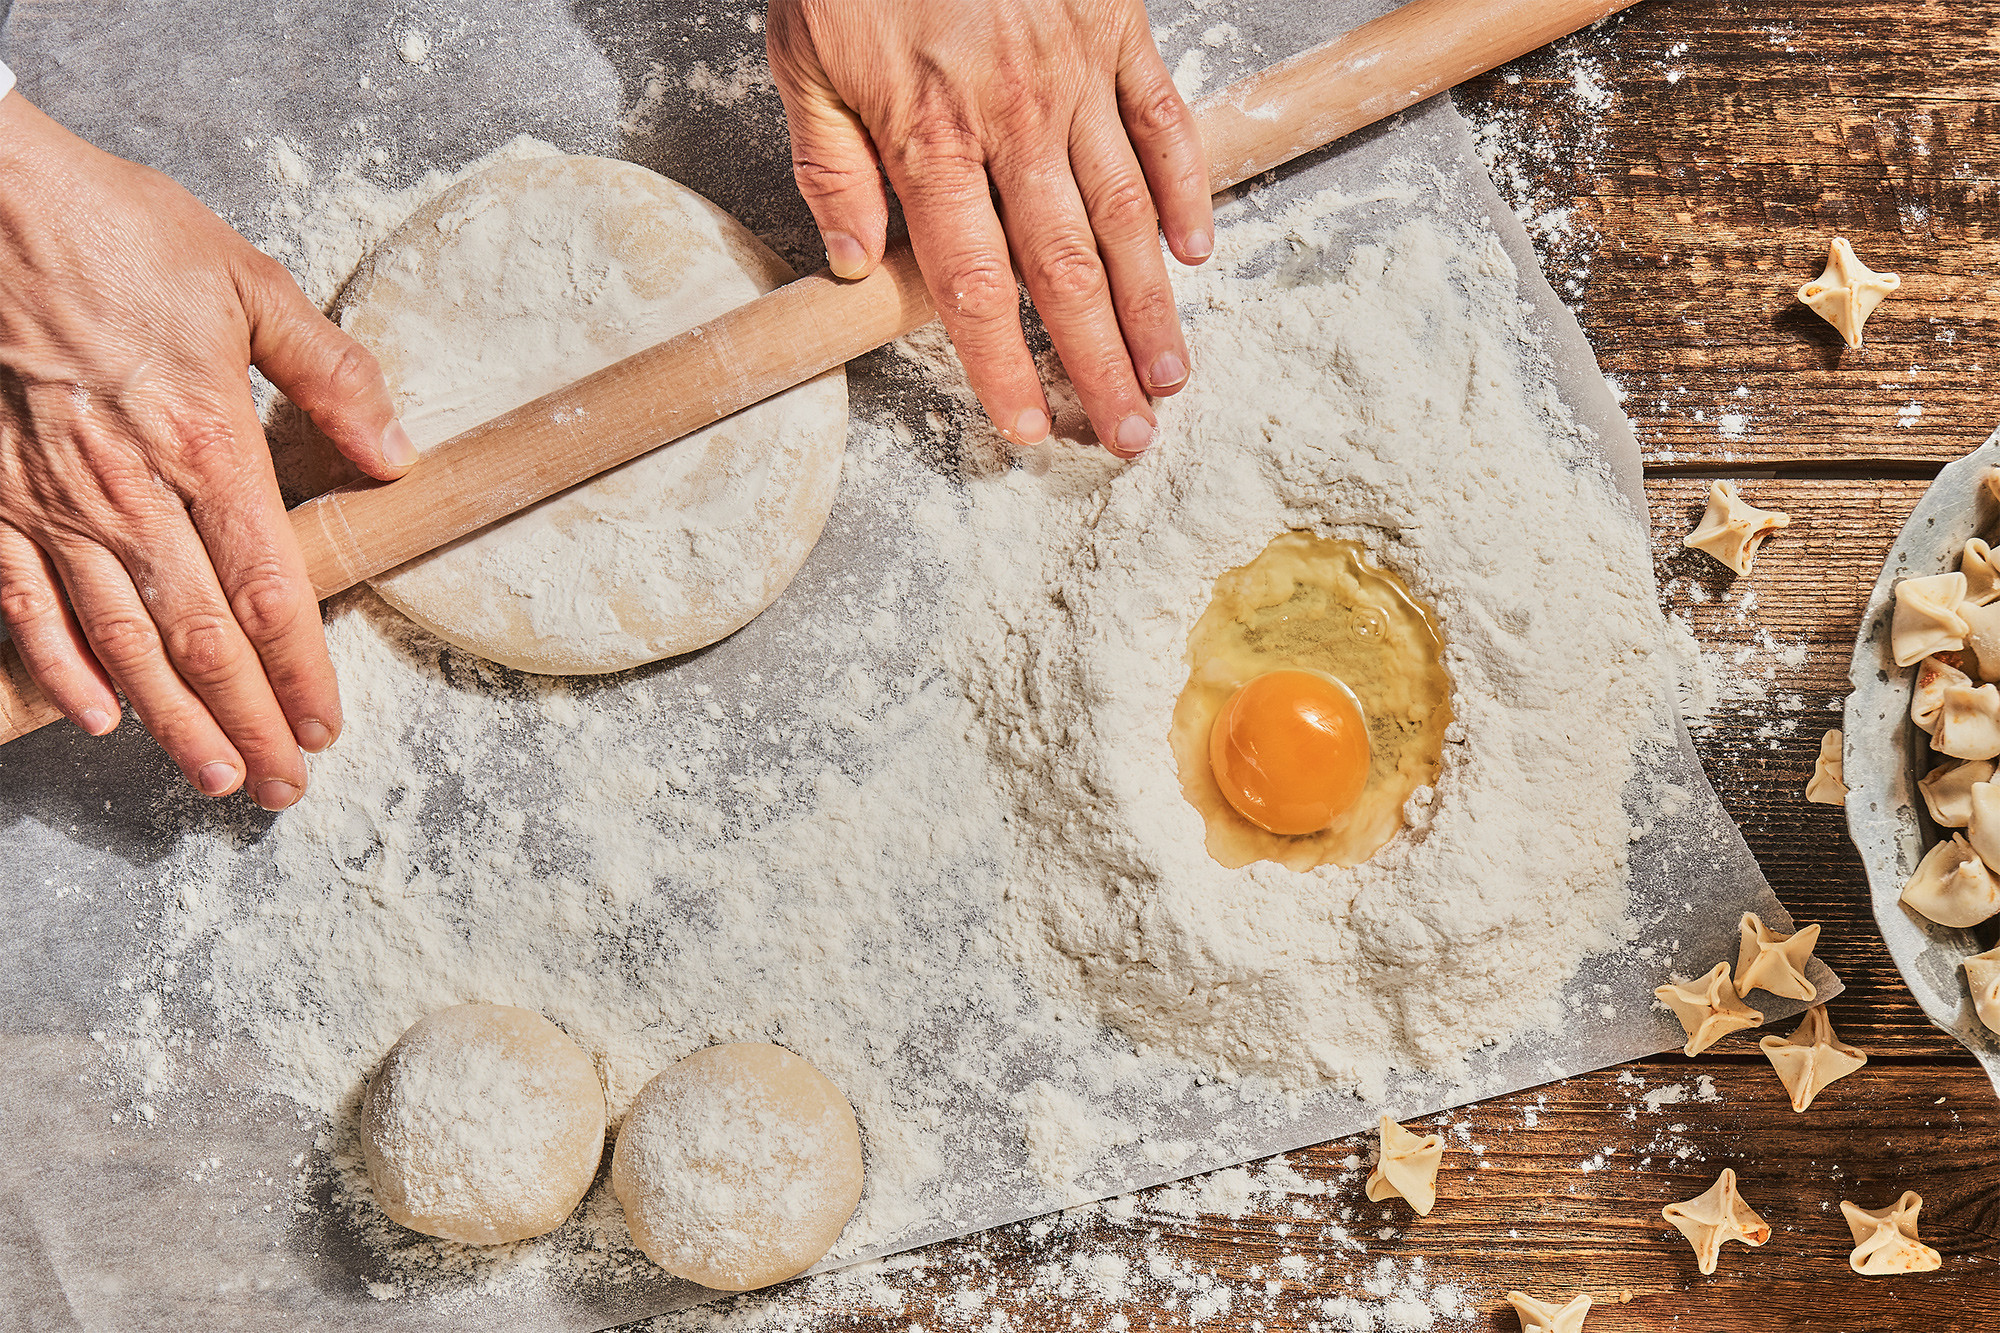
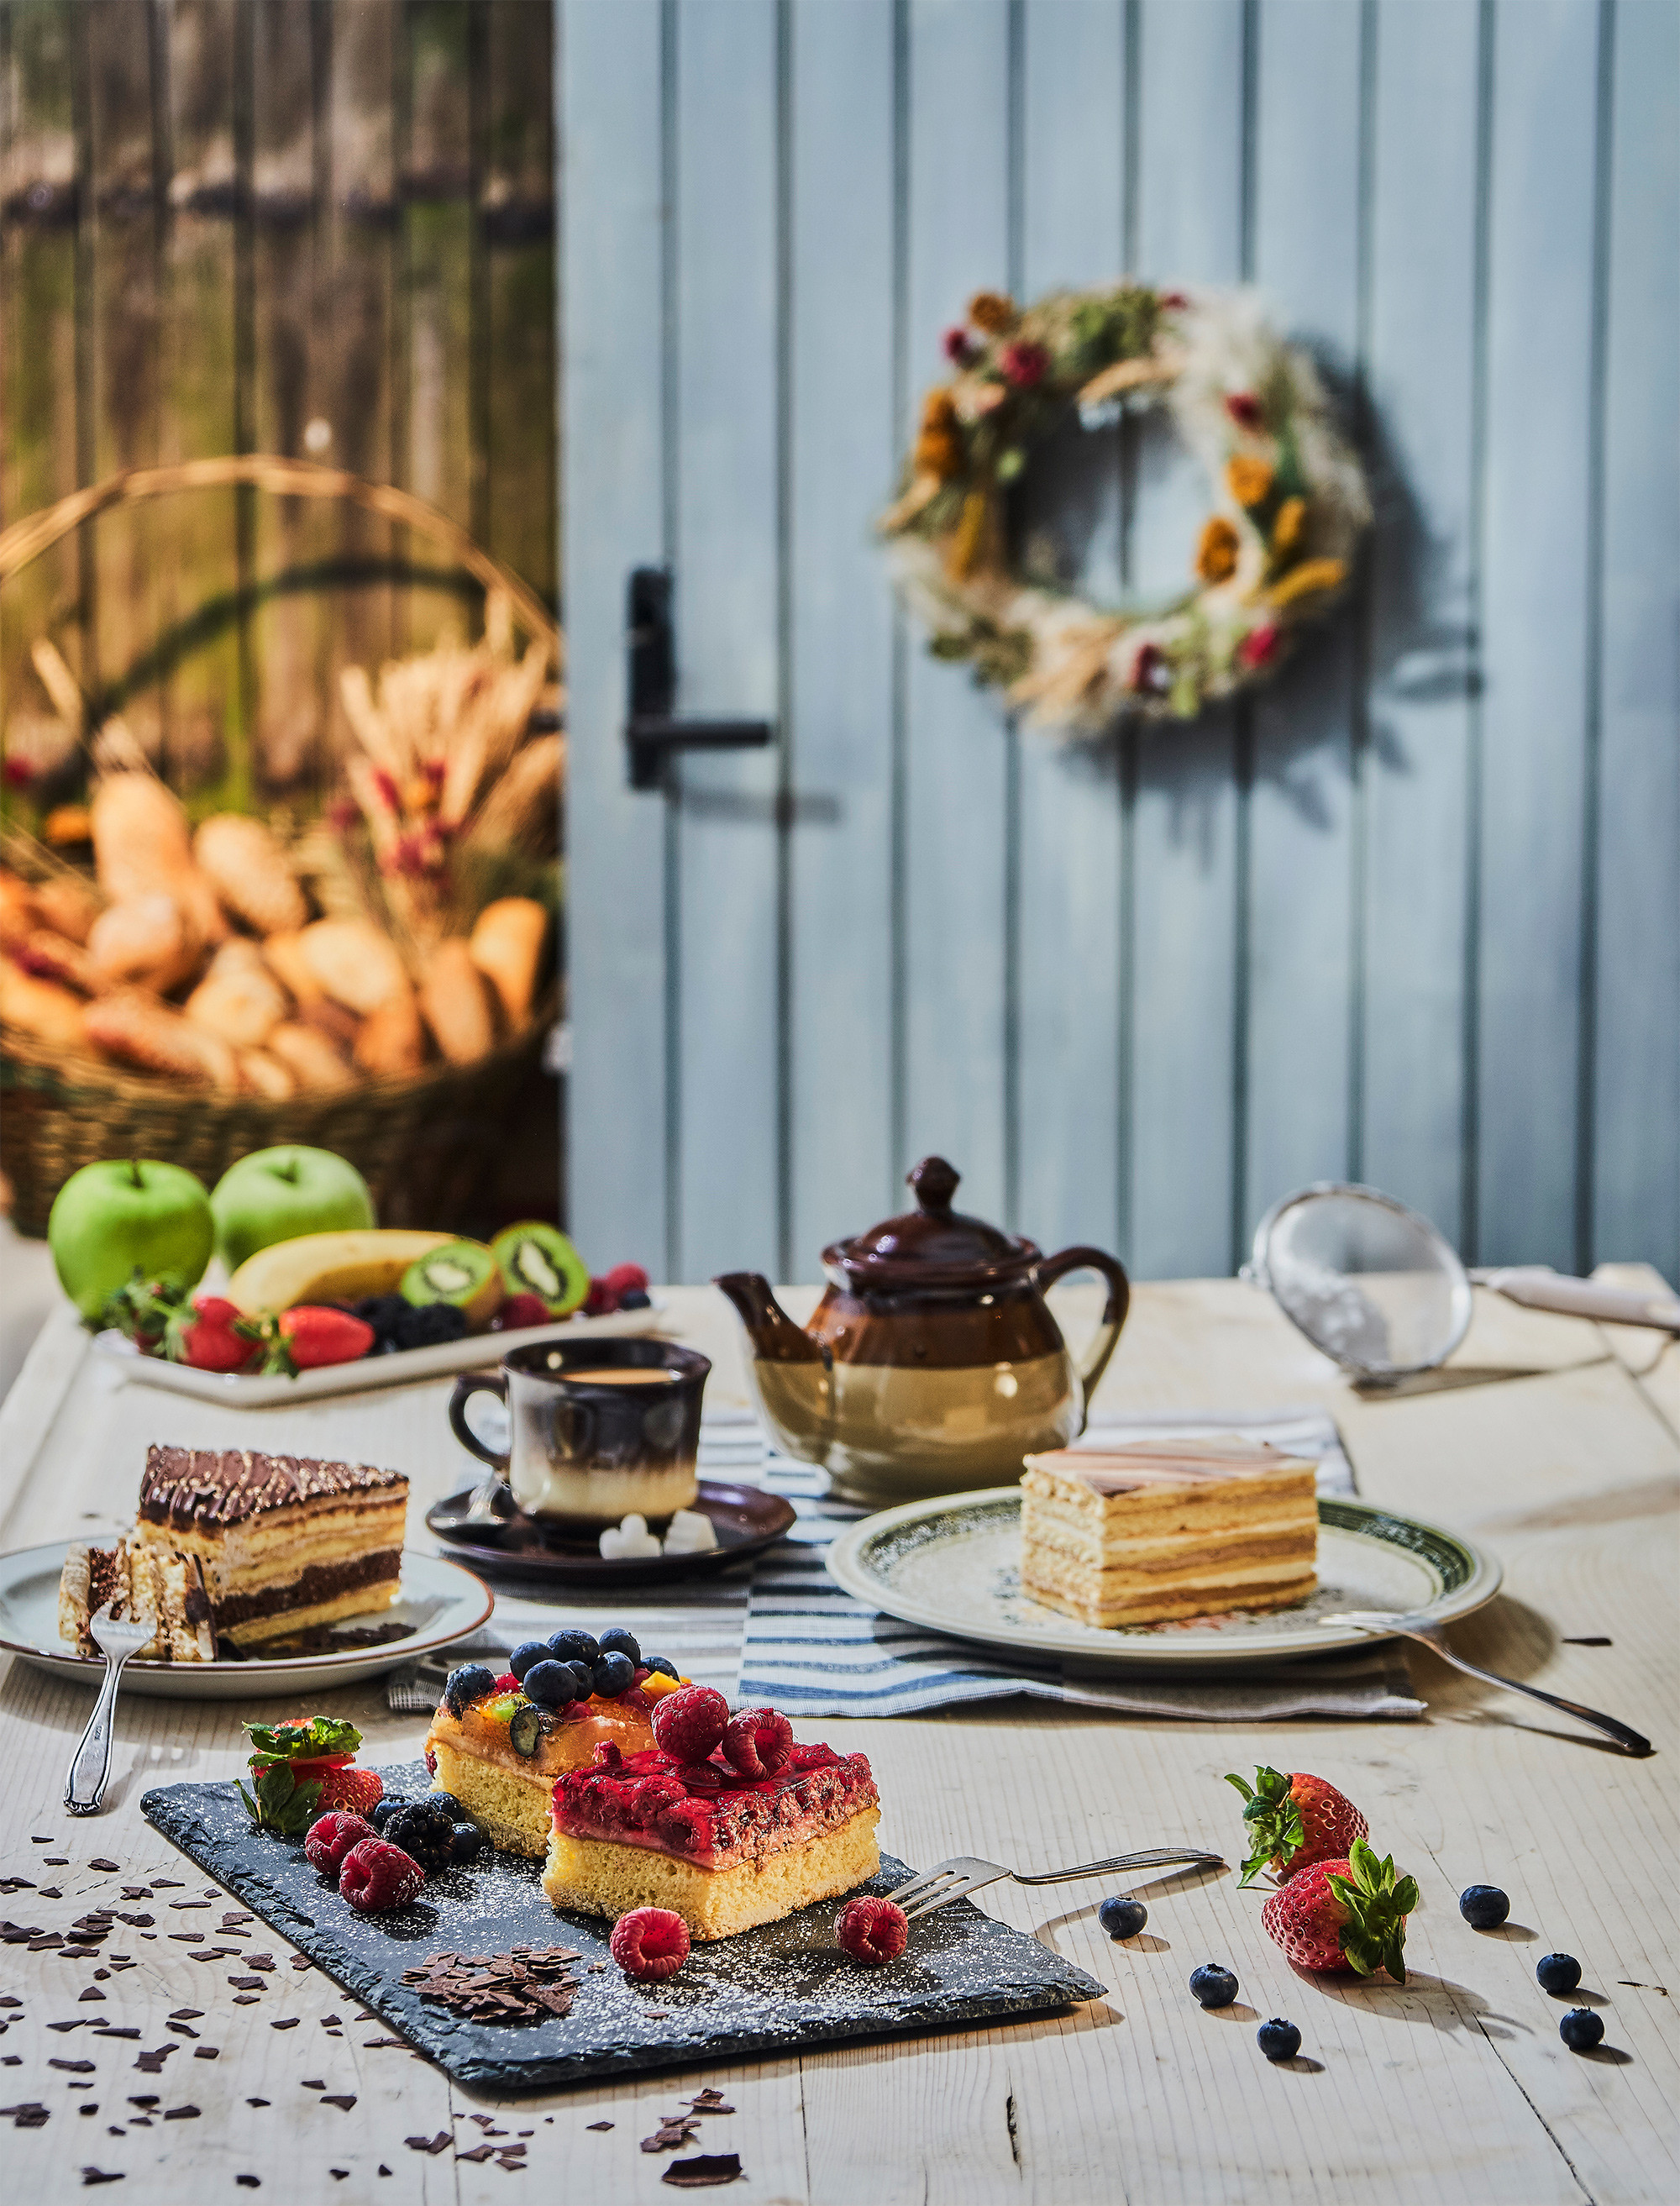
A food photo should not just show food—it should tell a story.
- Think Like a Food Stylist: Work quickly to capture dishes at their freshest and most appetizing. Add fresh ingredients (greens, herbs, sauces) just before shooting to avoid a dull look. Use water sprays for a fresh or dewy effect when needed.
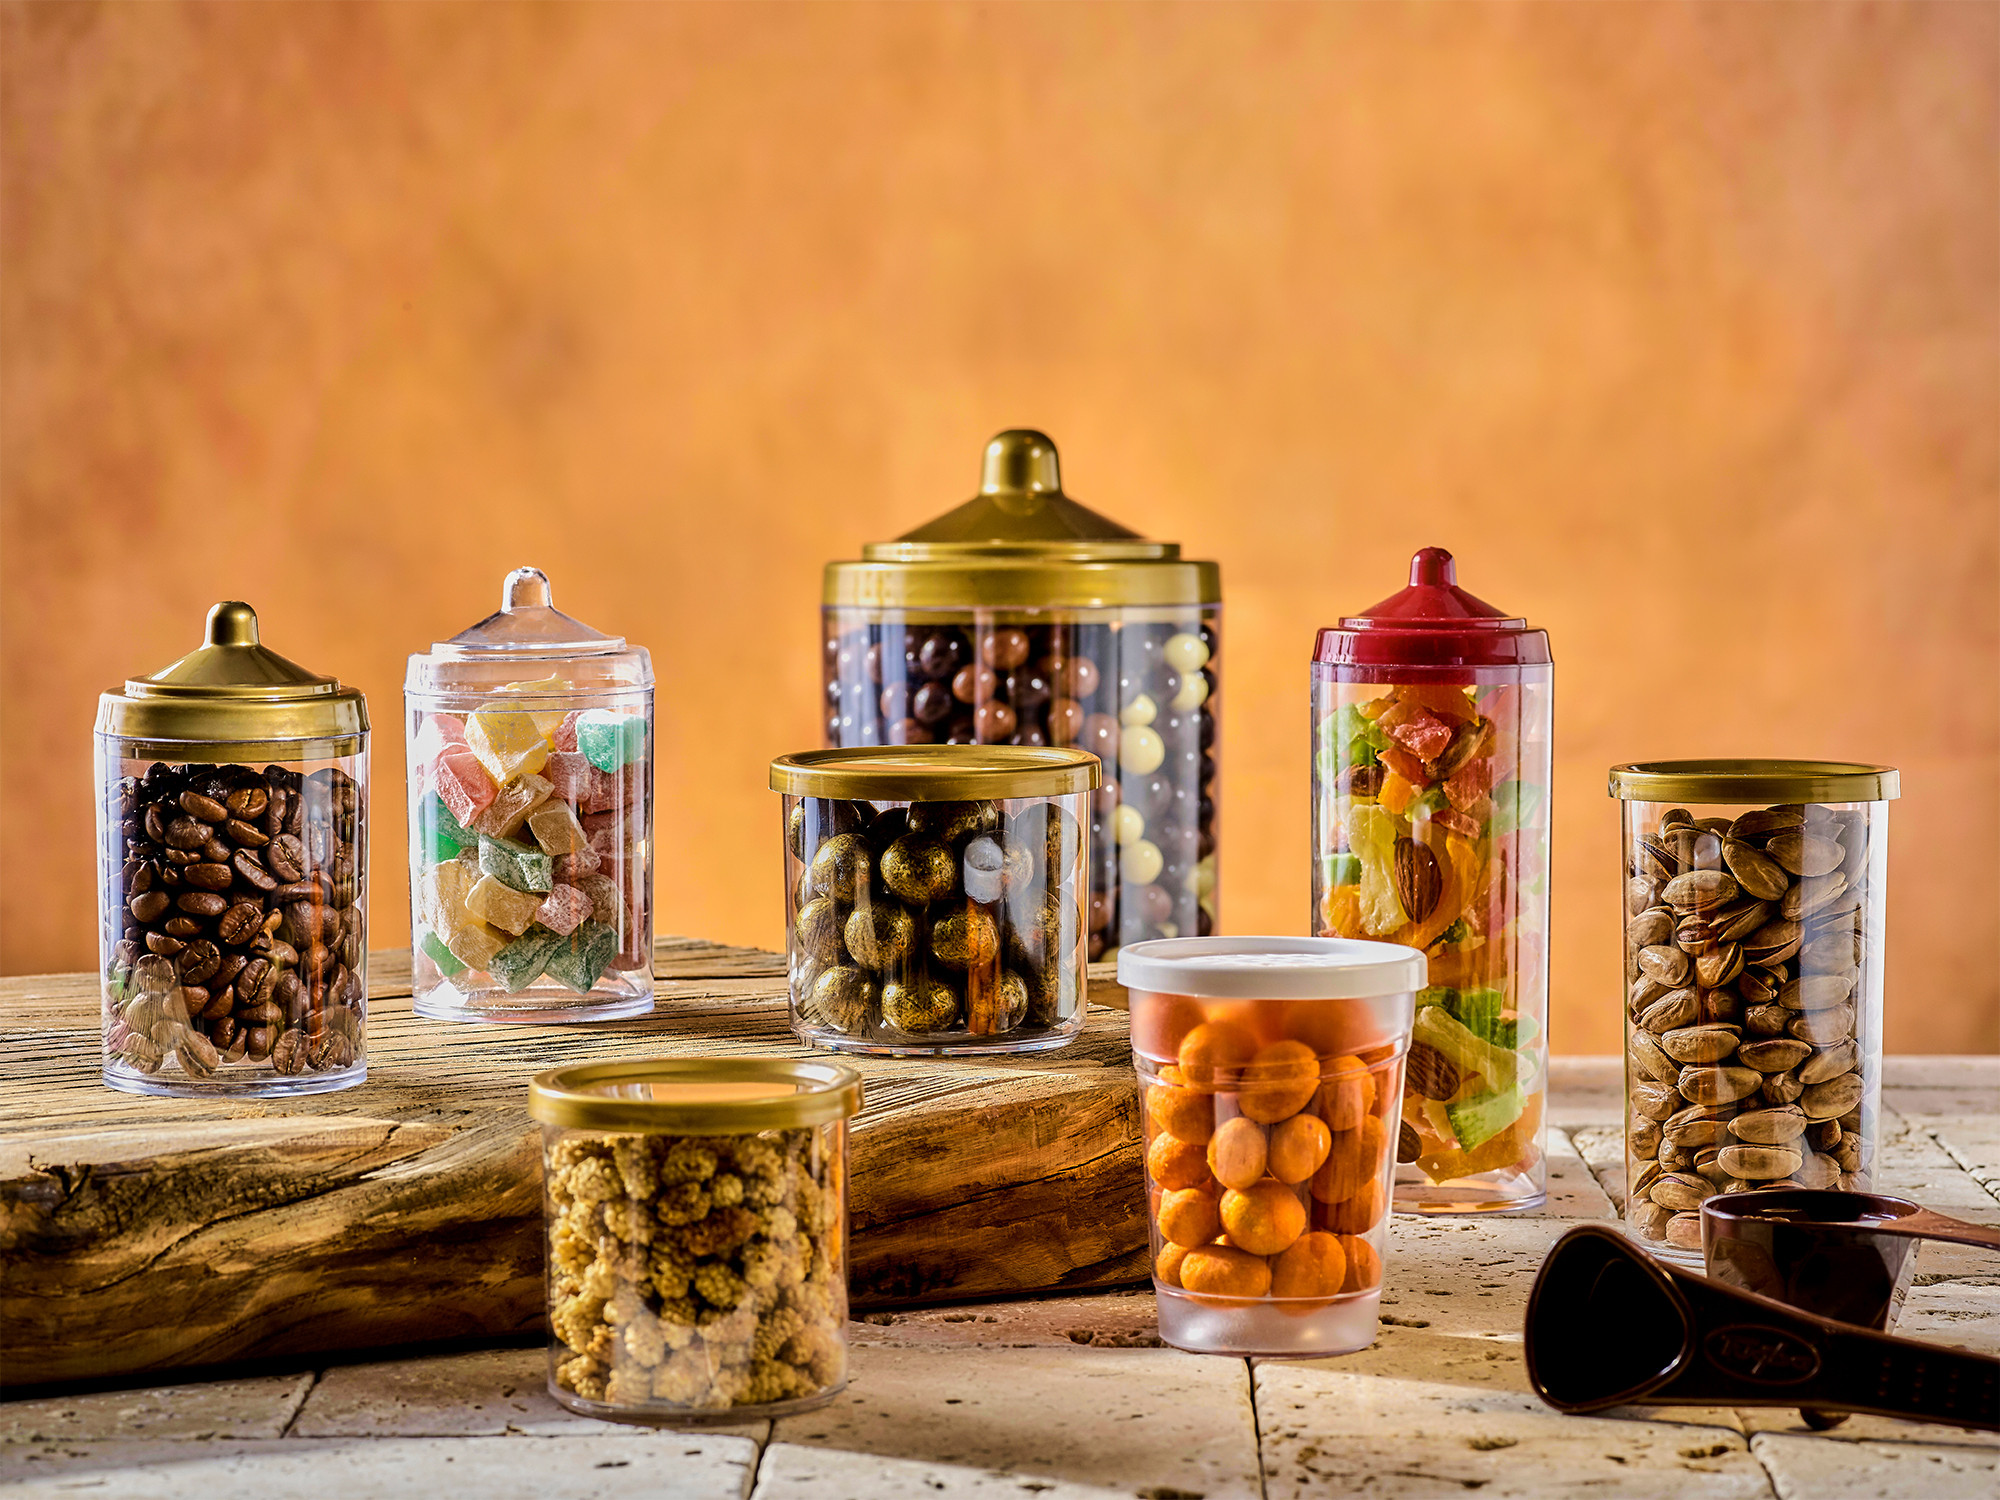
- Props: Choose props that support the story but don’t overshadow the food.
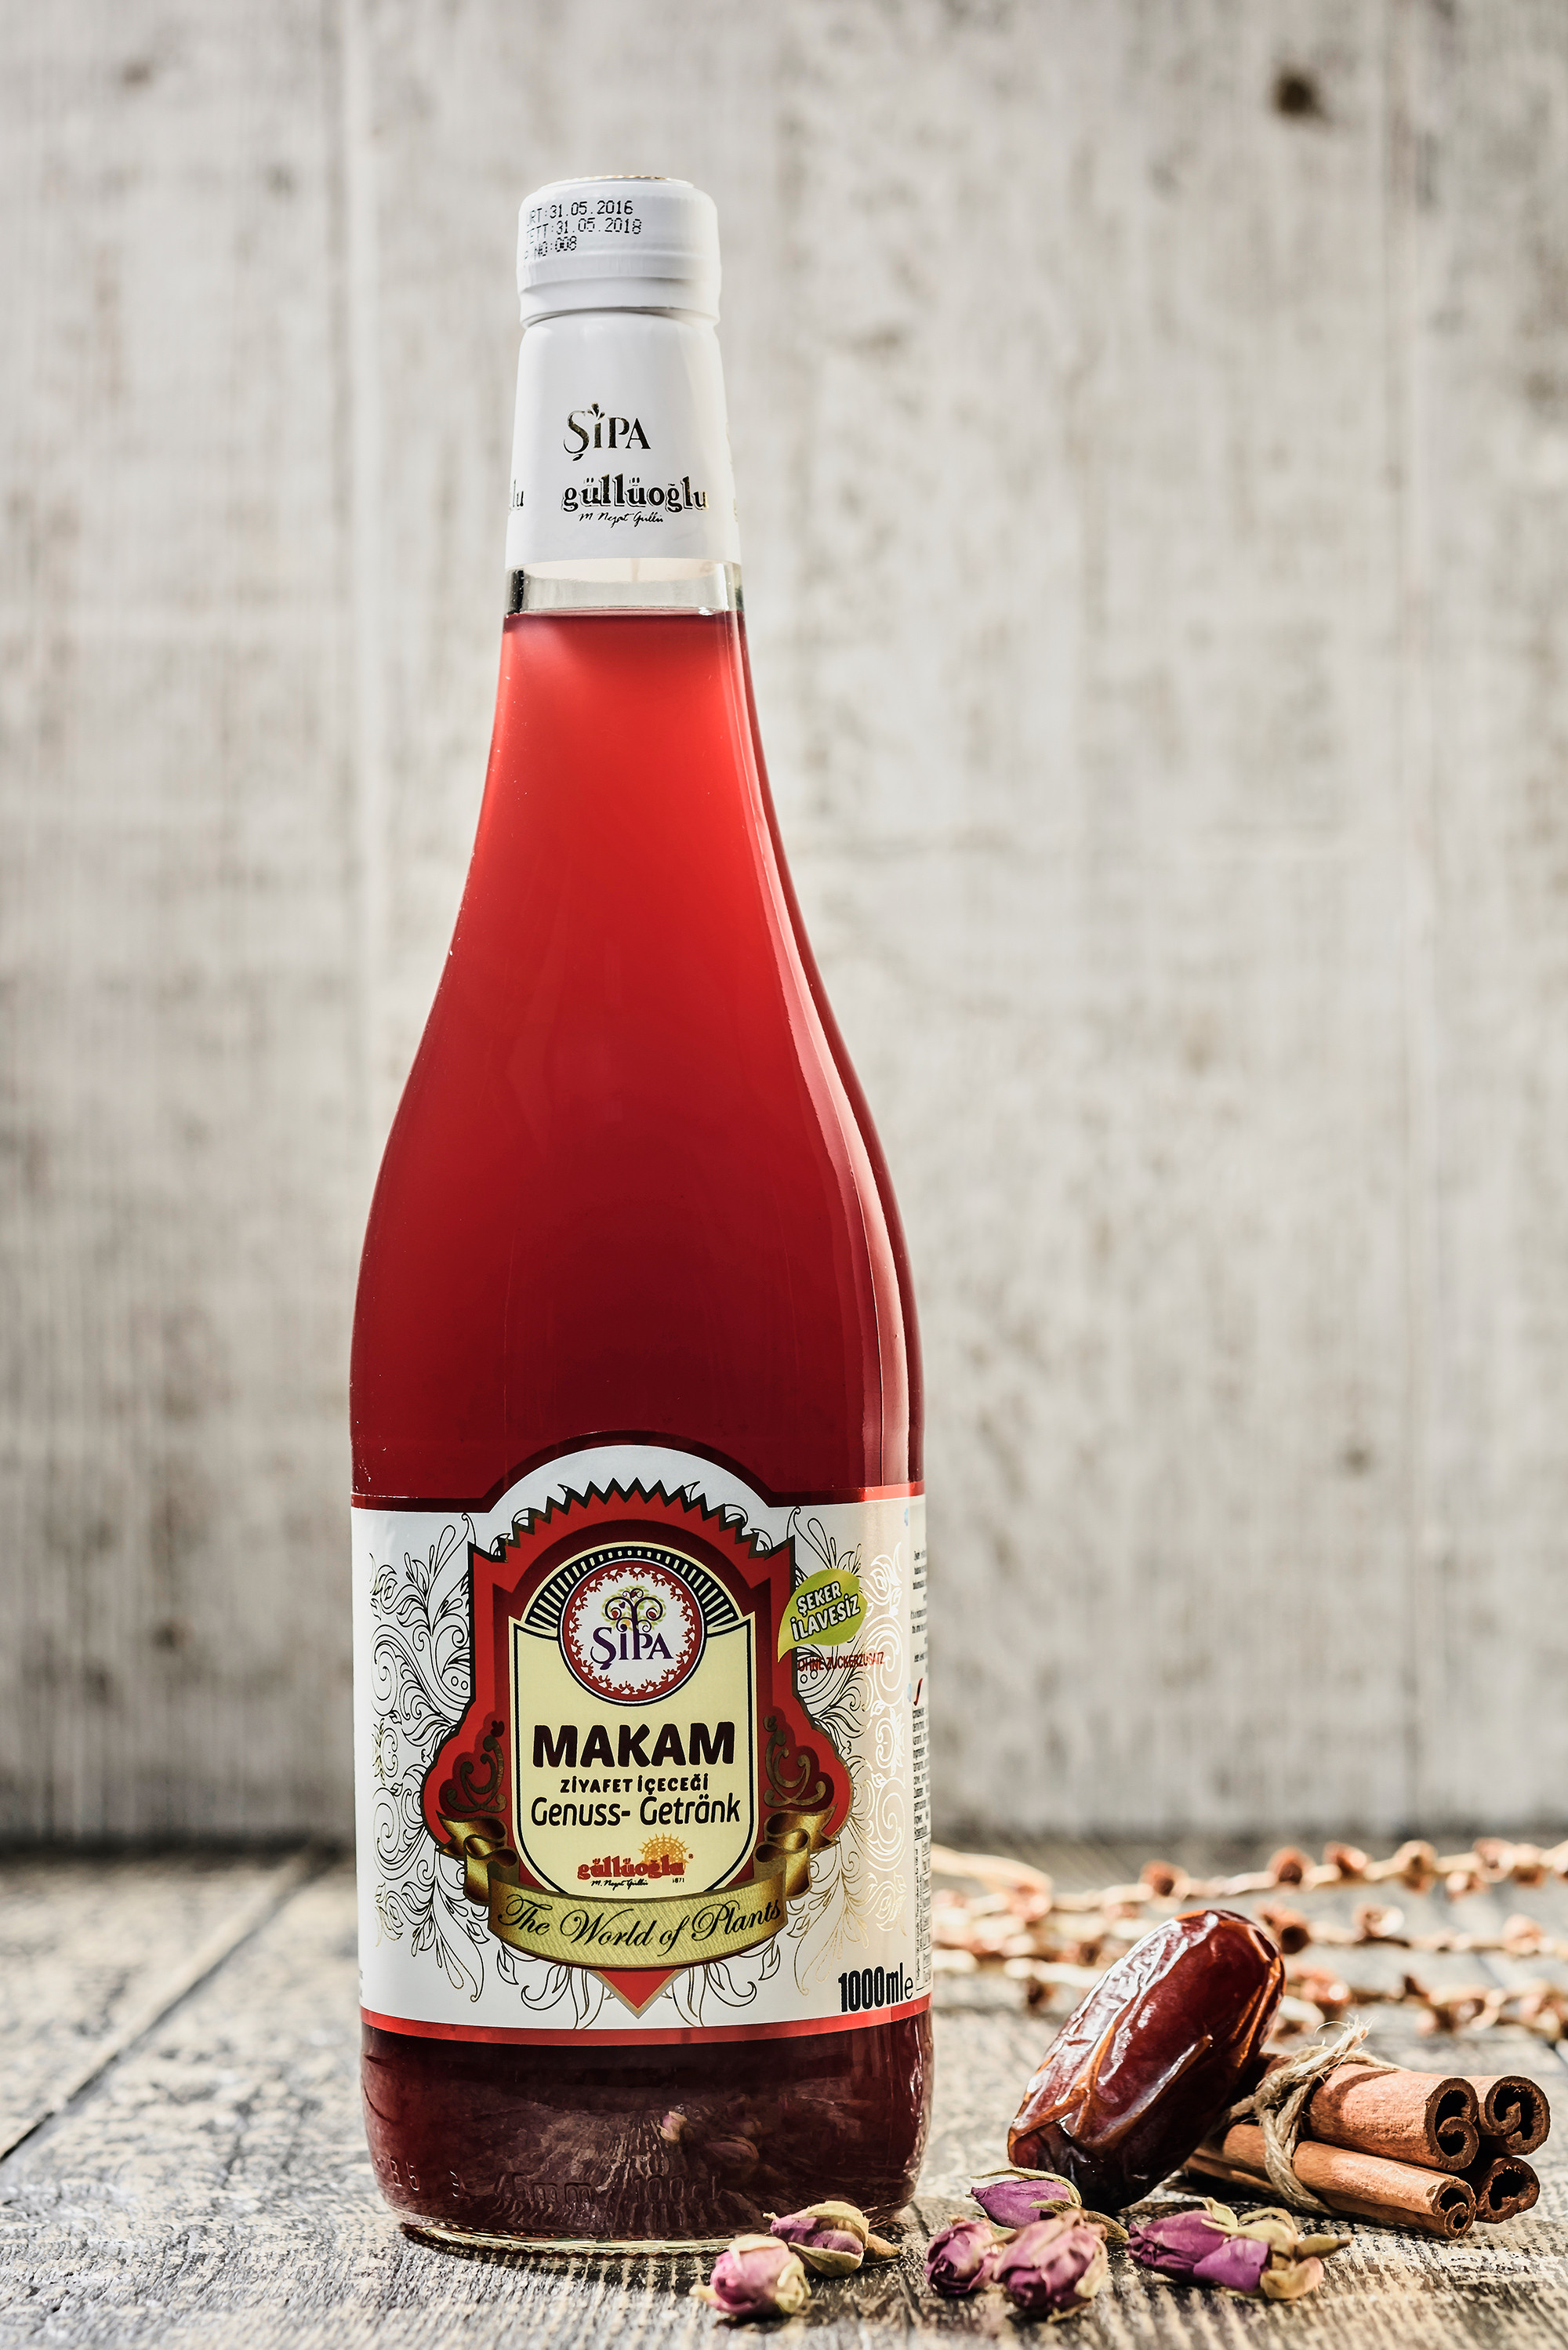
- Backgrounds: Use textured surfaces like wood, marble, linen, or custom backdrops to add character.
- Serving Ware: Simple, unpatterned plates and vintage cutlery help keep the focus on the food. Smaller plates and bowls can make portions look fuller.
- Extra Ingredients: Include raw ingredients like herbs, spices, or sliced fruits used in the dish to enhance a sense of freshness.
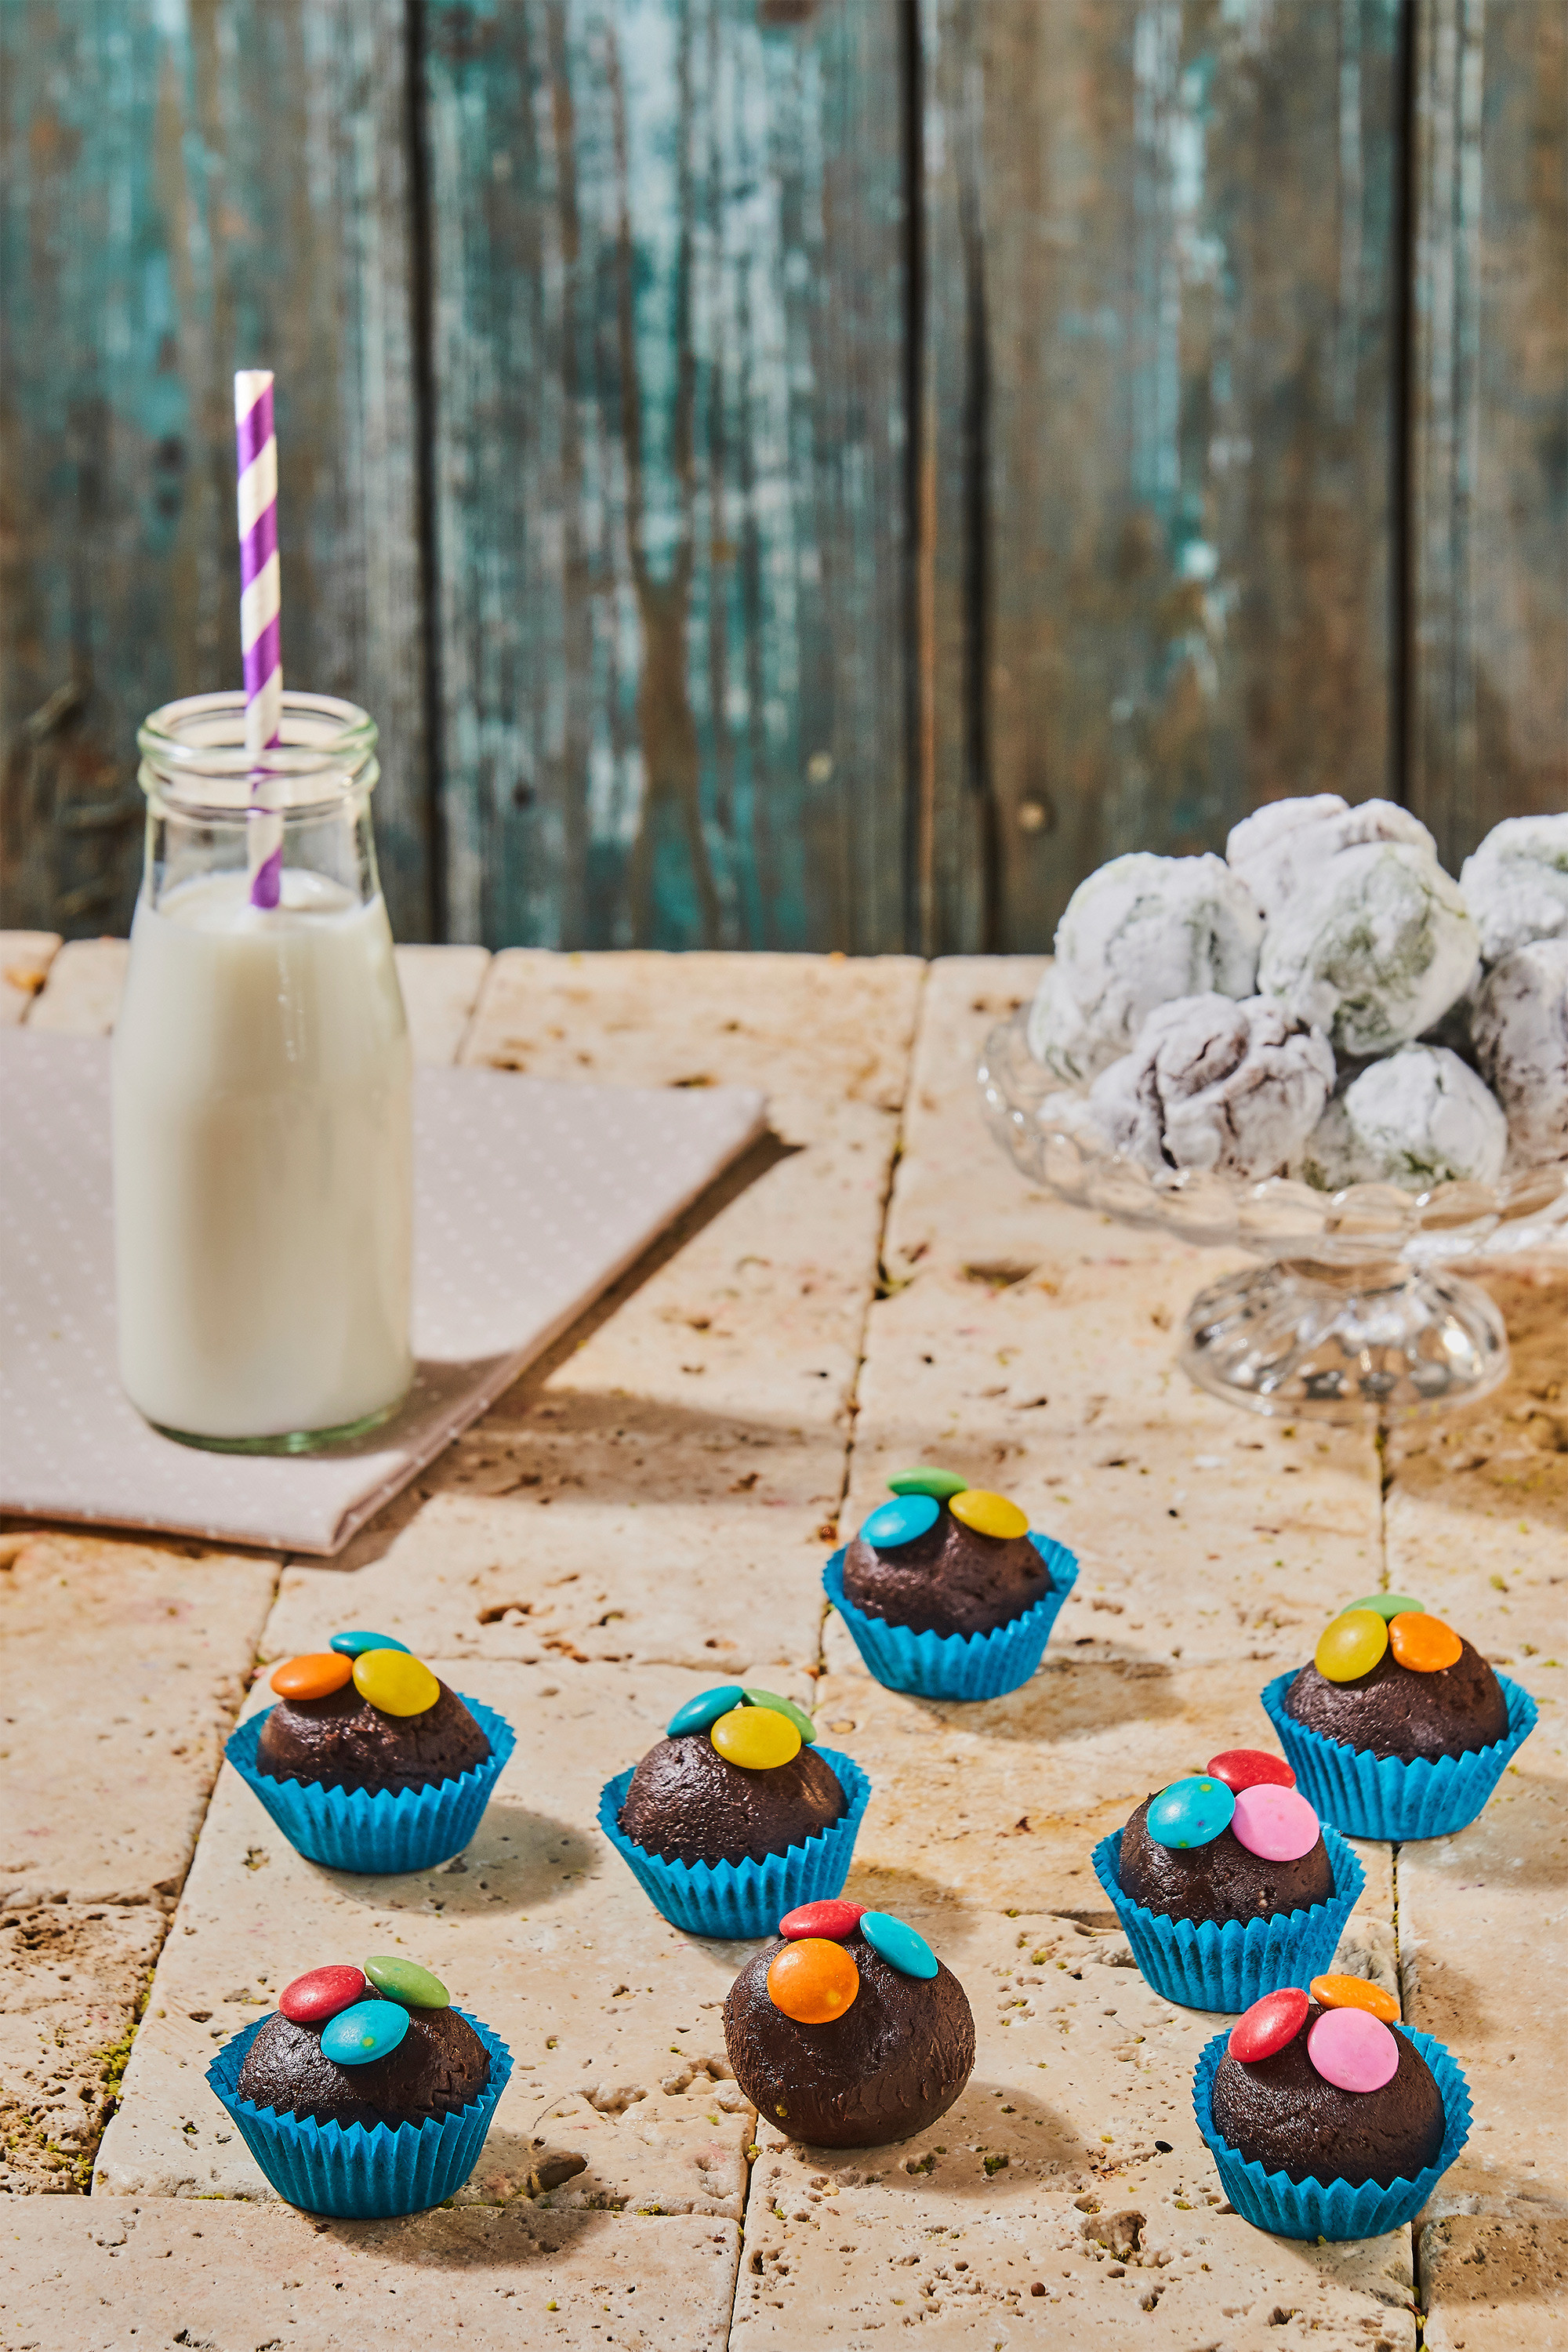
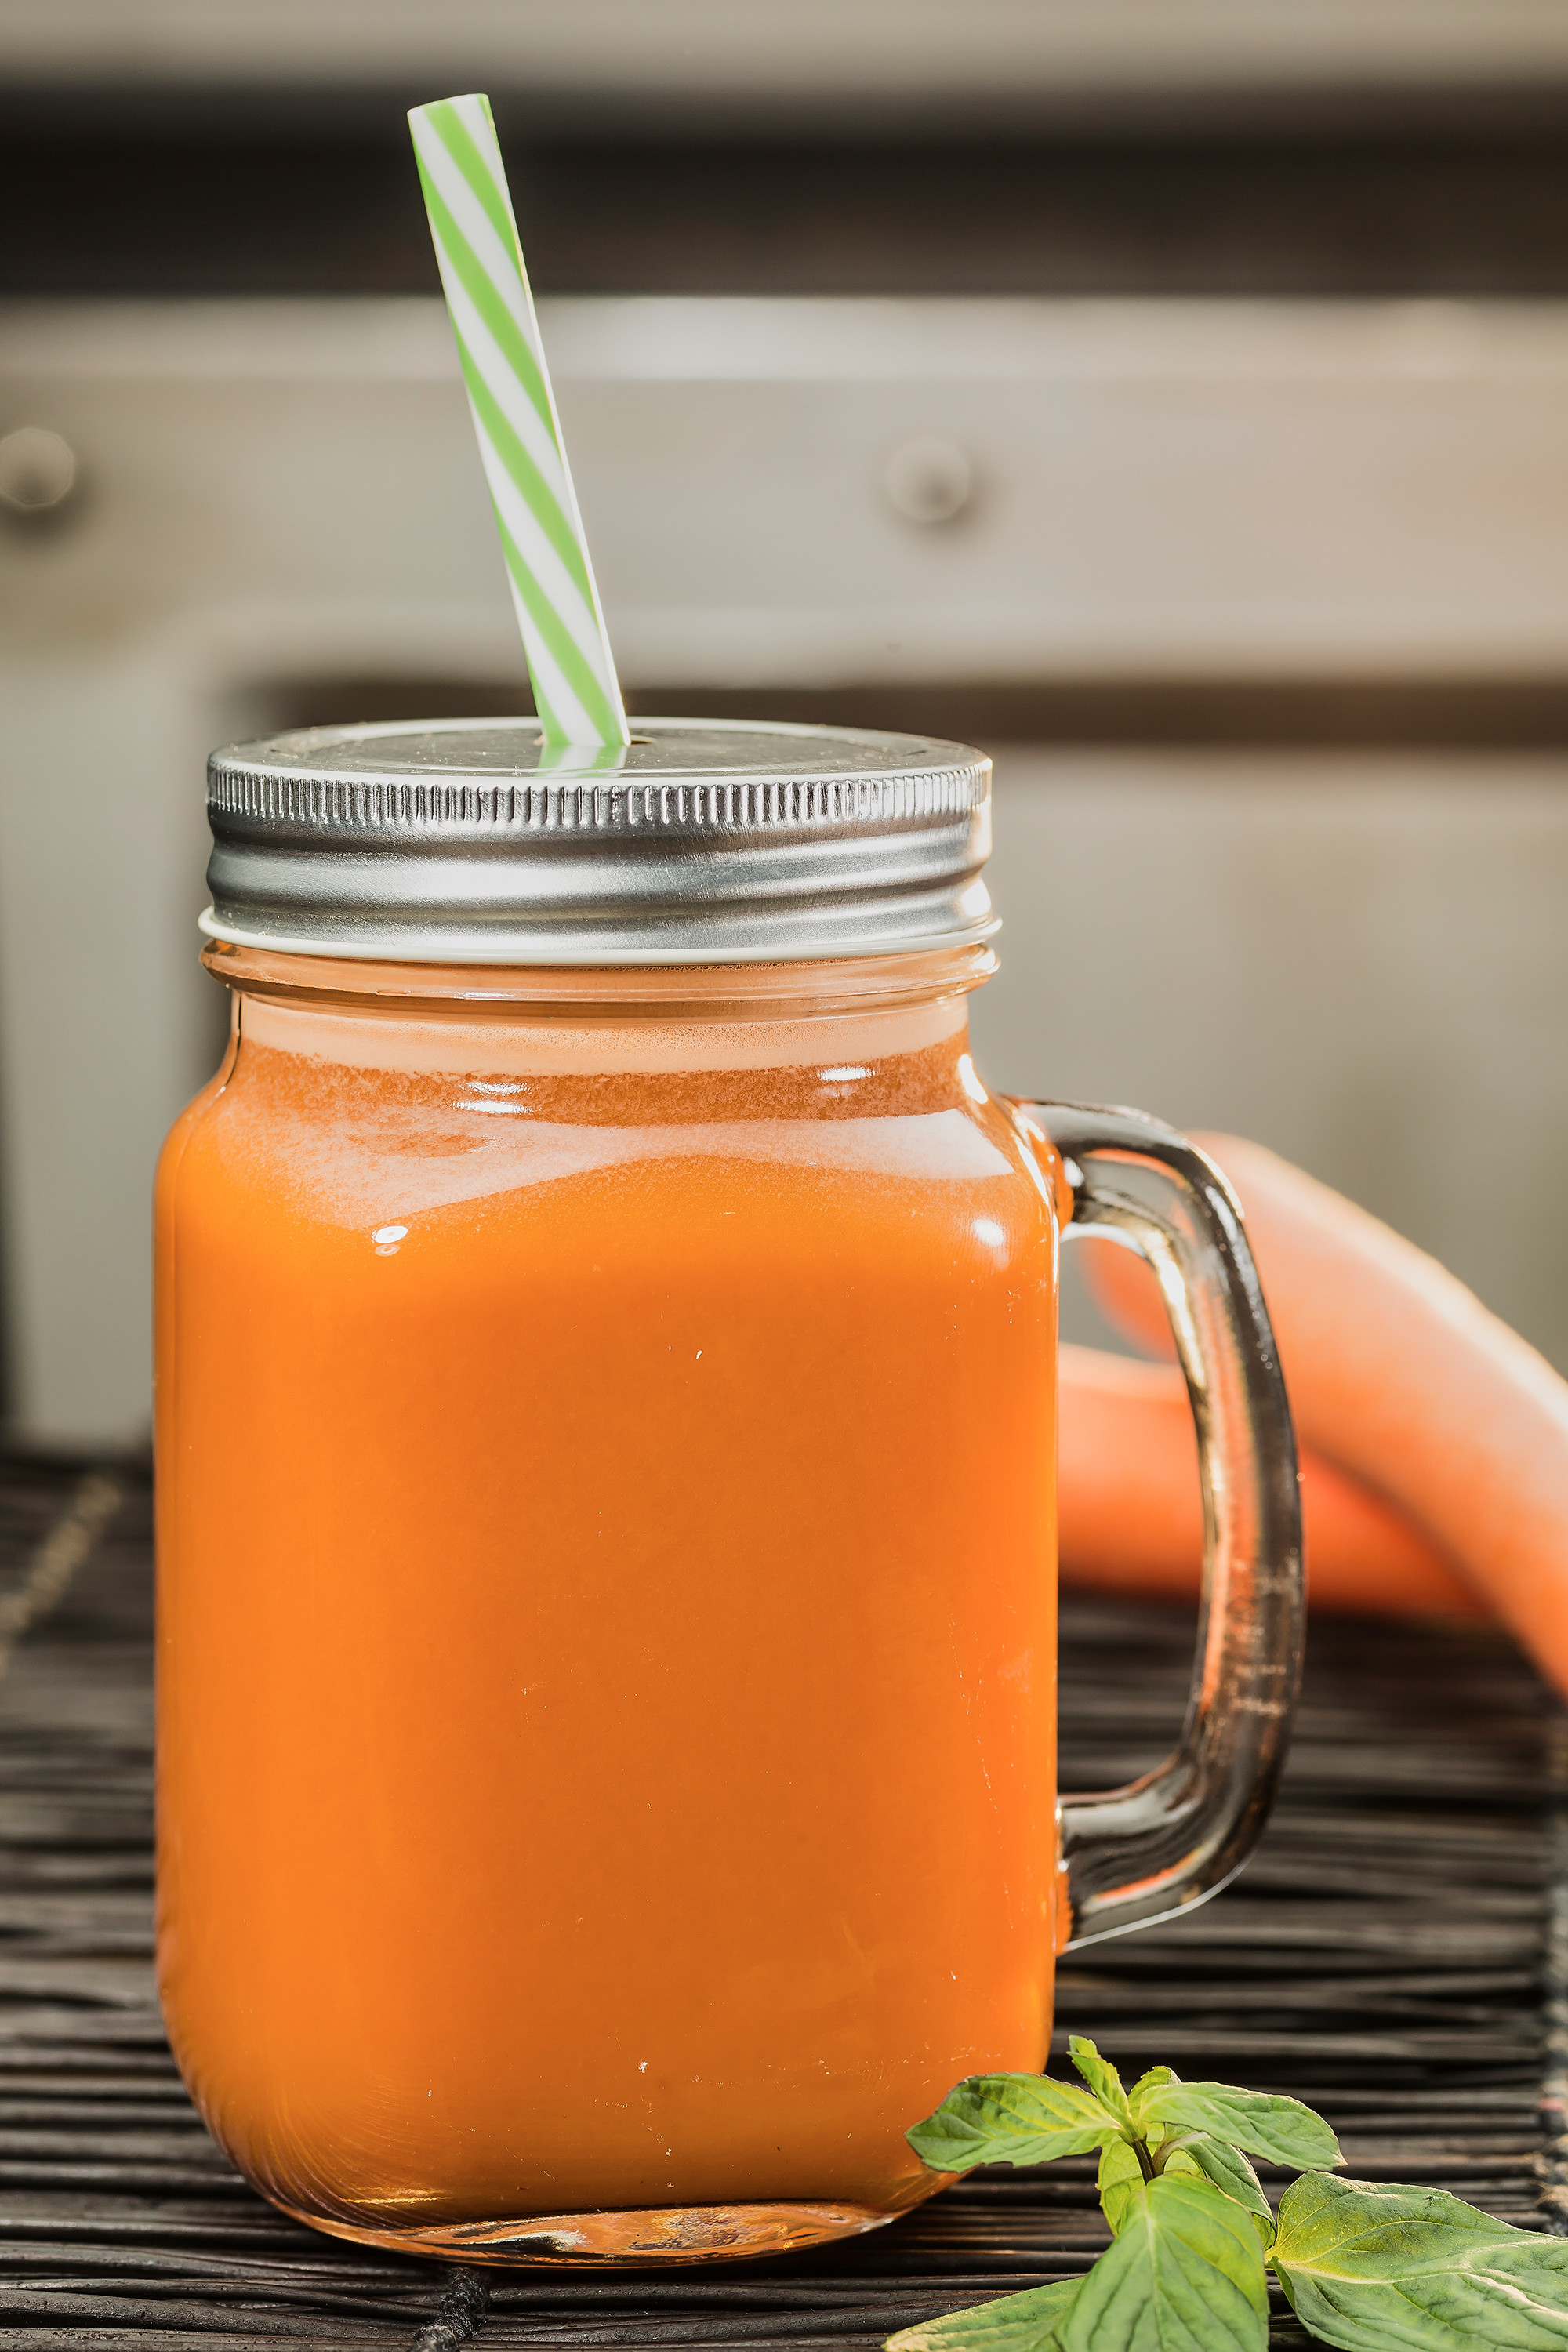
- Color Palette: Select background and prop colors that either highlight the food’s natural colors or provide contrast (Color Theory can help). For example, blue backdrops contrast beautifully with warm-colored foods like orange or red.
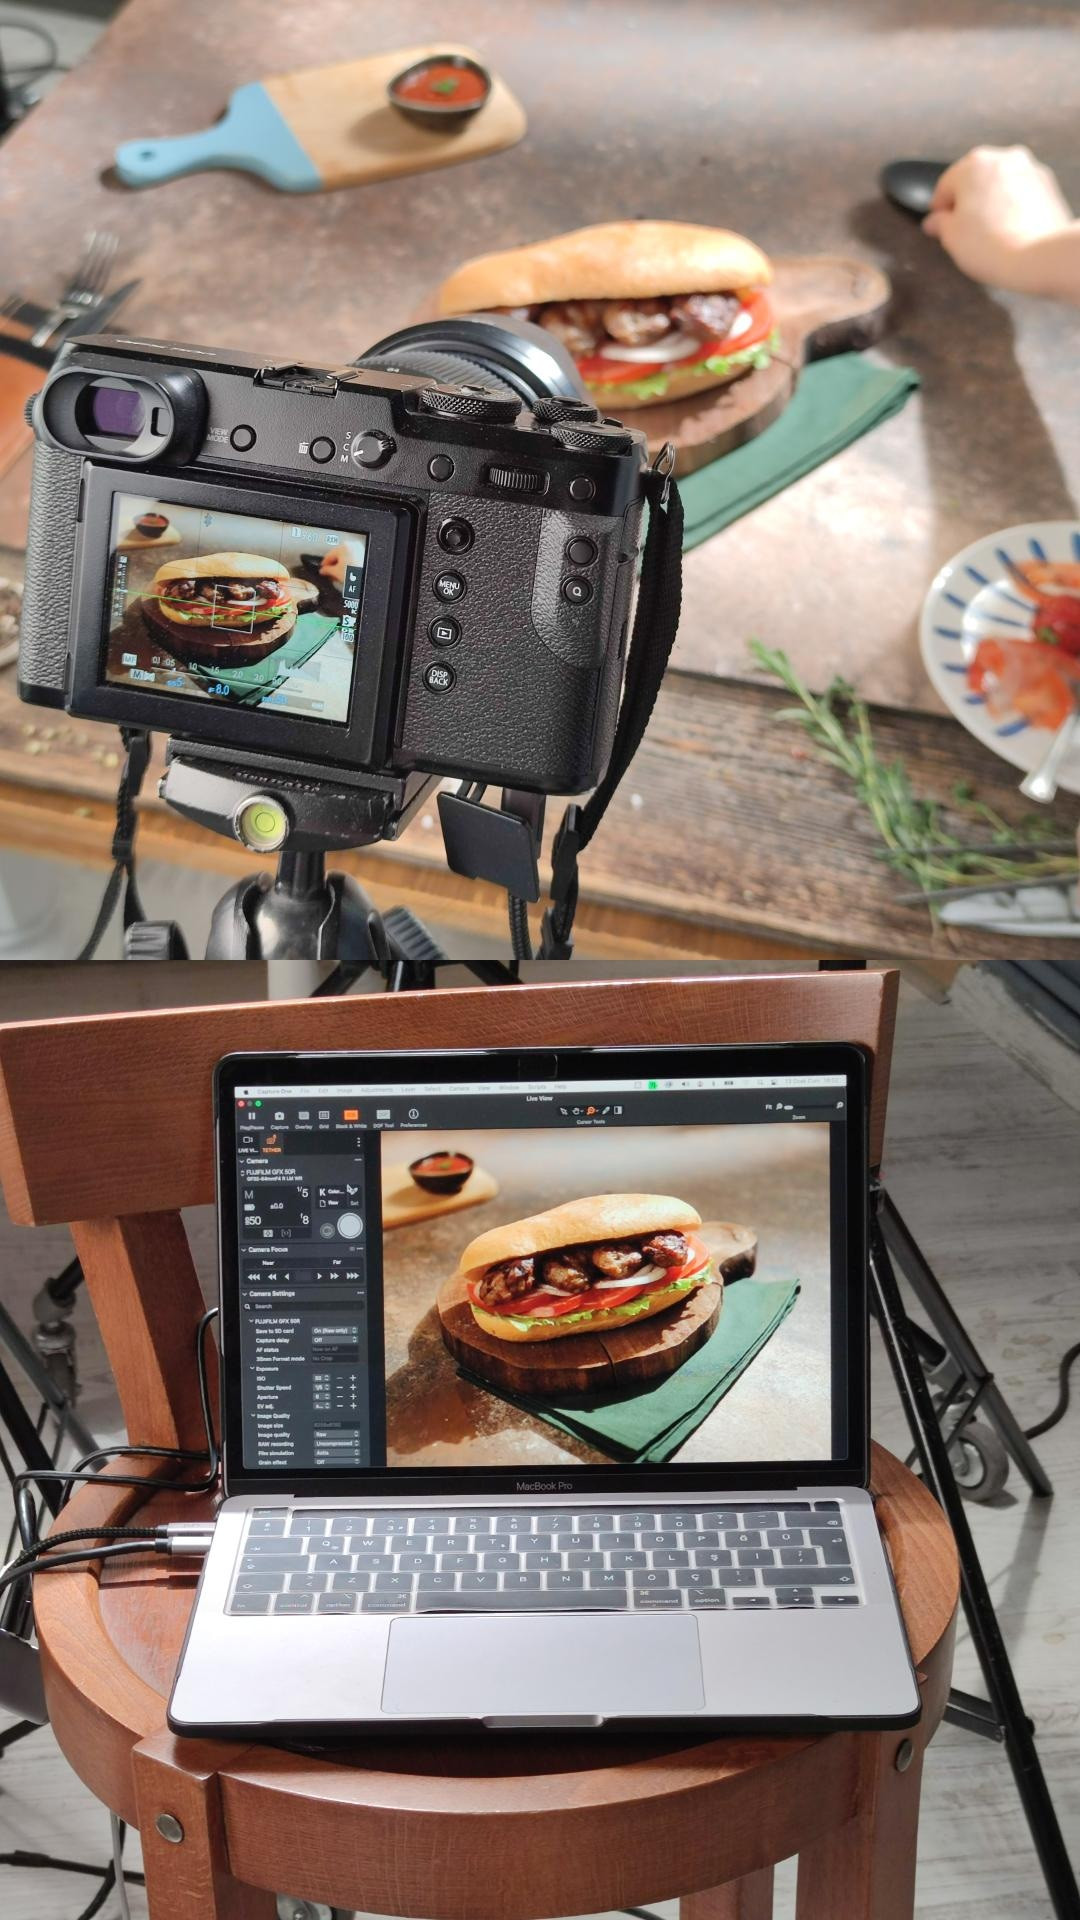
4. Technique and Editing
- Tripod: Essential for sharpness and consistency, especially at slower shutter speeds or when precise composition is needed.
- Focus: Make sure the focal point is on the most visually appealing or important part of the dish.
- Post-Production: Carefully adjust white balance, contrast, brightness, and sharpness. Keep colors looking natural and appetizing—avoid over-saturation.
These tips will help you blend your photography skills with the visual appeal of the culinary world to create truly mouth-watering images!