6 Tips to take better photos
16 March 2019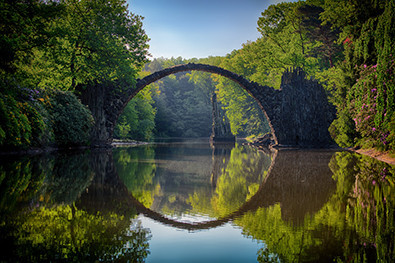
Taking great photos is a combination of using the correct camera settings and framing the subject matter to tell a story. Below is a few tips to ensure that you set up your camera correctly and composing each shot. If you apply the following tips then it’s all a matter of practice to taking better photos.
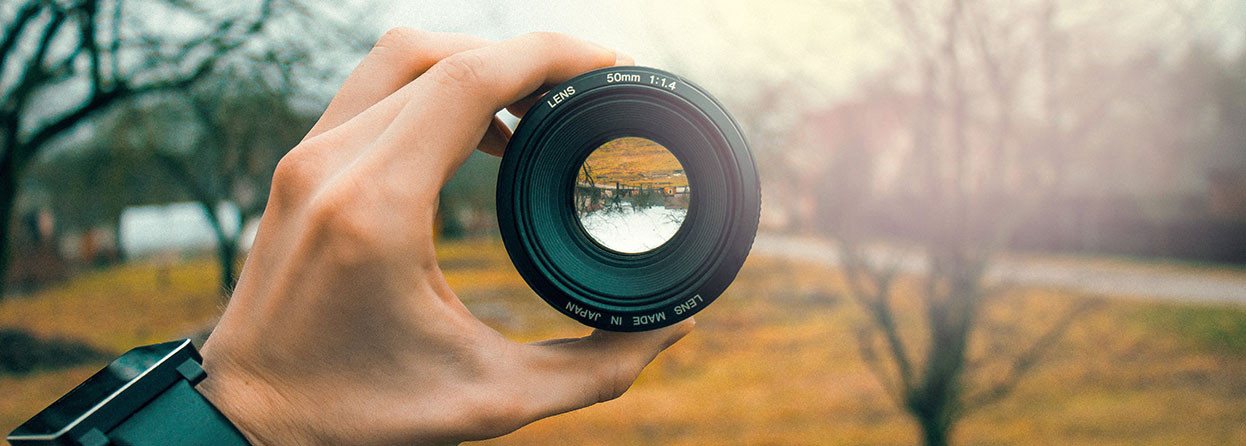
1. Use the correct lens
The standard kit lens that comes with a DSLR is sufficient for most photographs. Once you start to venture into different fields like sports, portrait or macro photography - you may need lenses with a bigger fstop, zoom or wider angle.
Aperture (Depth of field) depends on which lens you use, as this is the amount of light it allows to pass into your camera. It also determines how much of the foreground and background will be in focus. A low fstop (1.2 to 3.5) allows a lot of light to pass through the lens and produces a shallow depth of field, meaning the foreground or background will be out of focus. This is really good if you want to isolate and bring the attention to your subject, and if you require more light to produce a brighter photo. A high fstop (up to 22) allows very little light to pass through the lens and produces a much deeper depth of field, meaning both the foreground and the background will be in focus. But it will produce a darker photo and works great in very bright or long exposure photography.
2. RAW vs jpeg photos
Whenever possible, try to take your photos in RAW format as this saves a lot more color definition in each photo. Processing in camera to jpeg omits a lot of color detail and makes it harder to edit over or under exposed portions of a photograph. Using an image processor like Adobe Lightroom is great for editing RAW images and converting them to jpeg upon exporting.
RAW = larger file size and is great for editing
jpeg = smaller file size but sacrifices some of the color detail

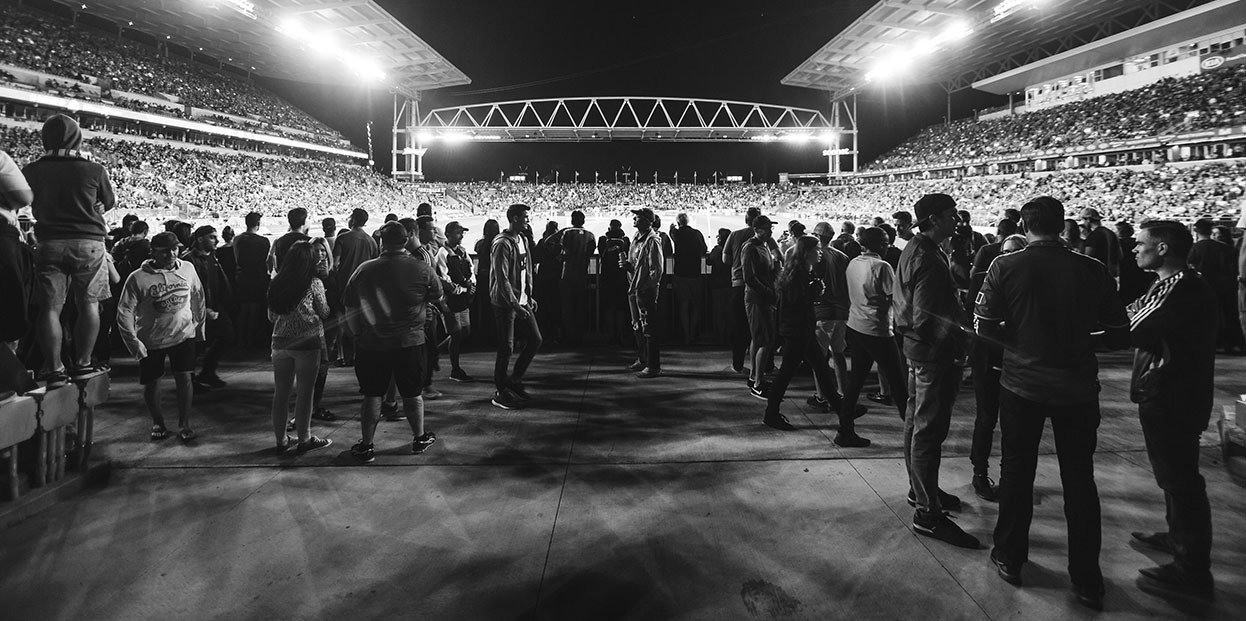
3. Find the source of light
Photos are essentially paintings of light, so finding a light source to illuminate your subject allows you to complement its features and brings the attention to your subject. Reflections come in handy and adds some depth to make your photo more interesting.

4. Rule of thirds
The rule of thirds comes into play when composing your photo (choosing where your subject should appear in the photo in relation to its surroundings). If you’re taking a landscape photo, try to place any defining objects, house or hill at about a third into the photo from the side, top or bottom. You can try doing this with portraits or product photography as well to build up your confidence. Remember, practice makes perfect.

5. Use leading lines
Any defining features that creates a line for our eyes to follow (such as a road, building, painted lines or edge of a table) draws our eyes along its edge. If you place your subject at the end of a leading line, then you draw more attention to your subject naturally. It creates a better ‘feel’ for the photo and makes it easier to look at.

6. Tell a story
Why are you taking the photo? Why should anyone spend time looking at it? Does it bring forth any emotion or pleasure in the viewer? Think about why you want people to look at this photo and do some planning before you take the shot. If you incorporate the basics as outlined in this post, every shot will look more professional and you will get better at each photo you take. Practice makes perfect and we each have our own style. Your style will develop as you take more and more photos.
Look at some of the work done by people in your field of interest, learn from them, and try to take similar photos to practice and to ‘get an eye for it’. You will soon see an improvement in the quality of your own photos.
And lastly, a professional photographer always shoots in Manual mode. Ensure that you have consistent settings for each photo especially if you’re taking multiple shots to capture the perfect moment. So get out there and make a habit of taking shots. Good luck and happy shooting!