6 Secrets to Taking Great Car Photos
21 March 2019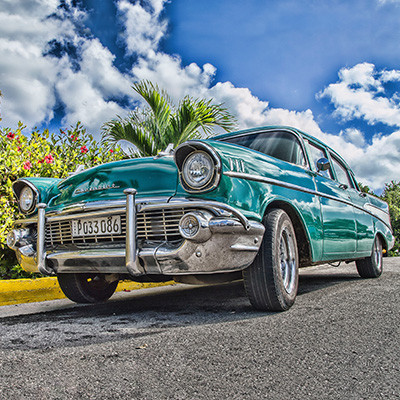
A car is a mechanical piece of art. It is both beautiful and functional and is an extension of our personalities. Capturing a great car photo has as many possibilities as there are faces on the earth. With all the different colors, environments and modifications, no two car photos are the same. Here are a few secrets you can apply to taking great car photos in no time!
1. Get to know the car
What color is the car? Is it bright or dark? Does it have a matte or gloss finish? How will different light sources interact with it? Are there any defining features inside or outside that you would like to feature?
Google some images of the same car to see which photos look good before heading out to a shoot. Also look at the location that was used, to get a feel for which environments make the car look its best.
2. Use filters
Use a CPL (Circular Polarizing Lens) filter to cut out reflections. Glossy paint and windows reflect light and creates over exposure in your photo. You can limit these reflections and even see through most windows if you add a polarizing filter to your lens.
3. Shoot at the right time
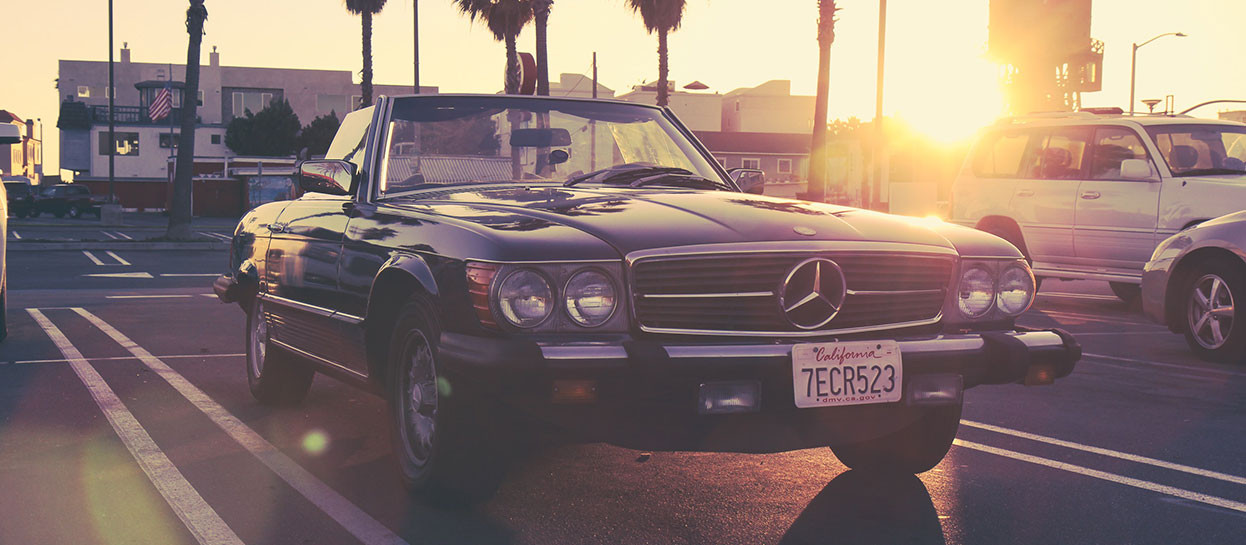
Shoot during the golden hour, this can be just after sunrise and just before sunset. It results in a softer light shining on the car, and eliminates harsh highlights and harsh shadows. If you find it difficult to shoot in the morning or afternoon, and can only schedule it for the middle of the day, try to find a large shaded area such as parking the car behind or in-between tall buildings. This diffuses some of the natural light while still being bright enough to capture the curves of the car. Mid-day photography sessions also work well on cloudy days.
4. Take a step back
Cars have fixed dimensions and anyone that has seen the same model of car before looking at your photo, will immediately notice if any of the cars’ proportions are warped. Sometimes a creative angle requires you to get close up to the car and to make use of a wide angle lens. However, the drawback of using an ultra-wide angle lens is that anything not directly in the middle of the photo ends up being warped. Distance yourself from the car and increase the focal length of your lens (zoom in) to anything over 35mm – ideally you would aim for 50mm or higher. This allows you to fill the frame with the car while eliminating any warp and still maintaining the correct proportions of the car.
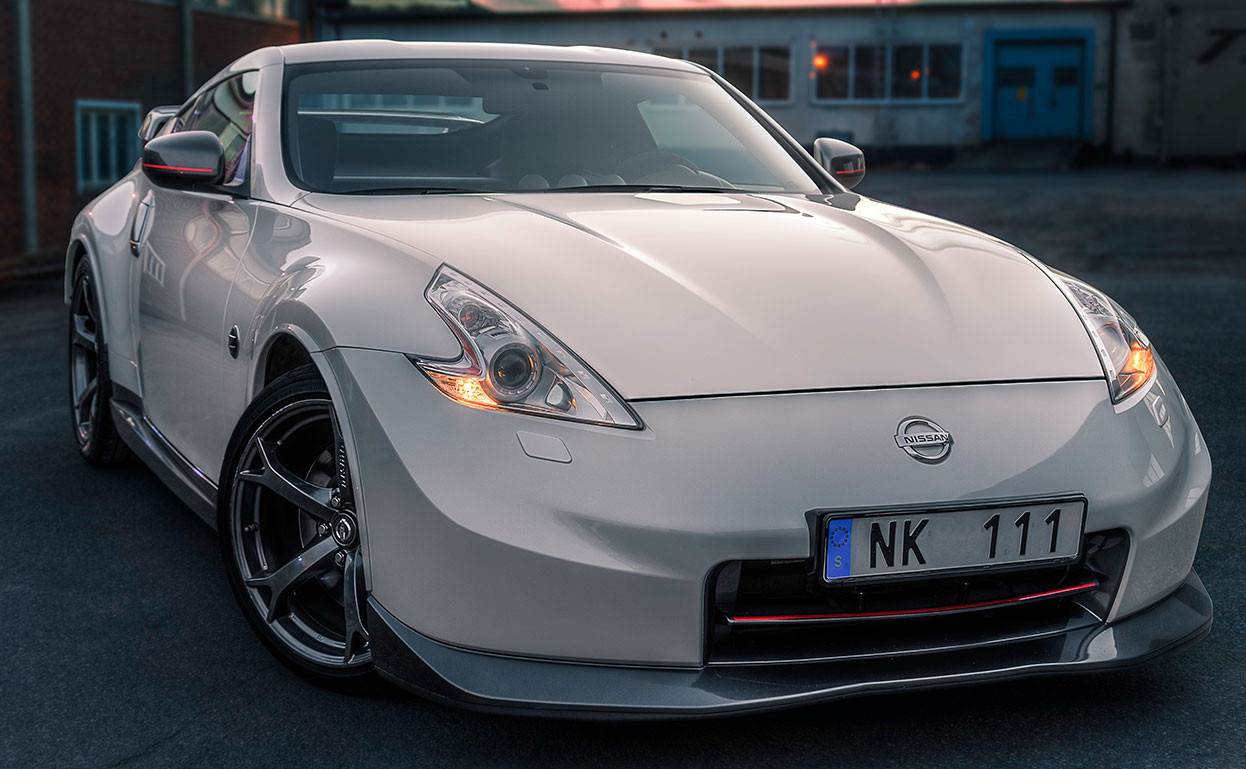
5. Position the car
The design team spent a lot of time to make the car appealing. You as the photographer want to capture that aesthetic and show it to your audience. Position the car to show as much of its beauty and give a reference to its overall look. You can take great shots from the front, three-quarter front, side, three-quarter back and shooting from the back. Try taking these shots from a high and low vantage point to capture different elements of the car. Another great tip is to position the front wheels so that the side of the rim faces the camera. This works best for side and three-quarter shots.

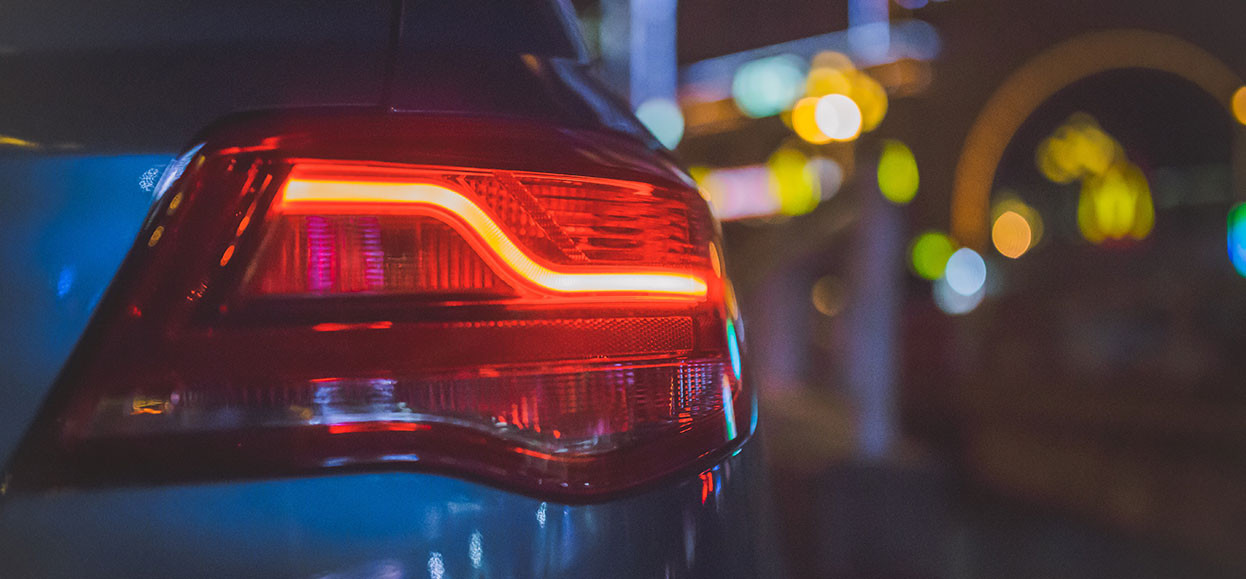
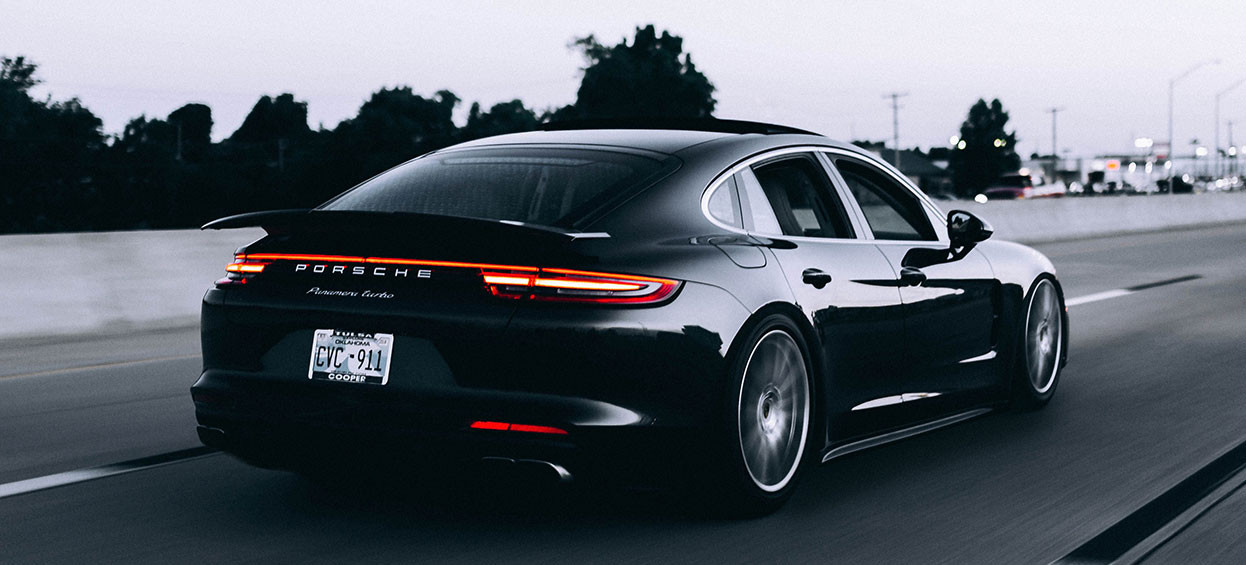
6. Showcase its uniqueness
Each car model is unique in the design and shape of its lights, mirrors, wheels, nose, grill and badges. Isolating these elements into a close-up also brings out the character of that model. Excruciating detail is put into every aspect of the car’s design and the photography possibilities are endless in showcasing these features. A tasteful close-up shot of the car’s tail light with the side of the car looks and feels completely different than a shot of the car’s entire rear end. You may even ask someone to step on the brake pedal to light up the brake lights to add some personality to the shot. Focus on the car’s uniqueness and how to shoot it in a creative way. Change the environment and shoot in multiple locations. Practice and embrace failure to make you a better photographer; you will be taking better shots sooner than expected!